Protein Breakfast Muffins College Dorm Microwave Method
Make quick, savory protein breakfast muffins in your dorm with just a mug and microwave. Customize with pantry staples for a hassle-free meal.
I once burned a batch of pancakes so badly my roommate joked about using them as hockey pucks. That’s when I realized: dorm cooking needs simplicity. Enter these savory handheld bites — whipped up in minutes with just a mug and microwave.
These fluffy rounds pack 8 grams of fuel per serving, using ingredients that won’t clutter your mini-fridge. Swap mix-ins based on what’s left after dining hall raids (frozen spinach works wonders). Bake a big batch during Sunday reset time, then freeze extras for rushed mornings between classes.
You’ll find two methods here — microwave for instant gratification, oven for crispier edges. Both require one bowl and zero fancy gear. Let’s reclaim your counter space and your mornings.
- Microwave-friendly recipe ready in under 10 minutes
- Freezer stash lasts 3 months for grab-and-go mornings
- Customizable with pantry staples
Introduction & Recipe Overview
My first attempt at dorm cooking involved a smoke alarm and a confused RA. That’s when I discovered the beauty of microwave-friendly meals. These handheld wonders came from needing something fast between lectures — something that didn’t taste like cardboard or cost half my coffee budget.

You’ll love how these golden bites balance simplicity with flavor. Prep takes 10 minutes flat — mix your dry ingredients in a mug while your tea brews. In under 30 minutes, you’ve got a dozen tender rounds ready to fuel your day. Customize with whatever’s in your mini-fridge: shredded zucchini, diced peppers, or that half-used bag of frozen broccoli.
I’ve tested both cooking methods extensively (often while half-asleep). The microwave gives you instant gratification — perfect for chaotic mornings. The oven option? Crispy edges worth waking up early for. Both approaches use one bowl and basic tools — no fancy gadgets required.
What makes these stand out? They’re forgiving. Forget exact measurements or perfect chopping. Use what you have, tweak flavors weekly, and stash extras in freezer bags. Your future self will thank you during back-to-back classes.
Quick and easy meals like these crispy chickpea patties will boost your morning routine and save you time. Perfect for busy students juggling lectures and meals.
Ingredients & Equipment Overview
My first kitchen disaster involved a collapsing tin and egg mixture oozing onto the oven floor. That’s when I learned: good tools matter almost as much as fresh ingredients. Let’s gather what you’ll need to avoid my messy mistakes.
The Building Blocks
Every great recipe starts with quality basics. You’ll need eggs as your base — they’re the glue holding everything together. Almond flour adds structure without heaviness (oat flour works too). Pre-cooked sausage crumbles or veggie alternatives bring savory depth. Don’t forget spices — smoked paprika and garlic powder are my flavor heroes.
“A sturdy muffin tin is worth its weight in gold — it’s the difference between perfect rounds and crumbly messes.”
| Ingredient | Purpose | Swaps |
|---|---|---|
| Eggs | Binding & moisture | Flax eggs (1 tbsp + 3 tbsp water) |
| Almond flour | Texture base | Oat flour or whole wheat |
| Sausage | Protein boost | Diced mushrooms or lentils |
Tools That Earn Their Space
Your bowl does heavy lifting here — choose one with a spout for easier pouring. Silicone liners prevent sticking better than paper, but a well-greased tin works too. Have measuring spoons handy? Great. No? Use a teaspoon from your silverware drawer. This way of cooking thrives on flexibility, not perfection.
Prep smart: chop veggies small for even cooking, and let frozen spinach thaw in a paper towel first. Remember — every ingredient plays nice together. Your end result? Golden, portable fuel that keeps you powered through morning lectures.
How to Make protein breakfast muffins college dorm
I once tried whisking batter while balancing textbooks on my knees — lesson learned. Now I prep these handheld wonders using just a mug and fork. Here’s how to nail the texture every time, even in cramped kitchens.
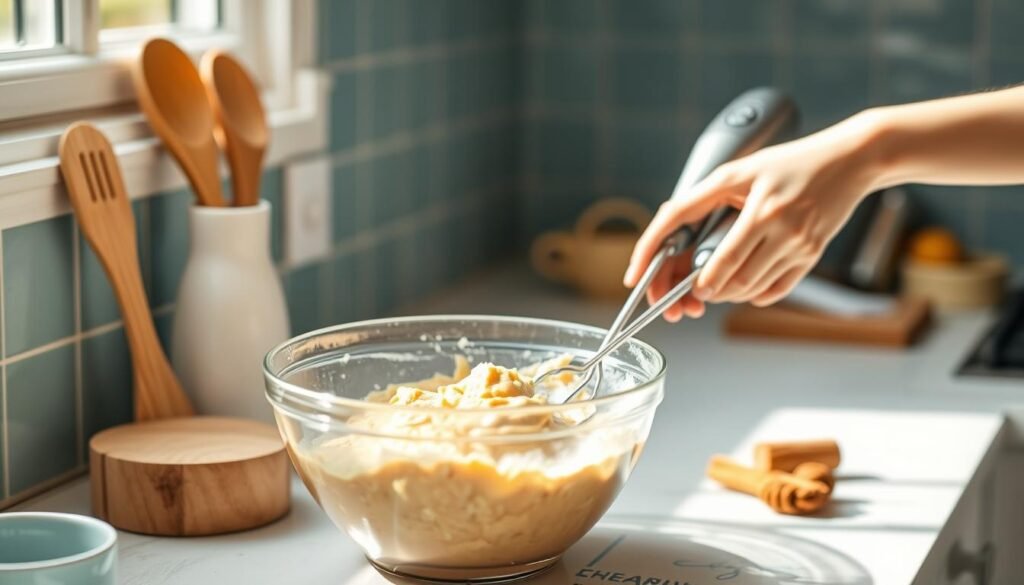
Start by combining dry ingredients first. Whisk powder with flour in your mixing bowl — this prevents clumping. Add shredded cheese gradually while stirring. The key? Stop when everything looks like sandy snowflakes.
| Technique | Purpose | Tip |
|---|---|---|
| Dry whisking | Even spice distribution | Use fork tines to break clumps |
| Wet folding | Avoid overmixing | Stir until just combined |
| Portioning | Consistent size | Ice cream scoop works best |
Pour wet ingredients into the dry mix. Fold gently with a spatula — 15 strokes max. Overworking the batter leads to dense results. I learned this after creating hockey pucks that rivaled my freshman year attempts.
Measure baking agents precisely. Too much powder causes bitter taste, while too little means flat tops. Use measuring spoons or that 1/4 teaspoon from your coffee station. For meal prep champions, this guide shows smart storage tricks.
Bake immediately after mixing. Letting batter sit activates the powder too early. Fill cups 3/4 full — they rise like magic. Your tiny kitchen becomes a bakery in minutes.
Double-check your patty size for even cooking. Too thick, and they won’t cook through properly. Adjust according to your pan size and heat level.
Step-by-Step Microwave Cooking Process
My worst microwave mishap involved exploding eggs and a 3 a.m. cleanup crew. Now I use this fail-proof method for tender results every time. You’ll need a microwave-safe mug or bowl — I’ve even used reusable silicone cups when my dishes vanished during finals week.
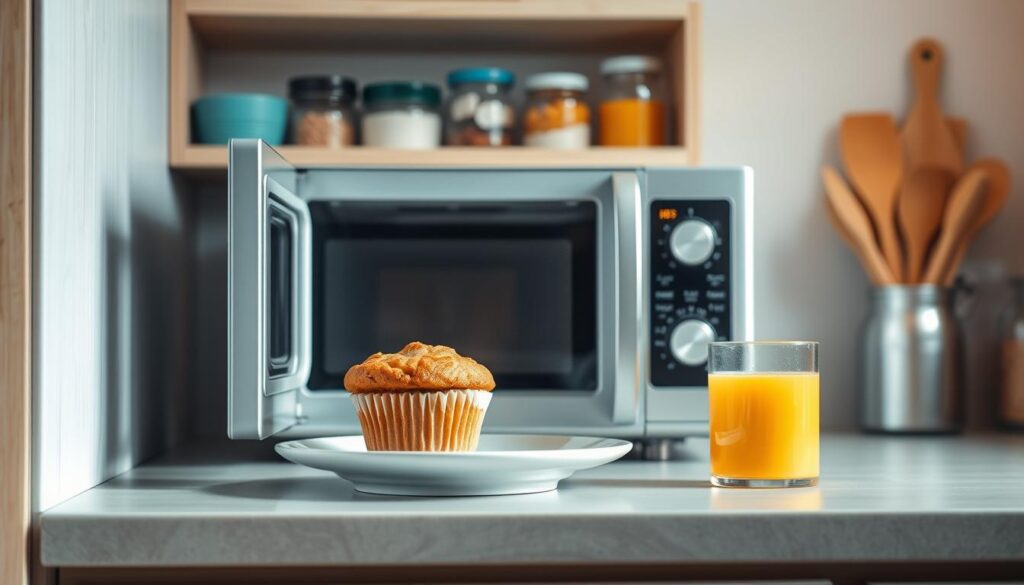
First, whisk your dry ingredients directly in the mug. Add wet components slowly to avoid splatters — think gentle folds rather than aggressive stirring. Taste-test the batter here: adjust seasoning with a pinch of salt or smoked paprika before cooking.
| Step | Time | Power Level |
|---|---|---|
| Initial Cook | 90 seconds | High |
| Resting | 30 seconds | Off |
| Final Cook | 45 seconds | Medium |
Stop halfway to check progress. The edges should pull away slightly from the mug — if still glossy, add 15-second bursts. Let it rest 2 minutes after cooking. This patience pays off with fluffy texture instead of rubbery disappointment.
For meal prep magic, double the batch and refrigerate extras. Reheat later at 50% power for 60 seconds. Pair with fresh veggies or avocado slices between classes. Your tiny kitchen just became a time-saving hero.
If using canned chickpeas, rinse thoroughly to remove excess salt. Too much sodium can impact the dish’s flavor and nutritional value.
Step-by-Step Oven Cooking Process
My sophomore year Thanksgiving disaster taught me this truth: ovens reward patience. While friends battled dry turkey, I discovered the magic of steady heat for golden results. This method transforms batter into crown-shaped delights with crisp edges that crunch satisfyingly between lectures.
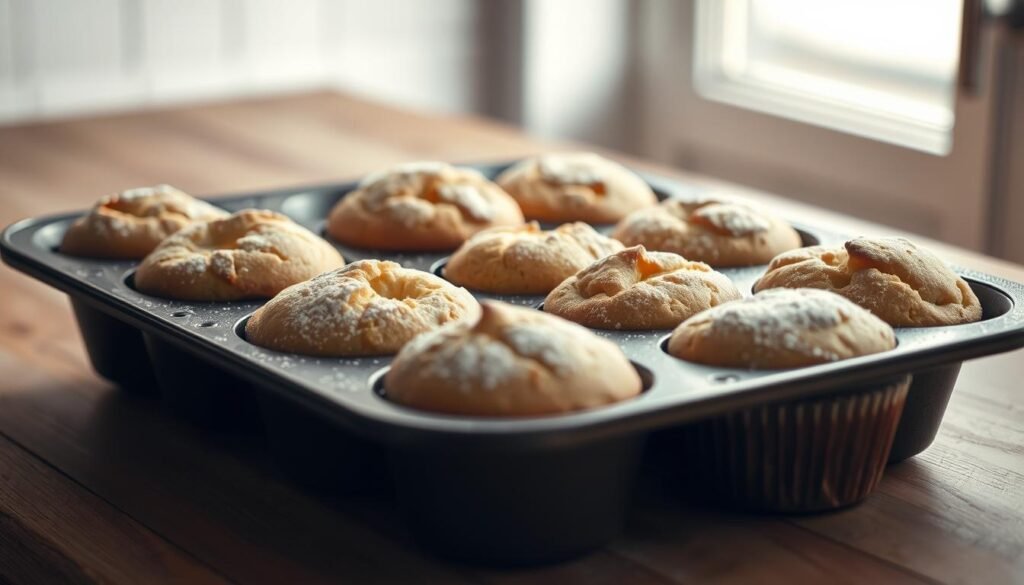
Fire Up Your Oven Right
Position racks in the middle third before turning dials. Why? Even heat circulation prevents lopsided rising. Set to 375°F for standard tins, 350°F for dark metal ones. Grease cups thoroughly — I rub coconut oil into every crevice using folded paper towels.
| Tin Type | Temp | Time |
|---|---|---|
| Non-stick | 375°F | 18-20 mins |
| Dark metal | 350°F | 16-18 mins |
| Silicone | 375°F | 20-22 mins |
Whisk baking powder with flour in your large bowl first. This prevents bitter clumps. Add wet ingredients all at once — no gradual pouring needed. Stir just until combined; overmixing deflates your rise.
Fill cups ¾ full using an ice cream scoop. Bake immediately. Peek through the window after 15 minutes — tops should dome like miniature bread loaves. Test with a toothpick: clean means done, crumbs mean 2 more minutes.
“That perfect crackly top? It comes from hitting the right oven temp fast. No peeking for the first 12 minutes!”
Cool in the tin 5 minutes before transferring. These keep 3 days refrigerated or freeze for rushed days ahead. Reheat in toaster ovens to revive the crunch.
Customizations & Creative Additions
I once tossed fresh dill into my batter on a whim — now it’s my signature touch. That’s the beauty of this recipe: it thrives on creative twists. Swap ingredients based on your cravings or what’s lingering in your fridge drawers.
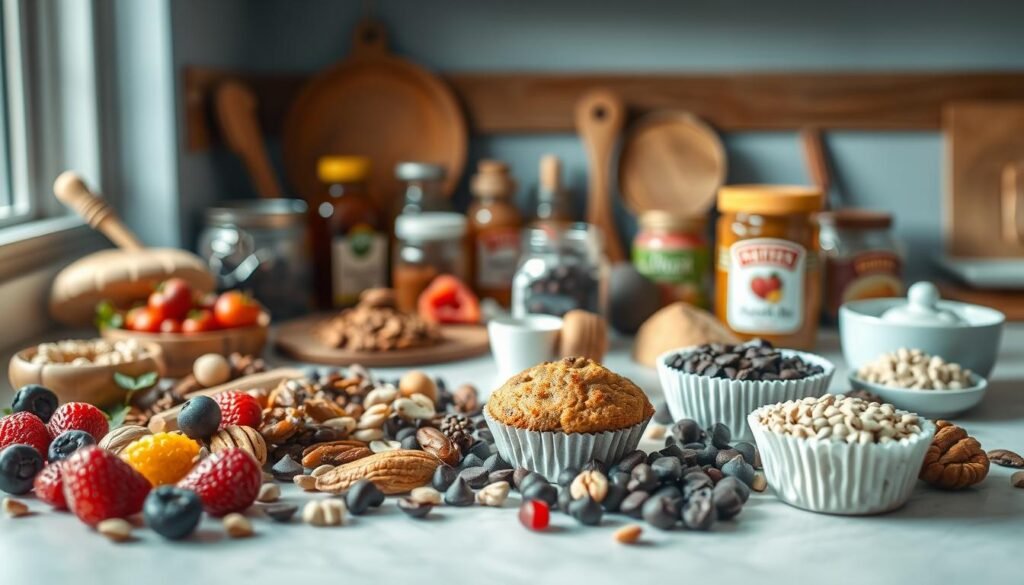
Flavor Swap Playbook
Base ingredients are just launching pads. Try crumbled goat cheese instead of cheddar for tangy bites. Out of almond flour? Oat flour adds nutty depth, while coconut flour creates lighter texture (use 1/3 cup less liquid).
| Original | Swap | Flavor Twist |
|---|---|---|
| Cheddar | Feta + sun-dried tomatoes | Mediterranean vibes |
| Whole egg | 2 tbsp Greek yogurt + 1 tsp baking powder | Extra fluffy texture |
| Almond milk | Canned pumpkin + nutmeg | Fall-inspired sweetness |
Crowning Glory Ideas
Top your creations like edible canvases. Smear avocado slices with everything bagel seasoning for creamy crunch. Dollop salsa verde for zingy contrast against rich cheese. My current obsession? Crispy pancetta bits sprinkled over rosemary-infused batter.
Don’t fear experiments — my “weird” kimchi addition became a dorm-floor favorite. Start small: swap one ingredient weekly. Your taste buds (and Instagram) will thank you.
Storage, Reheating, and Serving Ideas
My roommate once left our baked goods uncovered overnight — we woke up to rock-hard specimens that could’ve doubled as doorstops. Now I follow these foolproof methods to keep your kitchen creations tender for days.
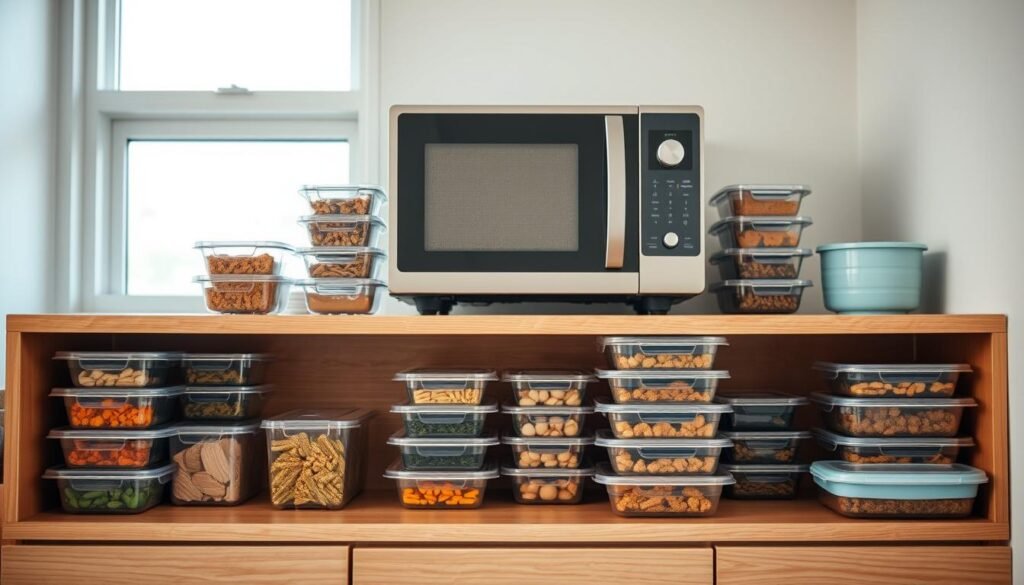
Safe Storage Practices
Cool your savory rounds completely before storing. I lay them on a wire rack for 20 minutes — trapping steam leads to soggy bottoms. Use airtight containers with silicone liners between layers to prevent sticking.
| Storage Method | Duration | Pro Tip |
|---|---|---|
| Refrigerator | 4 days | Wrap in beeswax wrap first |
| Freezer | 1 month | Label bags with reheating instructions |
Reheating Methods
Revive that fresh-from-the-oven magic in three ways:
- Microwave: 30 seconds at 50% power, then 15 seconds full blast
- Air fryer: 325°F for 4 minutes — crisps edges beautifully
- Oven: 300°F for 8 minutes wrapped in foil
Add a pat of butter before reheating to boost moisture. For frozen batches, thaw overnight or use the defrost setting. Pair with roasted veggies or a simple chicken salad for balanced meals.
“That first bite should taste like you just pulled them from the oven — proper storage makes it possible.”
Small-space hack: freeze portions in muffin liners inside zip bags. They stack like edible hockey pucks in your freezer door. Rotate weekly to maintain peak flavor — your future self will savor the foresight.
Nutritional Benefits and Dietary Insights
I used to crash hard between 10 a.m. lectures until I realized my cereal wasn’t cutting it. These savory bites became my secret weapon against brain fog — not just because they’re delicious, but because they’re built on smart nutrition choices.

Fuel That Lasts
Each serving delivers a powerhouse combo: eggs for steady energy, crumbled sausage for staying power, and tangy feta for flavor depth. The magic happens in your microwave — quick heat preserves nutrients better than long oven sessions.
Here’s why this mix works:
- Eggs provide complete proteins (all 9 essential amino acids)
- Sausage adds iron and B vitamins for focus
- Feta offers calcium without overwhelming saltiness
| Ingredient | Benefit | Daily Value %* |
|---|---|---|
| 2 eggs | 12g protein | 24% |
| Turkey sausage | 8g protein | 16% |
| Feta (¼ cup) | 4g calcium | 15% |
*Based on 2,000 calorie diet
The low-carb profile keeps energy stable. No sugar spikes means you’ll power through morning meetings without the 11 a.m. slump. My favorite hack? Bake a batch Sunday night, then grab a few from your pan each morning while scrambling out the door.
“Good food should make you feel capable — not chained to your kitchen or carb-heavy snacks.”
At home or on campus, these fit into active lifestyles seamlessly. Swap sausage for diced chicken or feta for goat cheese depending on your fridge’s contents. Your body — and schedule — will notice the difference.
Be cautious when frying patties. Overheating the oil can cause splattering and burns. Keep a safe distance and use a splatter guard.
I once swapped olive oil for melted butter in a sleepy haze — and accidentally created my favorite flavor twist. That’s the beauty of this recipe: it rewards curiosity. Whether you’re using that last splash of milk or adjusting oven temperature for crispier edges, these savory rounds adapt to your rhythm.
Keep two things in mind. First, play with add-ins — smoked paprika and cracked pepper transform basic batches. Second, notes matter: label freezer bags with dates and reheating times. Your future self will appreciate the clarity during rushed mornings.
Try both cooking methods. The microwave delivers instant satisfaction, while the oven offers golden perfection. Swap dairy milk for almond if needed, or use avocado oil instead of butter. Garlic lovers? Double the minced cloves for bold flavor.
Remember — great meals aren’t about fancy gear. They’re about trusting your instincts and having fun. Snap a photo of your best batch and tag a friend who needs kitchen wins. You’ve got this, one delicious bite at a time.
Crispy Chickpea Breakfast Patties
These crispy, savory chickpea patties are packed with protein and flavor, making them the perfect breakfast bite. They're easy to prepare and great for busy mornings.

Nutrition Information
Equipment Needed
- Mixing bowl
- Skillet or frying pan
- Measuring spoons
- Fork or masher
Ingredients
-
1 can (15 oz) chickpeas, drained and mashed
-
1/4 cup breadcrumbs
-
1/4 cup chopped fresh parsley
-
1/4 cup diced onion
-
1 clove garlic, minced
-
1/2 tsp cumin
-
1/4 tsp paprika
-
Salt and pepper to taste
-
1 tbsp olive oil (for frying)
Instructions
Recipe Video
Have a can of chickpeas? Try this!
Learn how to make a simple and delicious dish using chickpeas! A quick and easy recipe perfect for any time of the day.

