Meal Prep For Work Without Refrigeration Food Safety Tips
Discover practical tips for meal prep for work without refrigeration. Learn how to keep your meals safe and fresh on-the-go.
I learned this lesson the hard way during a cross-country road trip with three hungry kids. Our cooler broke, forcing me to rethink everything about how I pack food. Turns out, safe room-temperature meals require more than just tossing cheese and bread into a lunchbox.
Creating reliable workday lunches without refrigeration isn’t about fancy gear—it’s about smart combinations. Shelf-stable ingredients like aged cheddar, cured meats, and store-bought flatbreads become your allies. The real challenge? Keeping everything out of the temperature danger zone (40°F-140°F) where bacteria thrive.
My spicy lunch ideas evolved from these constraints, using vinegar-based sauces and oil-packed veggies that naturally resist spoilage. You’ll discover how simple swaps—like swapping mayo for hummus—transform basic ingredients into safe, satisfying meals.
Quick Tips:
- Choose ingredients that naturally resist spoilage
- Use airtight containers to slow bacterial growth
- Pair acidic components with dry staples
No-Refrigeration Meal Prep
Picture this: You’re rushing between meetings, your office microwave smells questionable, and the breakroom fridge is overflowing. This is where no-refrigeration lunches shine. They’re not just for camping trips or power outages—they’re everyday solutions for anyone craving simplicity.
Why Choose No-Fridge Lunches?
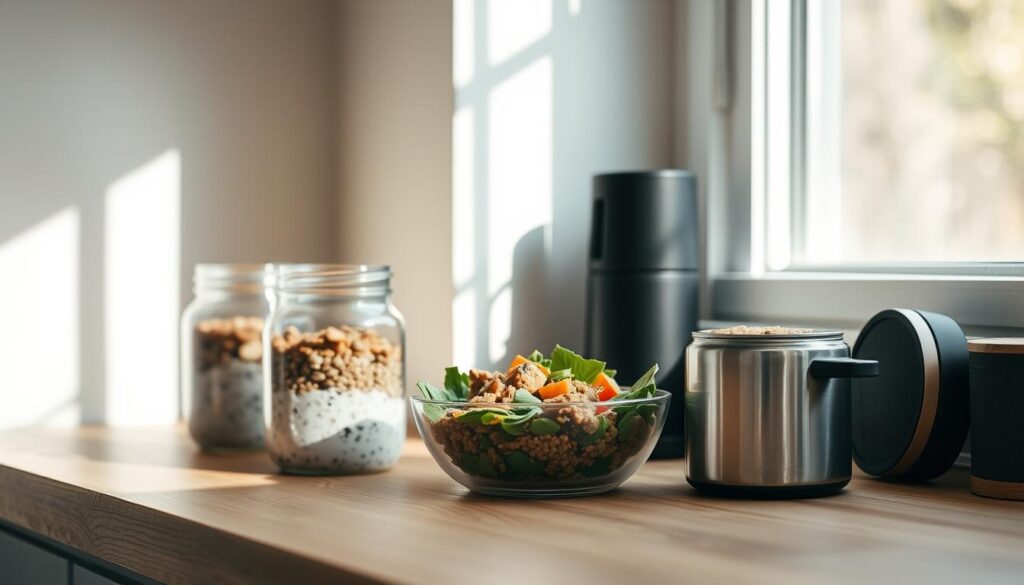
I’ve packed thousands of lunches for my family’s hiking trips and my husband’s job sites. The beauty? No ice packs, no soggy sandwiches. These meals save time—you can prep them Sunday night and grab them all week. Busy parents and professionals love the efficiency, especially when food stays safe at room temperature for hours.
Understanding the Challenges
Not every ingredient plays nice without cooling. I once packed avocado slices (rookie mistake!) and learned firsthand about texture changes. The key is balancing shelf-stable items like beans, apples, and veggies with acidic or dry components. Social media trends like #thatformula show creative wraps using oil-preserved artichokes and crispy chickpeas—proof that limitations spark innovation.
Here’s what works: airtight containers slow spoilage, vinegar-based dressings act as natural preservatives, and strategic layering prevents sogginess. Skip mayo-heavy salads; opt for hummus or nut butter dips instead. With the right mix, you’ll dodge the 40°F-140°F danger zone entirely.
Meal Prep for Work Without Refrigeration: Food Safety and Health Considerations
The secret to safe lunches isn’t complicated—it’s about playing by bacteria’s rules. After forgetting a lunchbox in my car overnight (hello, science experiment!), I realized how quickly things go wrong. Now I treat every container like a tiny ecosystem needing balance.
Staying Out of the Temperature Danger Zone
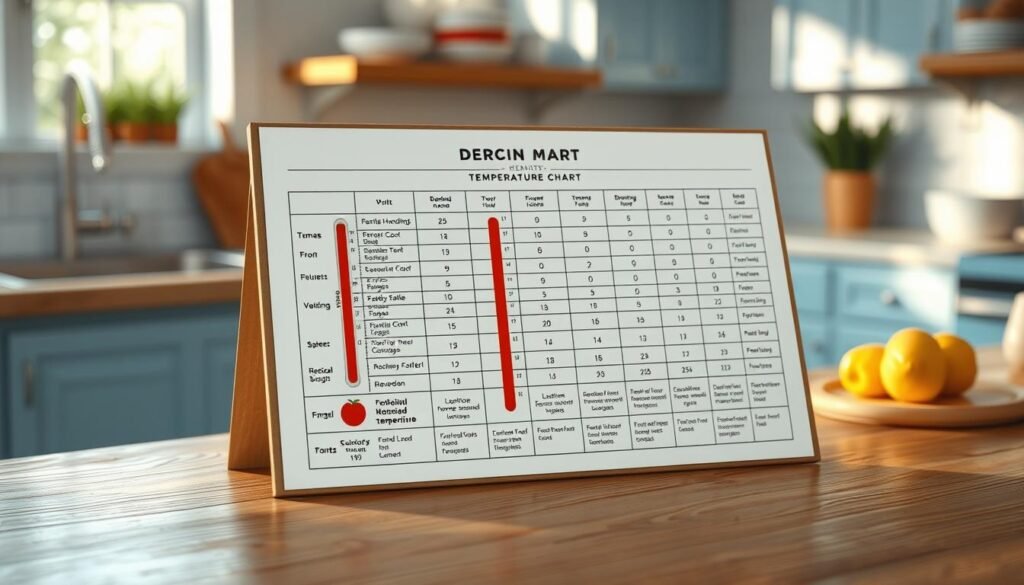
Bacteria double every 20 minutes between 40°F and 140°F. Your clock starts ticking the moment food leaves the fridge. Use these strategies:
- Pack nut butter packets instead of mayo-based sauces
- Layer oven-roasted veggies under dry ingredients like crackers
- Store bread separately from moist fillings using wax paper
A 2023 Journal of Food Protection study found ice packs add 3-5 hours of safety. But skip them if you’re using naturally stable items like jerky or oil-packed tuna.
Benefits of a Low-Carb, Protein-Focused Approach
High-protein formulas keep energy steady without sugar crashes. My go-to combo: sliced turkey + cucumber ribbons + almond butter dip. This mix provides:
- 4+ hours of fullness (perfect for back-to-back meetings)
- Natural preservatives from healthy fats
- No starchy sides that spoil faster
Clients report better focus using this method. One teacher told me, “I finally stopped 3 PM vending machine runs.”
Safe Food Storage and Ice Pack Usage
Your container choice matters more than you think. I swear by oven-safe glass jars—they’re easy to clean and block odors. Pro tips:
- Freeze sauce portions in silicone molds overnight
- Place ice packs on top of containers (cold air sinks)
- Never reopen lids until you’re ready to eat
Remember: If something smells off, toss it. As USDA guidelines state, “When in doubt, throw it out.”
No-Fridge Foods and Creative Lunch Ideas
My ‘aha’ moment came during a beach day when my daughter demanded something crunchy. We ended up pairing pepperoni sticks with dried mango – an unexpected hit that stayed fresh in our bag for hours. Building satisfying lunches without cooling starts with strategic ingredient marriages that balance texture, flavor, and food safety.
Proteins, Fats, and Dairy Options
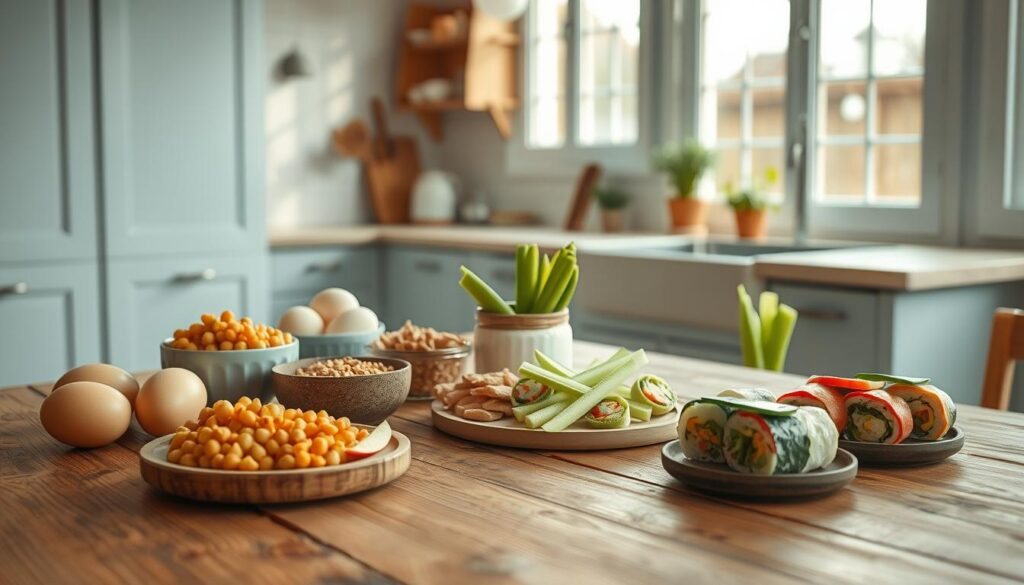
Trader Joe’s baked cheese crackers became my secret weapon – they’re shelf-stable and pack 6g protein per serving. Pair them with:
- Oil-packed tuna (drain before packing)
- Individual almond butter packets
- Vacuum-sealed smoked salmon strips
Fruits, Vegetables, and Starches that Last
Apples and bell peppers outlast softer fruits in lunchboxes. For starches, try:
- Whole-wheat pita (stays soft 2 days)
- Pre-cooked beans in pouches
- Dehydrated veggie chips
Easy-to-Assemble Meal Combinations
My current favorite? Crumble rosemary crackers over olive-studded pasta salad. Need faster options?
- PB + banana roll-ups in tortillas
- Chicken salad with crushed nuts instead of mayo
- Dried fruit mixed with dark chocolate cookies
Smart Strategies and Tools for Meal Prep on the Go
Ever opened your lunch bag to find soggy bread or leaked dressing? I’ve been there—standing in a parking lot with a ruined wrap, vowing to fix my container game. The right tools transform chaotic lunch packing into a streamlined process, whether you’re juggling back-to-back meetings or weekend grocery runs.
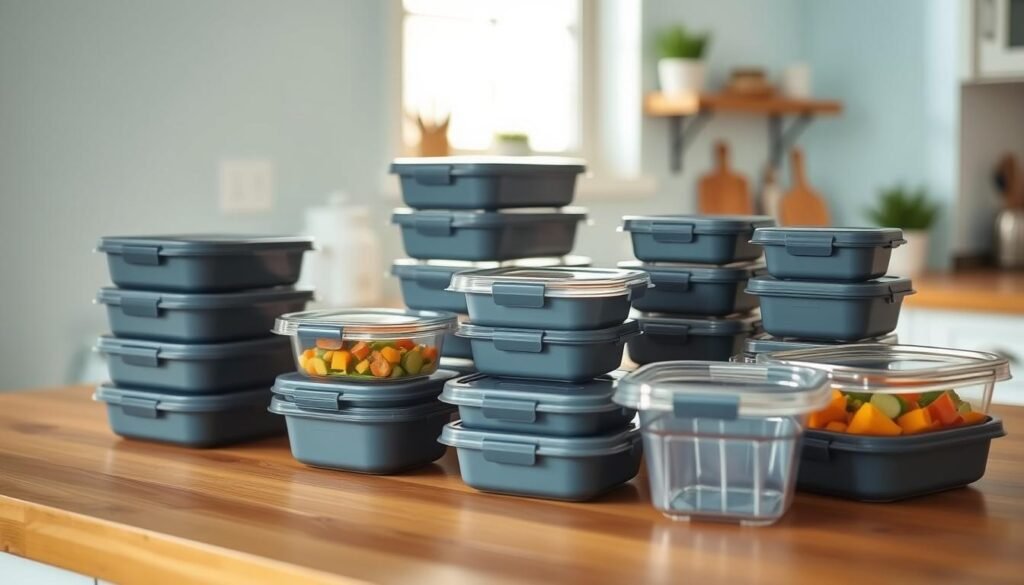
Choosing the Right Containers and Lunch Bags
My cabinet used to overflow with mismatched plastic boxes until I discovered 2-compartment glass containers. They’re leak-proof, microwave-safe, and keep celery sticks crisp beside chicken sandwiches. For salads, wide-mouth thermoses maintain temperature better than traditional bowls. Pro tip: Place a folded paper towel under lids to absorb excess moisture from fruits or veggies.
Planning and Portion Control
Sunday nights became smoother when I started labeling mini containers for nuts, olives, and dressings. Here’s my system:
- Group similar items on your grocery list (e.g., “crunchy veggies” instead of “celery + carrots”)
- Pre-portion trail mix into reusable bags for grab-and-go snacks
- Store bread separately in beeswax wraps to prevent sogginess
One teacher client told me, “Using portioned containers cut my lunch prep time in half.” It’s true—when everything has its place, you’re less likely to overpack or waste food mid-week.
I’ll never forget the time my lunch bag spent a sunny afternoon in the car—peanut butter cookies turned into a melted mess. Now I know: safety and creativity go hand-in-hand when building shelf-stable meals. The right combos—like almond butter drizzled over apple slices or roasted chickpeas with pita—keep things interesting while staying out of the temperature danger zone.
Remember these essentials: airtight containers are non-negotiable, acidic sauces add flavor and protection, and strategic layering prevents sogginess. Swap mayo for smashed beans in wraps, or pack olives and nuts for quick crunch. One teacher client swears by her “desk drawer pantry” stocked with mini packets of nut butter and dried fruits.
Your turn! Try mixing oven-dried peppers with whole-grain crackers, or celery sticks with sunflower seed dip. Share your no-fridge wins using #UnstressedLunches—I’d love to see your creations. And when you need fresh ideas, swing by Prepistry.com. We’ve got your back with real-world solutions that turn chaotic mornings into grab-and-go victories.
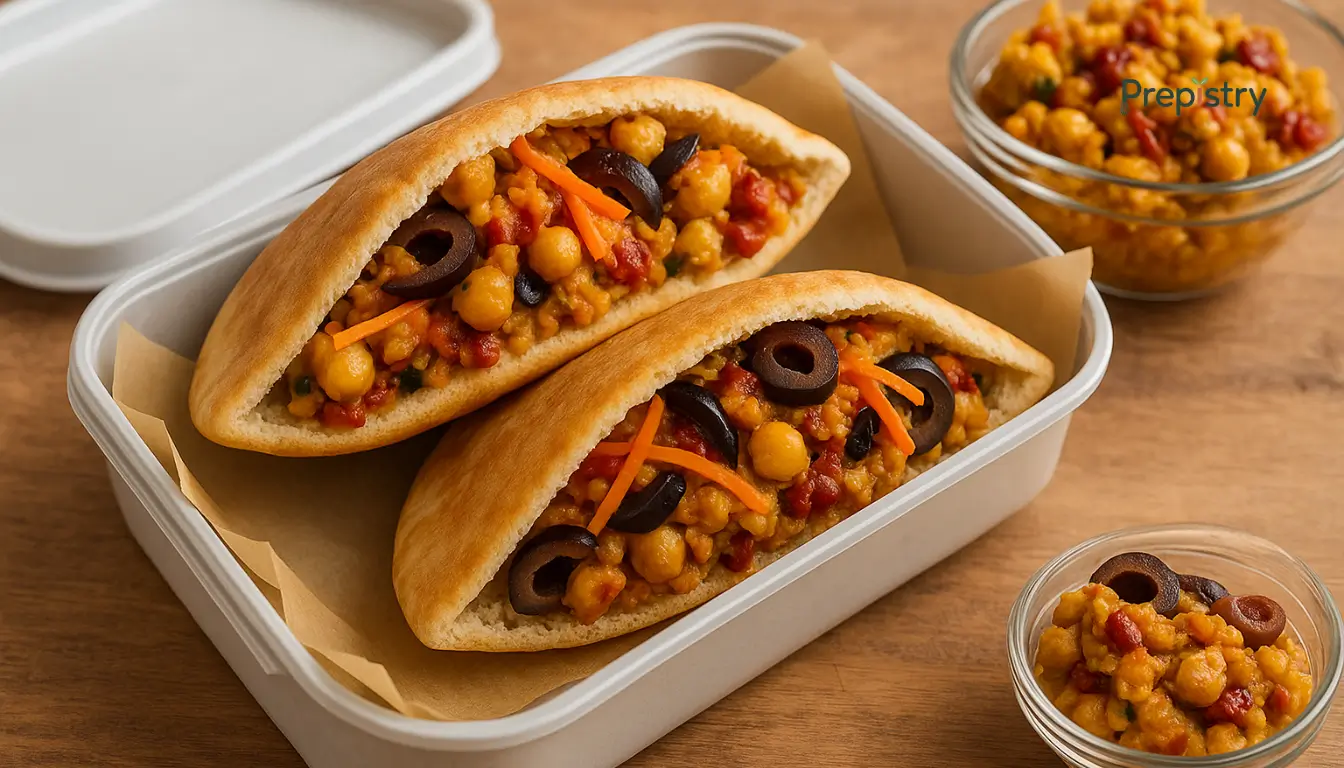
Spicy Sun-Dried Tomato & Chickpea Pita Packets
These vibrant pita packets are filled with a zesty mix of sun-dried tomatoes, spiced chickpeas, and fresh vegetables, offering a delightful Mediterranean-inspired meal perfect for lunch or a light dinner.
Nutrition Information
Equipment Needed
- Mixing bowl
- Skillet
- Spatula
- Knife
- Cutting board
Ingredients
-
1 can (15 oz) chickpeas, drained and rinsed
-
1/2 cup sun-dried tomatoes, chopped
-
1 tablespoon olive oil
-
1 teaspoon ground cumin
-
1/2 teaspoon smoked paprika
-
1/4 teaspoon cayenne pepper
-
Salt and pepper to taste
-
4 whole wheat pita breads
-
1 cup shredded lettuce
-
1/2 cup diced cucumber
-
1/2 cup cherry tomatoes, halved
-
1/4 cup red onion, thinly sliced
-
1/4 cup plain Greek yogurt or plant-based alternative
-
1 tablespoon lemon juice
-
1 tablespoon chopped fresh parsley
Instructions
Recipe Video
Spicy Sun-Dried Tomato & Chickpea Pita Packets Recipe
Learn how to make these delicious Spicy Sun-Dried Tomato & Chickpea Pita Packets, a perfect vegetarian meal packed with flavor and freshness.

