Meal Prep For Work Salad Jars That Stay Crisp
Get ready to simplify your lunchtime routine with our expert guide on meal prep for work salad jars. Find out how to prep delicious, crisp salads in advance.
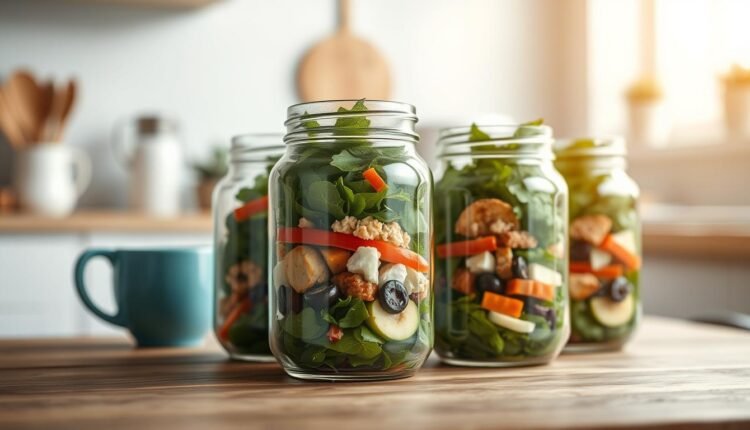
I’ve ruined my share of soggy spinach and wilted kale before discovering the magic of strategic stacking. Wide-mouth jars aren’t just for pickling – they’re your ticket to fresh, crunchy lunches that hold up for days. The trick? Treat your ingredients like building blocks rather than tossing everything together.
Start with tangy dressings at the base, followed by sturdy veggies like shredded carrots or cherry tomatoes. Soft cheeses and proteins come next, creating a protective barrier before adding delicate greens. This simple method – tested through countless kitchen experiments – keeps textures intact while maximizing flavor.
- Proper layering prevents sogginess better than any container hack
- Wide-mouth jars simplify assembly and portion control
- Five days of crisp greens achievable with smart ingredient order
Essentials for a Successful Salad Jar Prep
The secret to crisp salads all week lies in how you stack, not just what you pack. Let’s break down the blueprint for building jar lunches that actually stay fresh.
Your Jar’s Architectural Blueprint
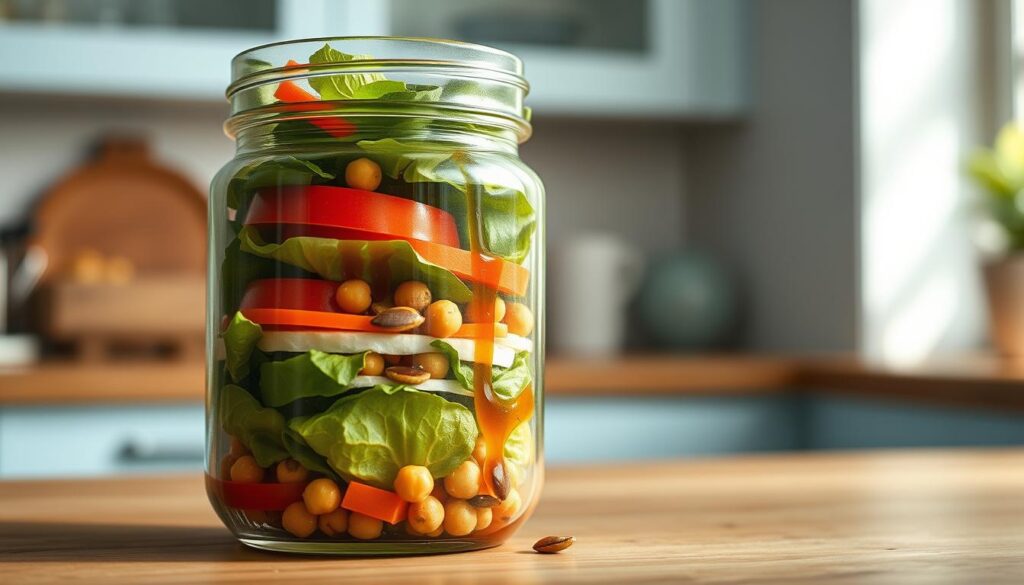
Think of your mason jar as a flavor skyscraper. Start with dressings or acidic elements like lemon juice at the base—they’ll marinate softer veggies without wilting greens. Crunchy elements (think shredded carrots or cucumbers) form the next foundation layer. I always add proteins and cheeses here—they act as moisture barriers.
Here’s my fail-safe order from bottom to top:
- Liquids & dressings
- Crunchy vegetables
- Proteins (chickpeas, grilled chicken)
- Softer cheeses or avocado
- Leafy greens
Tools That Make the Process Foolproof
You don’t need fancy equipment, but these essentials help:
- Wide-mouth jars (32-ounce works best)
- Sharp chef’s knife for quick chopping
- Prep bowls for ingredient staging
Save time by using pre-chopped veggies from the grocery salad bar. Rotisserie chicken becomes three days’ worth of protein in 15 minutes flat.
My personal rule? Always leave 1 inch of airspace at the top. This lets you shake ingredients gently before dumping into a bowl—no fork gymnastics required. Tighten lids firmly, but don’t overtighten; you want just enough seal to keep air out without warping the glass.
Mastering Meal Prep for Work Salad Jars
Ever found yourself scrambling for lunch ideas at 7 AM? That’s where strategic jar stacking becomes your weekday superhero. This method isn’t just about food storage—it’s a time-management hack disguised as lunch prep.

Why This Method is Perfect for the Work Week
Sunday afternoons in my kitchen involve roasting three trays of veggies while quinoa bubbles on the stove. Batch cooking transforms chaotic mornings into grab-and-go victories. Imagine five ready-to-toss lunches waiting in the fridge—each layer staying crisp thanks to smart stacking.
Here’s why busy professionals swear by this system:
- Decision fatigue vanishes: No more staring into the fridge at midnight
- Portion control happens automatically: Jars hold perfect single servings
- Flavor stays locked in: Dressings marinate veggies without drowning greens
Chef Callie Renner admits, “I used to skip lunch until 3 PM. Now my jars keep me fueled without kitchen detours.” Her current favorite combo? Spinach, roasted chickpeas, and sunflower seeds layered beneath tangy Greek yogurt dressing.
Rotate ingredients weekly to beat boredom. Try smoked salmon with dill one week, then curried chicken the next. The jar’s sealed environment keeps everything fresh—even avocado stays green beneath a protective cheese layer.
Best part? Assembly takes 20 minutes max once components are prepped. Store jars upright, and you’ve got lunches that stay restaurant-crisp until Friday’s crunch time.
Guide to Layering Ingredients Effectively
I once thought all mason jar creations were doomed to sogginess until a client showed me her five-day crispness hack. The magic? Treat your jar like a flavor lasagna—every layer has a purpose. Let me walk you through the method that keeps my Thursday lunches as vibrant as Monday’s.
Steps for Ideal Ingredient Order
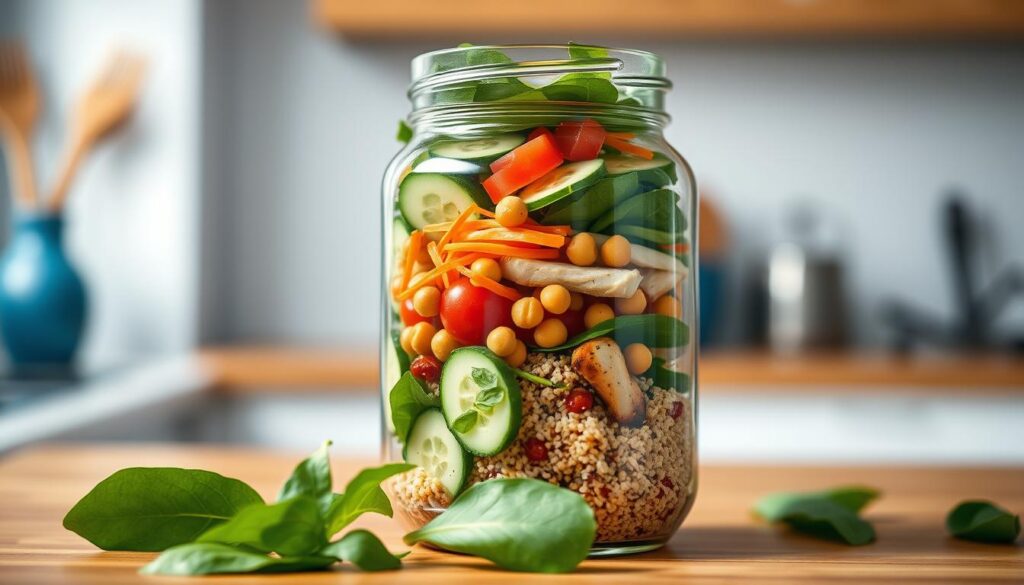
Think of your mason jar as a flavor timeline. Start with liquids at the base—they’ll marinate sturdy veggies without drowning delicate greens. Here’s the blueprint I’ve perfected through trial and error:
| Layer | Ingredients | Purpose |
|---|---|---|
| 1 (Bottom) | Dressing/lemon juice | Flavor foundation |
| 2 | Cucumbers, carrots, celery | Absorb flavors |
| 3 | Chicken, quinoa, feta | Moisture barrier |
| 4 (Top) | Spinach, arugula | Stay crisp |
Last week’s Greek-inspired jars proved this works—diced cucumbers stayed snappy beneath tzatziki, while kale remained perky until Friday. The key? Let each layer fully cover the one below it.
Tips to Prevent Sogginess and Maintain Crispness
My culinary school instructor taught me this trick: “Greens need airspace like plants need sunlight.” Leave ¾ inch between ingredients and the lid. When stacking:
- Use the back of a spoon to press grains into place
- Wrap avocado slices in cheesecloth before adding
- Store jars upright—no tilting!
For visual appeal, alternate colorful veggies between layers. Cherry tomatoes go above dressings but below proteins—their skins protect against liquid absorption. When ready to eat, shake vigorously for 10 seconds to distribute flavors evenly without bruising greens.
Creative Salad Jar Ingredient Combinations
My kitchen experiments have taught me that variety keeps lunch exciting. Let’s explore building blocks for flavor-packed jars that adapt to your cravings and the season.
Classic Options with Greens, Protein, and Veggies
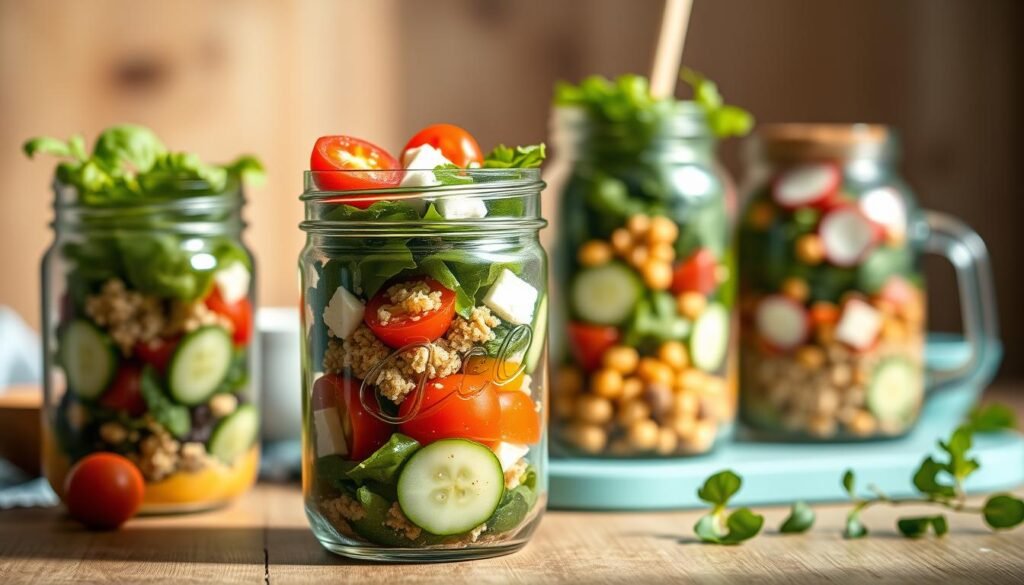
These timeless pairings never disappoint. Try these crowd-pleasing formulas:
| Base | Protein | Veggies | Toppings |
|---|---|---|---|
| Baby spinach | Grilled chicken | Cherry tomatoes | Feta crumbles |
| Mixed greens | Chickpeas | Shredded carrots | Sunflower seeds |
| Kale | Hard-boiled eggs | Bell peppers | Parmesan shavings |
For Mediterranean flair, layer quinoa with cucumbers and kalamata olives. A client’s favorite? “My kids devour the chicken avocado club version with Greek yogurt ranch,” says local teacher Mara Simmons.
Seasonal and Flavorful Variations
Rotate ingredients to match what’s fresh. Autumn calls for roasted beets with goat cheese and walnuts. Summer shines with corn, black beans, and lime dressing.
Try these swaps:
- Winter: Roasted squash + pomegranate seeds + kale
- Spring: Asparagus + radishes + lemon-tahini drizzle
Don’t fear sweet elements—apple slices tossed in lemon juice add crunch. Vegetarian? Substitute tempeh bacon for smoked turkey. The jar’s magic lies in customization while keeping textures balanced.
Optimizing Your Salad Jar with the Perfect Dressing
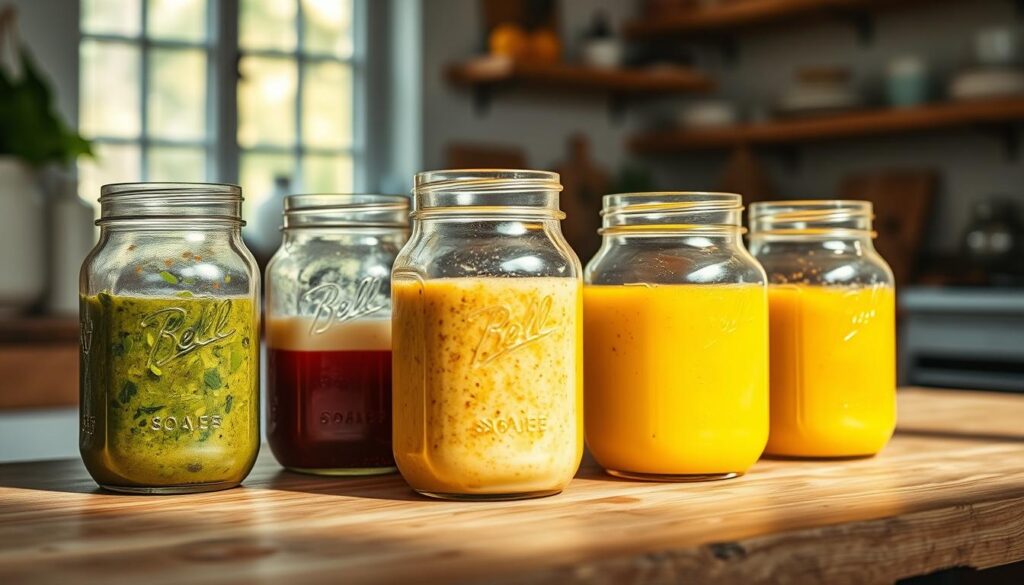
The right dressing can transform your jar creation from bland to brilliant. I learned this after a disastrous attempt with watery ranch that turned my kale into mush. Whether you’re team homemade or store-bought, strategic pairing makes all the difference.
Homemade vs. Store-Bought Dressings
| Type | Pros | Cons |
|---|---|---|
| Homemade | Customizable flavors No preservatives Cost-effective |
Requires prep time Shorter shelf life |
| Store-Bought | Instant convenience Consistent taste Travel-friendly |
Added sugars/sodium Limited flavor control |
My go-to base recipe works like magic: 3 parts olive oil, 1 part lemon juice or apple cider vinegar, plus a garlic clove. Shake in a small mason jar—it doubles as storage and measuring tool. For creamy options, blend Greek yogurt with herbs.
Seasonal pairings matter. Try these combos:
- Summer: Lime-cilantro vinaigrette with black beans
- Winter: Tahini-maple drizzle over roasted squash
Marinate proteins directly in dressing for flavor infusion. Chickpeas soaked in balsamic mixture become tangy texture bombs. If sogginess worries you, pack dressings in tiny containers—I repurpose baby food jars.
“A great dressing balances acidity, fat, and seasoning—it’s what turns chopped veggies into a meal,” says local nutritionist Dr. Elena Torres.
Store-bought fans: look for “oil-free” options to prevent separation. Either way, remember—your dressing choice determines whether ingredients sing together or fight for attention.
Tips for Long-Lasting Freshness and Easy Assembly
Transforming kitchen time into streamlined efficiency starts with smart preparation. Through years of testing, I’ve discovered shortcuts that keep ingredients vibrant while saving precious morning minutes.
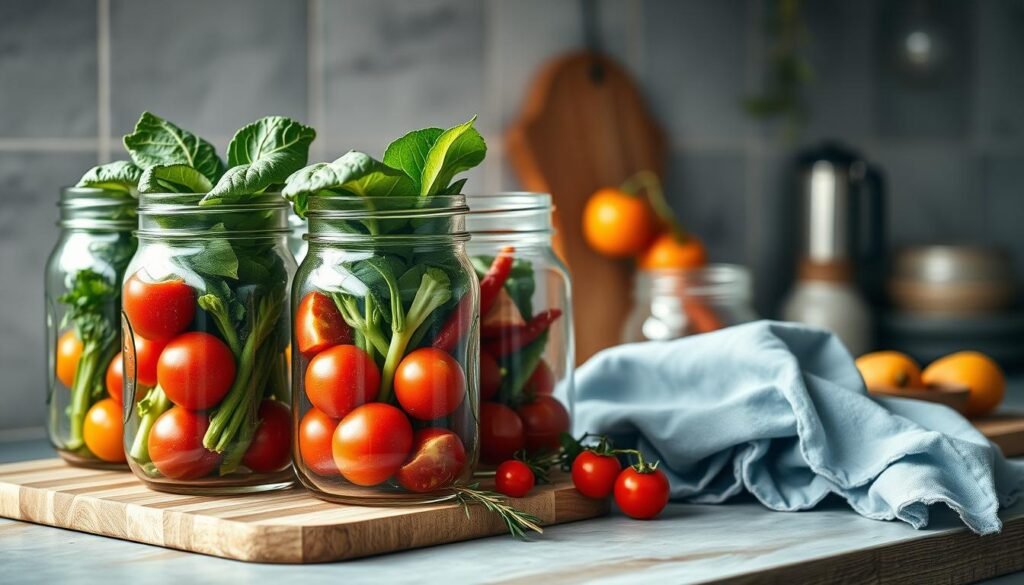
Pre-Prep Tricks That Pay Off
Sunday afternoons become power hours with these strategies:
- Roast two sheet pans of veggies while cooking grains
- Portion nuts/seeds into snack bags for quick access
- Store washed greens in breathable produce bags
Chef Callie’s time-saver? “I prep breakfast jars simultaneously—same ingredients, different combos.” Try this comparison:
| Pre-Prep | Store-Bought | Time Saved |
|---|---|---|
| Chopped veggies | Pre-cut mixes | 15 mins/day |
| Cooked quinoa | Microwave packs | 20 mins/week |
| Homemade dressing | Single-serve packets | 5 mins/jar |
Storage Secrets for Peak Freshness
Keep jars thriving all week with these rules:
- Always store upright—prevents dressing migration
- Leave 1″ space below lids for shaking room
- Use wide-mouth containers for easy layering
“Treat your fridge like a library—organized sections mean faster assembly,” advises Chef Callie. Her pro tip? Place newest jars behind older ones to maintain rotation.
When ready to eat, shake gently to mix flavors. Add a squeeze of citrus or crunchy topping for last-minute pizzazz. With these systems, you’ll spend less time prepping and more time savoring.
Perfecting jar salads transformed my chaotic lunch routine into something I actually look forward to. Through trial and error (and a few soggy disasters), I discovered that success lies in three simple principles: smart layering, creative flavor pairings, and embracing imperfection.
These vibrant layered creations offer more than convenience—they’re edible proof that good food survives busy schedules. The beauty? Once you master the stacking rhythm, you’ll spend less time prepping and more time enjoying crisp textures all week. Need inspiration? My friend’s free 30-day recipe guide jumpstarts creativity without overwhelming beginners.
Remember:
- Greens stay perky when protected by strategic layers
- Dressings evolve flavors instead of drowning them
- Batch prepping becomes meditative with the right systems
Last week, a reader shared her brilliant twist—layering smoked trout with pickled radishes. That’s the real magic: making each jar uniquely yours. Whether you’re fueling through back-to-back meetings or sneaking greens between soccer practices, this method adapts to your life’s flavor.
Ready to join our no-stress lunch revolution? Whip up your first creation tonight—I’ll be cheering you on from my kitchen. Share your colorful combos online using #JarMagic, and let’s prove that nourishing meals can be simple, satisfying, and anything but boring.
Mediterranean Chickpea & Couscous Salad Jars
A vibrant, make-ahead vegetarian salad layered in jars with fluffy couscous, crisp vegetables, and a zesty lemon-herb dressing. Perfect for meal prep, picnics, or quick lunches on the go.

Nutrition Information
Equipment Needed
- Medium saucepan
- Mixing bowl
- 4 mason jars (16 oz)
- Whisk
Ingredients
-
1 cup dry couscous
-
1 cup boiling water
-
1 can (15 oz) chickpeas, drained and rinsed
-
1 cup cherry tomatoes, halved
-
1 cup cucumber, diced
-
1/2 cup red bell pepper, diced
-
1/4 cup red onion, finely chopped
-
1/4 cup Kalamata olives, sliced
-
1/4 cup crumbled feta cheese (optional)
-
1/4 cup fresh parsley, chopped
-
Juice of 1 lemon
-
2 tablespoons olive oil
-
1 teaspoon dried oregano
-
Salt and pepper to taste
Instructions
Recipe Video
Mediterranean Chickpea & Couscous Salad Jars
Learn how to prepare vibrant Mediterranean Chickpea & Couscous Salad Jars, perfect for meal prep and on-the-go lunches.

