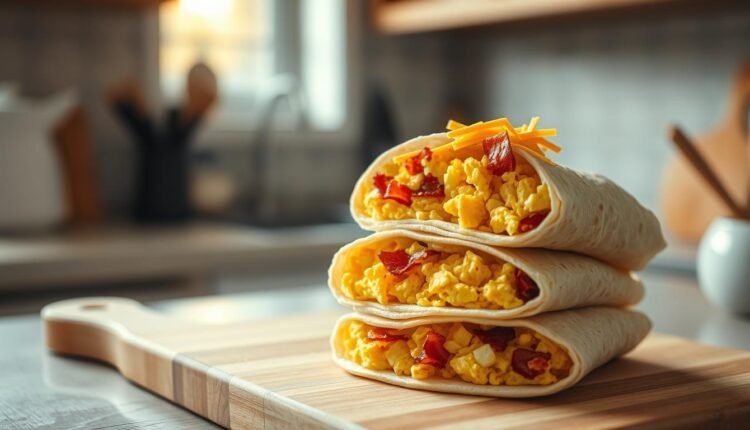
Make Ahead Breakfast Egg Wraps For Protein Packed Mornings
“Get your morning on track with make ahead breakfast egg wraps. A no-fuss, protein-rich breakfast solution for busy days.”
Ever burned your toast while scrambling to pack lunches? I’ve been there—spatula in one hand, coffee mug in the other, wondering why mornings feel like a race. That’s when I started prepping freezer-friendly burritos stuffed with fluffy eggs, sautéed veggies, and melty cheese. They’re my secret weapon for chaotic days.
These handheld meals take minutes to assemble but deliver hours of freedom. Whip up a batch during Sunday’s quiet moments, wrap them tightly, and stash them in the freezer. When hunger strikes, just reheat one in the skillet or microwave. No more skipping the most important meal of the day.
I’ve tested this recipe with real-life chaos in mind—think sticky fingers grabbing for snacks and last-minute school runs. Fresh spinach, bell peppers, and a sprinkle of salt and pepper keep things vibrant without fuss. The tortilla? It’s your edible napkin, holding everything together as you dash out the door.
Let me show you how a little planning turns frantic mornings into calm, protein-rich wins. You’ve got this.
Introduction & Benefits of Batch Cooking Breakfasts
What if your morning routine didn’t start with a kitchen tornado? Batch cooking turns frantic scrambles into smooth operations. I learned this after burning three pans of scrambled eggs in one week—turns out, multitasking doesn’t mix with hungry kids and ticking clocks.
Batch cooking breakfast can save you valuable time, but it requires planning. Ensure you have the right ingredients prepped ahead of time to avoid last-minute stress.
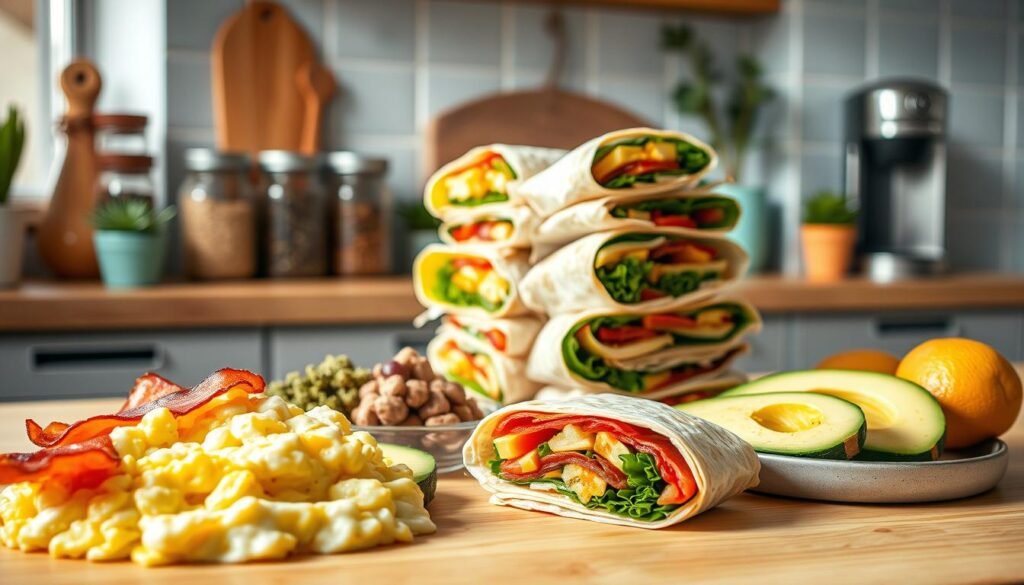
Your New Morning Superpower
Spending 45 minutes on Sunday lets you reclaim 30 minutes each weekday. Think: rolling eight burritos while your coffee brews. One reader shared,
“I’ve saved 12 hours this month—that’s a whole workday!”
| Method | Daily Prep | Batch Cooking |
|---|---|---|
| Time Spent | 15 mins/day | 45 mins/week |
| Weekly Total | 75 mins | 45 mins |
| Stress Level | High | Low |
Fuel That Lasts
Each wrap packs 18g protein from eggs and cheese—no powders needed. Add diced bell pepper or spinach, and you’ve covered half your daily veggie goals. My testers loved how customizable fillings kept meals exciting all week.
Busy nurse Jenna told me:
“These stay fresh-tasting even after freezing. The skillet method gives that just-cooked texture I crave.”
No more choosing betweennutritionand convenience.
While batch cooking can simplify your mornings, be mindful of portion sizes to avoid overeating or consuming too many calories at once. Balance is key.
Getting Started With Make Ahead Breakfast Egg Wraps
Prepping starts with the right tools and fresh picks. Trust me—I once tried using stale tortillas and ended up with burritos that cracked like dry leaves. Let’s set you up for success from the first chop.
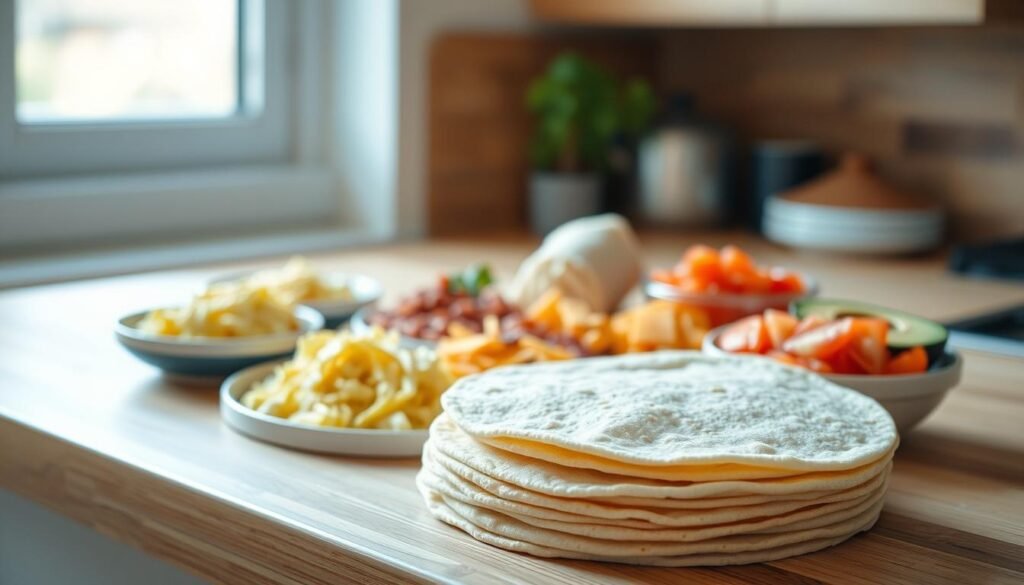
Gathering Your Ingredients and Essential Tools
Start with these flavor builders: 8 large eggs (farm-fresh if possible), sharp cheddar cheese, and crisp bell peppers. Red onions add zing, while spinach brings color without overpowering. Need a shortcut? Grab pre-shredded cheese—I won’t judge.
| Item | Purpose | Pro Tip |
|---|---|---|
| 10″ non-stick skillet | Even cooking | Heat on medium-low |
| Parchment squares | No-stick wrapping | Cut 8×8 inches |
| Mixing bowls | Veggie prep | Label lids |
Test kitchens swear by pre-chopping veggies Sunday night. Store onions and peppers together—they’re flavor buddies. Cheese stays separate until assembly to prevent sogginess.
New to this? Borrow my method: line up ingredients like a burrito assembly line. One reader texted:
“Organizing my station took 4 minutes but saved 10 during cooking!”
Remember: fresh ingredients matter most. Wilted spinach or rubbery eggs won’t magically improve in the freezer. You’ve got this—even if your first wrap looks more like a abstract art piece.
Step-by-Step Preparation and Assembly Process
Let’s transform those ingredients into golden parcels of morning fuel. I once rushed through this stage and ended up with scrambled eggs resembling rubber pellets—lesson learned. Follow these steps to avoid my mistakes.
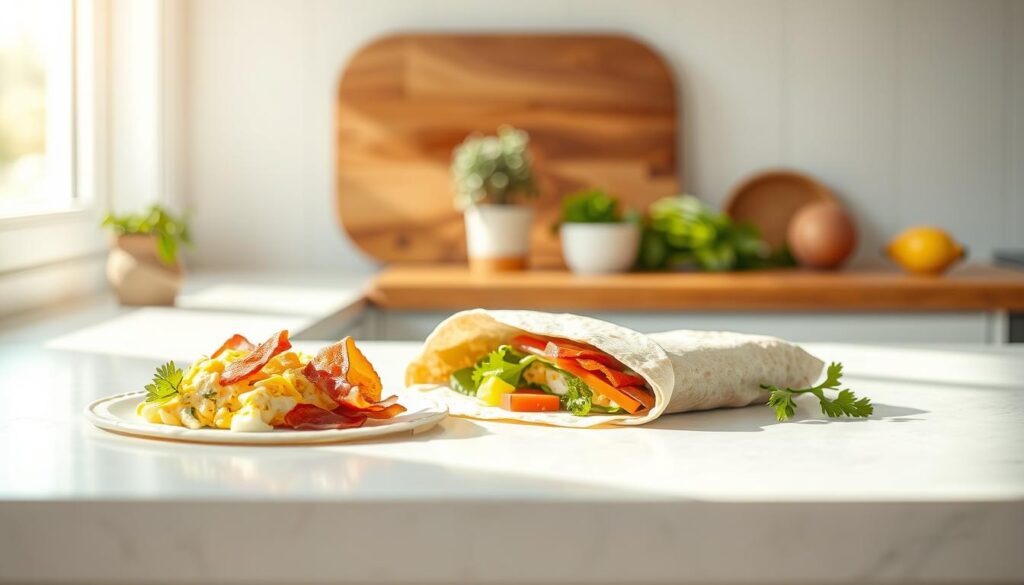
Preparing the Filling: Eggs, Vegetables, and Cheese
Heat your skillet with a teaspoon of butter on medium-low. Whisk 8 eggs with a pinch of salt pepper until frothy—this creates fluffy curds. Pour into the pan and stir gently with a silicone spatula. Remove from heat when they’re just set (about 3 minutes).
In the same pan, sauté diced onion and bell pepper until tender. Fold veggies into the eggs along with ½ cup shredded cheese. Pro tip: Let the mixture cool slightly to prevent soggy tortillas.
| Technique | Result | Tip |
|---|---|---|
| Gentle scrambling | Velvety texture | Use low heat |
| Veggie sauté | Enhanced sweetness | Don’t overcrowd pan |
| Cheese timing | Perfect melt | Add off heat |
Mastering the Rolling and Wrapping Techniques
Ever unrolled a burrito to find half the filling in your lap? Me too. Place tortillas on a clean surface and spoon filling slightly below center. Fold the bottom edge up, tuck sides inward, then roll tightly like a yoga mat.
Use parchment squares cut to 8×8 inches—they’re cling wrap’s eco-friendly cousin. Wrap each parcel snugly, then label with dates using freezer-safe tape. One reader confessed:
“My first attempt looked like a toddler’s art project. By number three, I felt like a sushi chef!”
Be careful when handling hot pans or stovetops during the preparation of eggs and vegetables to avoid burns or spills that could disrupt your meal prep.
Freezing and Labeling for Easy Reheat
Arrange wrapped bundles in a single layer on a baking sheet. Freeze for 2 hours before transferring to bags—this prevents sticking. For reheating, 60 seconds in the microwave (flip halfway) revives them beautifully. Prefer crispness? See Section 6 for skillet magic.
Remember: Well-sealed wraps stay fresh for 3 months. Write contents and dates clearly—future you will thank present you during chaotic mornings.
Creative Variations & Customization Ideas
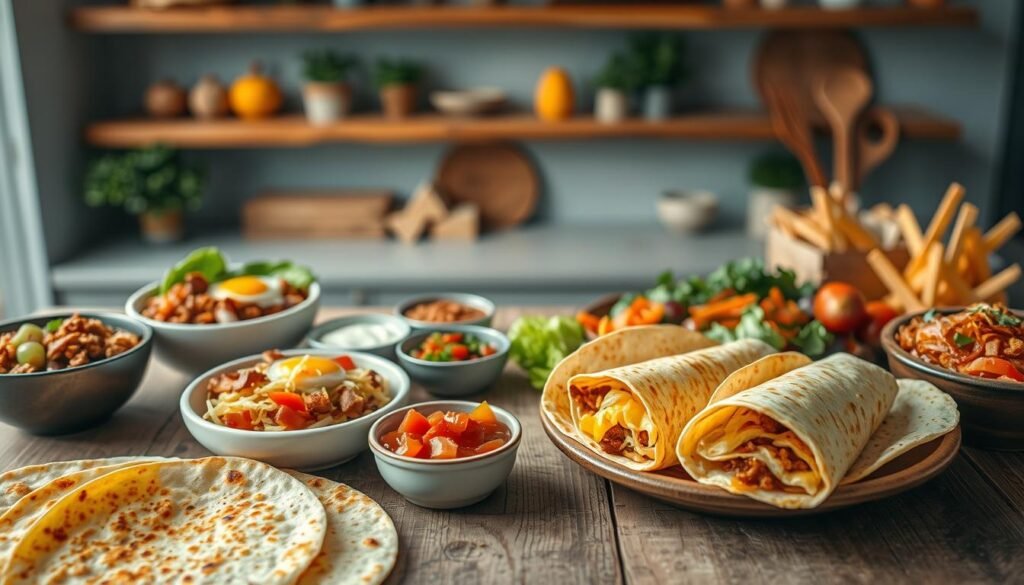
Your kitchen is a playground, not a production line. My early attempts at meal prep looked like beige food cubes—until I discovered the joy of customizing burritos. Now, each batch becomes a flavor experiment that keeps mornings exciting.
Swap Proteins Like a Pro
Black beans became my go-to after a reader raved about their smoky-sweet twist. Mash them with cumin for a vegetarian base, or layer slices of avocado for creaminess. Lean options like turkey bacon or shredded chicken breast work beautifully too—just pat them dry to avoid soggy tortillas.
| Protein Swap | Flavor Boost | Prep Tip |
|---|---|---|
| Black beans | Smoked paprika | Mash slightly |
| Turkey bacon | Maple glaze | Pre-cook until crisp |
| Tofu scramble | Turmeric + garlic | Press excess moisture |
Herb Gardens & Pantry Raids
Fresh cilantro or basil transforms basic burritos into vibrant meals. Last week, I stirred salsa verde into scrambled eggs—game changer. Pickled jalapeños add tangy heat, while roasted red peppers bring sweetness without extra prep time.
One mom in our cooking group shared:
“My kids now request ‘confetti burritos’ with diced zucchini and rainbow chard!”
Remember: There’s no “wrong” version here. Forgot the cheese? Sprinkle nutritional yeast post-reheat. Burritos are forgiving—unlike that soufflé I once attempted (RIP). Your taste buds, your rules.
Reheating and Storage Strategies
We’ve all been there—standing bleary-eyed at the microwave, praying our food doesn’t emerge rubbery or ice-cold in the middle. Nail these techniques, and your future self will savor every bite.
Microwave Reheating Tips for Quick Warmth
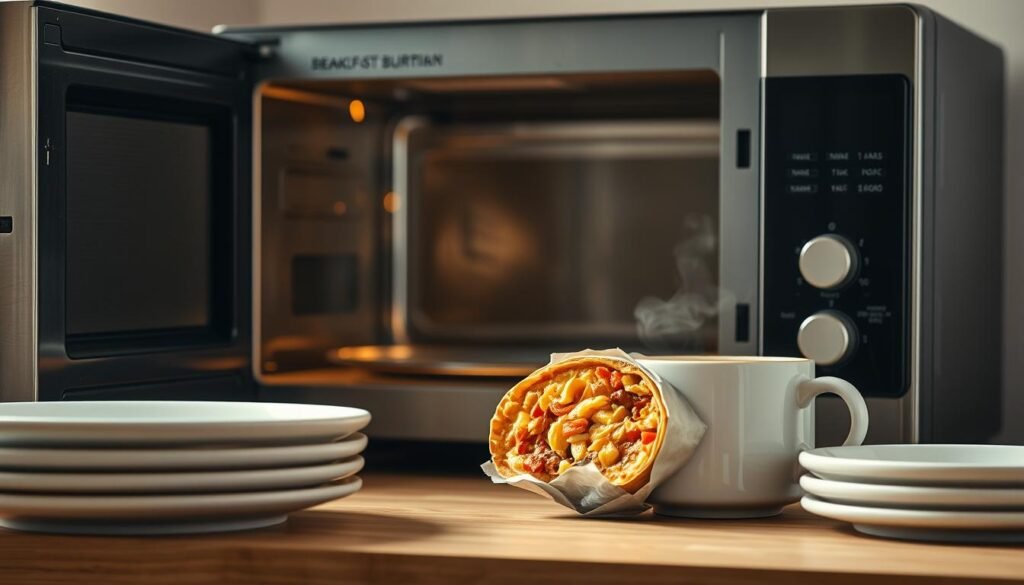
For rushed mornings: Unwrap the burrito and wrap it in a paper towel to trap steam. Microwave on high 60 seconds, flip, then 30 seconds more. Let it rest 1 minute—this stops eggs from overcooking. A teacher in our meal planning system for beginners group says:
“The paper towel trick changed everything—no more soggy tortillas!”
Skillet and Oven Methods for a Crispy Finish
Heat a dry skillet over medium. Cook frozen burrito 5-7 minutes, turning often. For oven lovers: Preheat to 375°F. Wrap in foil, bake 15 minutes. Unwrap and broil 1 minute for crunch.
| Method | Time | Texture |
|---|---|---|
| Microwave | 1-2 minutes | Soft |
| Skillet | 5-7 minutes | Crispy edges |
| Oven | 12-15 minutes | Crispy all over |
Proper Freezer & Refrigerator Storage Techniques
Wrap each burrito in parchment—not plastic—to prevent frostbite flavors. Store in labeled freezer bags for up to 3 months. Thaw overnight in the fridge before reheating. Burritos last 4 days refrigerated—perfect for weekly rotations.
The kitchen timer buzzes—you’re out the door with a hot meal in hand. Those Sunday prep sessions? They’re not just about filling your freezer. They’re about claiming back quiet moments in chaotic days. I’ve seen it work for nurses clocking 12-hour shifts and parents juggling virtual meetings.
These handheld treasures prove fast food doesn’t mean compromising on nutrition. With 18 grams of protein per serving from simple ingredients like eggs and veggies, they keep energy steady. A teacher in our cooking group swapped in black beans last month—now her kids beg for “confetti burritos” weekly.
Your reheating toolkit (skillet, microwave, or oven) adapts to any schedule. My neighbor swears by the 90-second microwave method between school drop-offs. Want that golden crunch? Unwrap and sear in a dry pan—it’s worth the extra three minutes.
This isn’t about perfection. My first batch resembled lumpy pillows, but they still fueled a week of wins. Ready to join the protein-packed breakfasts club? Roll up your sleeves, then roll up those tortillas. Your future self—sipping coffee while others scramble—will toast to your genius.
Savory Veggie Breakfast Taquitos
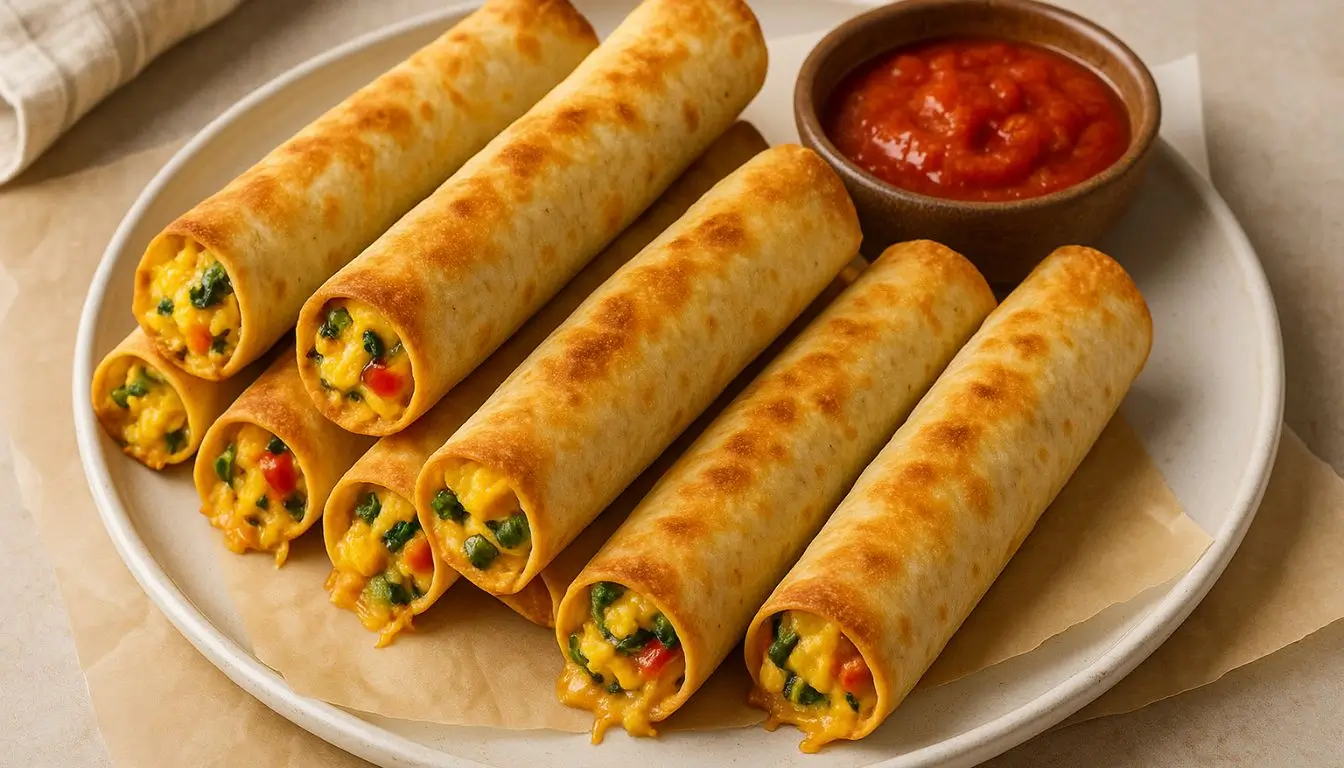
Crispy, cheesy, freezer-ready breakfast taquitos packed with fluffy eggs, colorful veggies, and protein-rich flavor. The perfect handheld solution for busy mornings.
Nutrition Information
Equipment Needed
- Large skillet
- Mixing bowls
- Baking sheet
- Parchment paper
- Toaster oven or oven
Ingredients
-
8 large eggs
-
1/4 cup milk (or unsweetened plant milk)
-
1 tablespoon olive oil
-
1/2 red onion, finely diced
-
1/2 red bell pepper, finely diced
-
1 cup baby spinach, chopped
-
3/4 cup shredded Monterey Jack cheese
-
1/2 teaspoon garlic powder
-
1/4 teaspoon smoked paprika
-
1/4 teaspoon salt
-
1/4 teaspoon black pepper
-
12 small flour tortillas (6-inch)
-
Olive oil spray for baking
Instructions
Recipe Video
Vegan Breakfast Taquitos | This Savory Vegan
These Vegan Breakfast Taquitos are filled with a tofu scramble, crispy soyrizo & avocado. Bake, fry or air fry for a tasty vegan breakfast!

