Lunch Meal Prep Reheating Tips For Fresh Taste
Get the best lunch meal prep reheating tips to maintain freshness and flavor. Our ultimate guide covers everything you need to know for perfect reheating.
What if your carefully planned lunches lost their appeal by Wednesday? I’ve learned that even the most flavorful batch-cooked dishes can fall flat without thoughtful revival. The secret isn’t just what you cook—it’s how you bring it back to life.
Batch cooking is a gift to your future self, but reheating deserves equal attention. Whether you’re juggling work deadlines or after-school activities, proper techniques preserve textures and flavors. A soggy wrap or dry casserole doesn’t have to be your reality—science-backed methods can rescue even slightly imperfect creations.
In this guide, we’ll walk through appliance-specific strategies (microwave magic included!) and common mistakes to sidestep. You’ll discover how small adjustments—like adjusting moisture levels or heat settings—can transform your midday routine. Let’s ensure your efforts taste as good on Friday as they did on Sunday.
Key Takeaways
- Reheating is as crucial as cooking for maintaining quality
- Practical solutions fit real-life time constraints
- Even “good enough” dishes can shine with proper techniques
Fundamentals of Meal Prep and Reheating
Ever opened your fridge to find yesterday’s dinner looking sad? Proper revival turns stored dishes into satisfying experiences. Let’s explore why technique matters as much as ingredients.

The Science Behind Food Revival
Reheating isn’t just warming – it’s chemistry. High heat zaps moisture from roasted veggies. Microwaves unevenly cook rice. I learned this the hard way with a dried-out chicken bake.
Different methods protect textures:
- Ovens restore crispness to breaded items
- Stovetops gently revive saucy spicy dishes
- Toaster ovens balance speed and quality
Cooking Method Matrices
| Original Method | Best Reheat Option | Pro Tip |
|---|---|---|
| Baked | Oven (350°F) | Cover with foil first 5 minutes |
| Pan-Fried | Skillet | Add 1 tsp water to prevent sticking |
| Steamed | Microwave | Damp paper towel layer |
Your Thursday pasta shouldn’t taste like cardboard. Match reheating tools to how you first cooked the food. This keeps flavors bright and textures intentional.
Choosing the Right Reheating Method For Your Meal Prep
Your reheating appliance choice can make or break Thursday’s dinner. I once ruined perfectly roasted vegetables by zapping them too long in the microwave – lesson learned! Each tool has strengths that match specific dishes.

Appliance Advantages Decoded
Microwave warriors: Ideal for saucy dishes and single portions. Heat that chili for 90 seconds, stirring halfway. Always use a microwave-safe container with a vented lid.
Stovetop saviors: Revive stir-fries in a skillet over medium heat. Add a splash of broth to loosen sticky rice. Perfect for crispy-edged leftovers.
Conventional ovens: Reheat casseroles at 350°F for 15-20 minutes. Cover with a loose foil tent to prevent drying. Great for crusty breads.
Toaster ovens bridge speed and quality – try 325°F for 8 minutes on fish filets. They’re energy-efficient for small batches.
Heat and Time Synergy
This table simplifies decision-making:
| Appliance | Best For | Settings | Pro Move |
|---|---|---|---|
| Microwave | Soups, steamed veggies | 1-3 minutes | Layer damp paper towel |
| Stove | Sauteed greens, meats | Medium heat | Use oil spray not water |
| Oven | Casseroles, baked goods | 350°F | Place in oven-safe dish |
| Toaster Oven | Pizza slices, roasted veggies | 325°F | Rotate halfway |
Starchy foods like pasta need lower heat (30-second microwave bursts). Dense foods like meatloaf require longer oven time – slice thinly first. Your meal rhythm matters: choose speed for chaotic days, precision for weekend preps.
Essential Tools and Techniques for Preserving Moisture
That moment when you open your container to find dry chicken or limp veggies? Texture rescue starts with smart moisture control. Through trial and error, I’ve discovered kitchen hacks that keep prepped dishes tasting like they just left the stove.

Steam Guardians: Paper Towels & Lids
Your microwave becomes a texture-saving ally with these tricks:
- Place damp paper towels over rice bowls – they release steam evenly
- Use microwave-safe lids with vent holes for saucy dishes
- For breads, wrap in a slightly wet towel for 20-second bursts
Last week, this method revived Thursday’s cilantro-lime rice perfectly. The grains stayed separate instead of clumping into a sticky mass.
Oven Armor: Foil & Liquid Boosters
Oven reheating requires different tactics. Try this comparison:
| Food Type | Covering Method | Moisture Boost |
|---|---|---|
| Casseroles | Foil tent | 1 tbsp broth |
| Roasted veggies | Parchment layer | Oil spray |
| Meat proteins | Foil wrap | 2 tsp sauce |
For freezer-to-fridge transitions, let dishes thaw overnight. This prevents liquid separation in creamy sauces. Always check moisture levels before reheating – add a splash of water to grains that look parched.
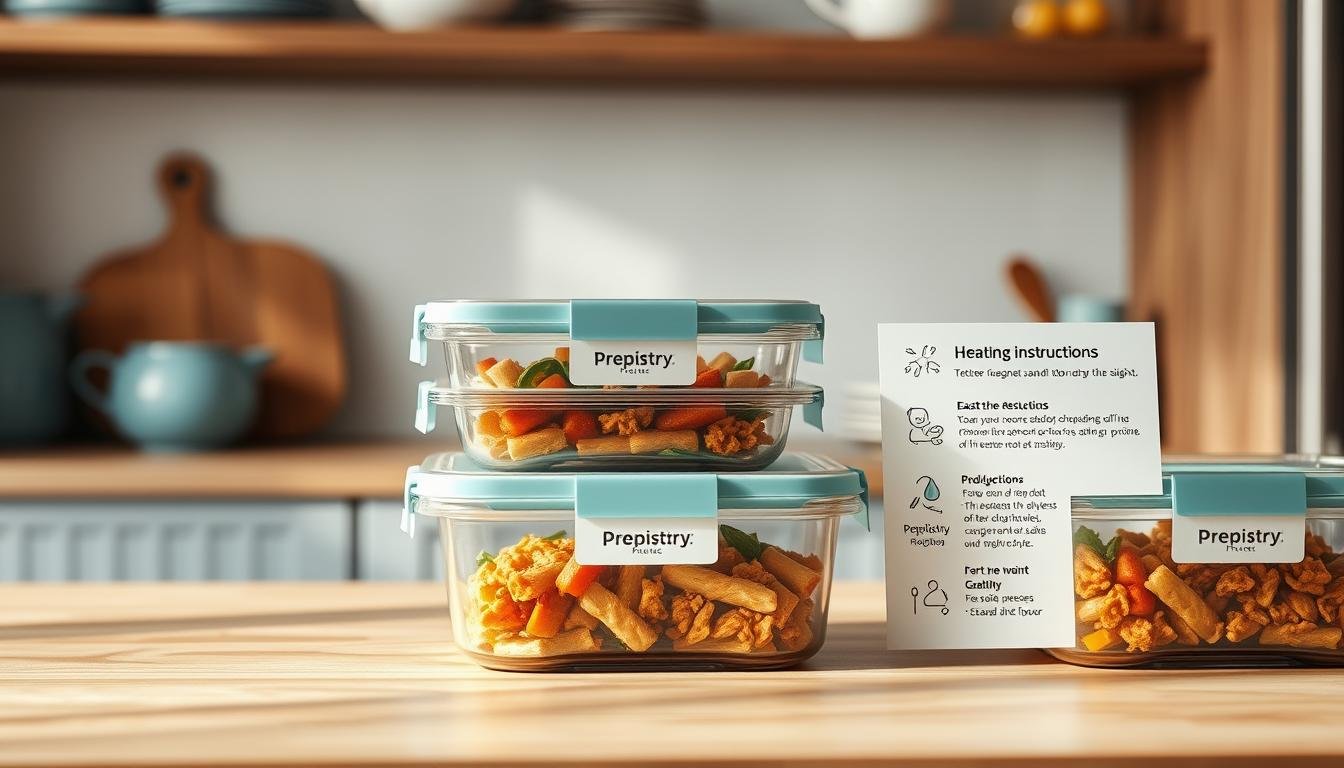
Pro tip: Store sauces separately in small containers. Toss pasta or proteins with them just before warming. Your future self will thank you for that crispy-to-soft ratio magic.
lunch meal prep reheating tips
Reviving your prepped creations to their full potential requires understanding their cooking history. Think of reheating as finishing what you started – gentle heat for simmered dishes, crisp heat for baked favorites. The science of reviving leftovers shows that matching your approach to the original method preserves both flavor and texture.

Matching Reheating Methods with Original Cooking Processes
That stir-fry you perfected in a wok? It deserves sizzle, not microwave steam. Here’s why method mirroring works:
- Oven-baked casseroles regain golden edges when reheated at 325°F
- Stovetop-seared proteins stay juicy with a quick pan toss
- Steamed veggies maintain brightness with short microwave bursts
Last Tuesday’s roasted sweet potatoes taught me this lesson. Nuking them created mush, but 10 minutes in the toaster oven restored caramelized perfection.
Optimizing Heat for Flavor and Texture
Adjust your appliance settings like a volume knob – sometimes low and slow wins. Try these adjustments:
| Food Type | Ideal Temp | Time Range |
|---|---|---|
| Creamy sauces | Medium-low | 2-4 minutes |
| Crunchy toppings | High heat | Under 5 minutes |
| Delicate grains | 50% power | 1-minute intervals |
If your food seems lackluster, lower the heat by 25°F and add 2 extra minutes. This gentle approach coaxes out flavors without sacrificing moisture. Your taste buds will notice the difference.
Reheating Leftovers: Tips From Batch Cooking Experts
Professional meal preppers know rice revival is both art and science. I once transformed Thursday’s brick-hard quinoa into fluffy perfection using methods shared by culinary colleagues. Let’s explore how to breathe life back into pantry staples without losing their essence.

Best Practices for Rice, Grains, and Sauces
Fluffy grains start with smart moisture control. For microwave revival:
- Spread rice in a shallow microwave-safe dish
- Sprinkle 1 tbsp water per cup
- Cover with a damp paper towel
- Heat 1 minute, stir, repeat in 30-second bursts
Oven methods work best for larger batches. Preheat to 300°F, mix grains with broth, and cover tightly with foil. Bake 15-20 minutes until steam loosens every kernel. Tested this last week with farro – results rivaled fresh-cooked texture.
| Portion Size | Appliance | Time |
|---|---|---|
| 1-2 cups | Microwave | 2-3 minutes |
| 3-4 cups | Oven | 12-15 minutes |
| Freezer stash | Stovetop | 8-10 minutes |
Creamy sauces demand gentle heat. Warm alfredo or curry on low, stirring every 90 seconds. For microwave safety, use 50% power and stop when edges bubble. My Tuesday lunch rescue? Revived coconut curry with perfectly tender chickpeas.
Batch cooking veterans swear by the “stir and peek” method. Check grains halfway, adjusting moisture as needed. These small interventions prevent the dreaded mush while saving precious minutes during hectic days.
Avoiding Common Pitfalls in Reheating Prepped Meals
Ever pulled a meal from the fridge only to find it’s lost its spark? Even well-crafted dishes can disappoint when revived incorrectly. Let’s tackle three stealthy saboteurs: texture killers, safety gaps, and flavor fade.

Preventing Dryness, Overcooking, and Sogginess
I once turned Thursday’s salmon into jerky by microwaving too long. Now I follow this battle plan:
- Dryness fix: Add 1 tsp broth to proteins before oven reheating
- Sogginess stopper: Use wire racks for crispy items like roasted veggies
- Timing trick: Set timers 30% shorter than recipe suggests
This comparison chart helps course-correct:
| Issue | Appliance | Solution |
|---|---|---|
| Rubbery eggs | Microwave | 50% power + damp towel |
| Burnt edges | Oven | Lower rack position |
| Mushy grains | Stovetop | Steam with lid ajar |
Maintaining Food Safety and Nutrient Integrity
The USDA confirms: foods need to reach 165°F internally. I keep a thermometer in my lunch bag. For nutrient preservation:
- Reheat soups once to avoid vitamin loss
- Steam veggies instead of boiling during prep
- Store freezer-friendly breakfasts in portioned containers
Last week’s spinach frittata taught me this: checking multiple spots with a thermometer prevents cold zones. Rotate dishes halfway through warming – your immune system and taste buds will notice the difference.
Innovative Reheating Tricks for Diverse Prepped Recipes
That crispy casserole topping turned soggy in storage? Let’s fix that with unconventional kitchen hacks. Through countless test batches (and a few burnt paninis), I’ve discovered clever ways to make Thursday’s meal prep taste like it just left the oven—without fancy equipment.

Beyond Basic Warming Techniques
Your sandwich deserves better than microwave sogginess. Try these game-changers:
- Waffle iron revival: Transform day-old grilled cheese into crispy perfection in 3 minutes
- Toaster oven magic: Place pizza slices on a wire rack to re-crisp the crust while melting toppings
- Steam-powered microwave hack: Wrap burritos in damp parchment before zapping to prevent tortilla cracks
Last week’s veggie lasagna taught me this trick: layer foil between cheese and sauce before freezing. Reheat at 375°F covered for 15 minutes, then uncovered for 5. The result? Golden bubbly top layer every time.
| Dish | Tool | Pro Move |
|---|---|---|
| Stuffed peppers | Air fryer | 8 minutes at 380°F |
| Grain bowls | Steamer basket | Layer greens on top |
| Quesadillas | Dry skillet | No oil needed |
“The best kitchen innovations come from solving real hunger emergencies.”
For multi-component dishes, reheat elements separately. Warm chicken in the oven while crisping rice in a skillet. Combine just before serving. This preserves contrasting textures that make food exciting.
Don’t fear experimentation—your coffee maker’s hot plate can gently warm soup in a pinch. The key? Match your creativity to your meal prep’s unique needs.
Your meal prep journey shouldn’t end with Friday’s container. Matching your reheating method to how food was originally cooked makes all the difference – oven-baked dishes crave dry heat, while stovetop creations need gentle sizzle. A damp paper towel in the microwave or foil tent in the oven can resurrect textures you thought were lost forever.
Time and temperature work together like kitchen teammates. Low-and-slow often beats high heat for preserving nutrients and moisture. I’ve revived countless dishes by adjusting settings by just 25°F – that small shift keeps meals tasting vibrant days later.
Remember: food safety isn’t negotiable. Always check internal temps reach 165°F, and store components separately when possible. Those clever tricks – like using a waffle iron for sandwiches or steaming grains – turn “good enough” into “wow” with minimal effort.
Every reheating success builds confidence. Keep this guide handy as you experiment, and share your wins! With these strategies, even hectic weeks can end with satisfying meals that taste like you just cooked them.
Crispy Chickpea & Sweet Potato Hash Pitas
These hearty vegetarian pitas are filled with crispy roasted chickpeas, sweet potato hash, and a creamy tahini sauce, making them perfect for a satisfying lunch or dinner.

Nutrition Information
Equipment Needed
- Baking sheet
- Mixing bowl
- Parchment paper
- Knife
- Cutting board
Ingredients
-
2 medium sweet potatoes, peeled and diced
-
1 can (15 oz) chickpeas, drained and rinsed
-
2 tablespoons olive oil
-
1 teaspoon smoked paprika
-
1/2 teaspoon garlic powder
-
Salt and pepper to taste
-
4 whole wheat pita breads
-
1 cup baby spinach leaves
-
1/2 cup cherry tomatoes, halved
-
1/4 cup red onion, thinly sliced
-
1/4 cup tahini
-
2 tablespoons lemon juice
-
2 tablespoons water
-
1 clove garlic, minced
Instructions

Recipe Video
Crispy Chickpea & Sweet Potato Hash Pitas Recipe
Learn how to make delicious Crispy Chickpea & Sweet Potato Hash Pitas with this easy-to-follow recipe video.