Freezer Breakfast Sandwiches Printable Labels For Organization
Organize your meal prep with ease using freezer breakfast sandwiches printable labels. Learn how to simplify your morning routine with our step-by-step guide.
What if your morning routine could start with zero stress and maximum flavor? As a chef and mom of two, I’ve learned that the secret to calm mornings lies in one often-overlooked tool: a well-organized stash of ready-to-go meals. The right system turns chaos into calm—and it all starts with clear labeling.
Through years of testing (and occasional freezer burn casualties), I’ve found that free printable labels transform how we store and track homemade meals. They’re not just pretty tags—they’re your roadmap to avoiding wasted food and last-minute scrambles. My method uses simple tools you already own, like baking sheets for assembly-line prep, so you can focus on what matters: savoring that first bite of warm, cheesy goodness.
Here’s what we’ll cover:
- How labeled meals cut morning decision fatigue
- My tested technique for balancing flavor and food safety
Organizing Your Breakfast Routine
Ever feel like mornings are a race against the clock? As a chef and parent, I’ve discovered meal prep isn’t about perfection—it’s about creating shortcuts that work. Let’s talk about how strategic planning turns kitchen chaos into calm.

Why Meal Prep Is Essential
Prepping ahead slashes decision fatigue. Imagine grabbing a savory muffin sandwich instead of debating cereal vs toast. My go-to recipe combines crispy bacon, fluffy eggs, and melty cheese—all prepped in 30 minutes on Sunday.
“Batch cooking turns hectic mornings into grab-and-go victories,”
says Chef Callie. Store components separately in a glassdishto maintain textures.
The Advantages of a Well-Stocked Kitchen
A stocked icebox means endless options. Homemade sausage patties beat drive-thrus any day. See how simple swaps save time:
| Ingredient | Store-Bought | Homemade |
|---|---|---|
| Eggs | Microwave cup (45 sec) | Sheet-pan baked (12 min) |
| Bacon | Pre-cooked (30 sec) | Oven-crisped (18 min) |
| Muffins | Single-pack ($1.50) | Bulk-baked ($0.25) |
Need more make-ahead breakfast strategies? We’ll explore storage hacks next—because freshness matters as much as flavor.
Benefits of Freezer Breakfast Sandwich Preparation
Imagine starting your day with an extra 15 minutes because your morning meal’s already sorted. Strategic prep turns chaotic mornings into smooth routines—no more scrambling pans while hunting for car keys.

Using your oven transforms egg cooking from uneven stovetop messes to golden perfection. Bake a dozen at once on a sheet pan—they’ll come out fluffy every time. This method locks in moisture better than microwaving, keeping textures consistent for reheating.
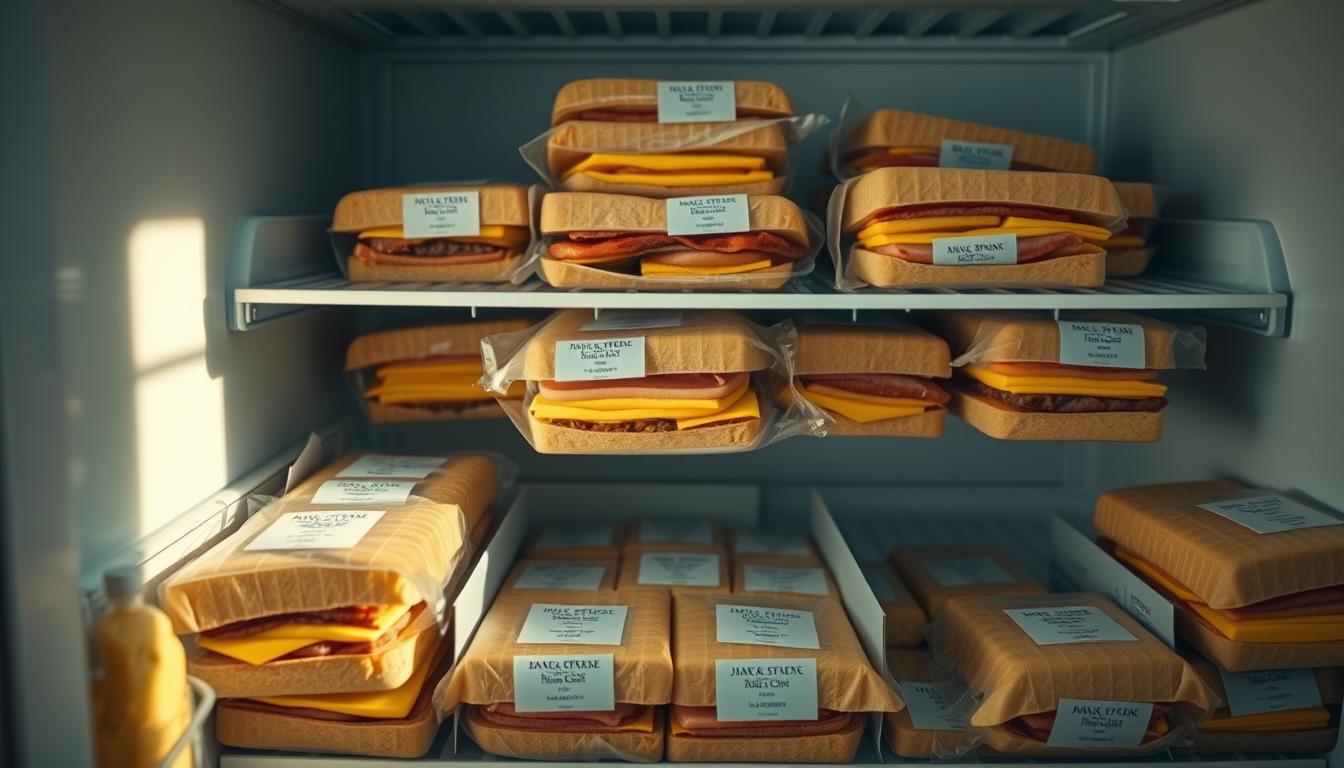
Storage matters as much as cooking. Wrap each sandwich in paper before sealing in a bag to prevent frost bites. Label with dates using painter’s tape—you’ll know exactly when you made that spicy sausage version. Studies show properly stored items maintain quality for up to three months.
Compare this to daily prep: oven-baked components take 20 minutes weekly versus 7 minutes each morning. Multiply that by 30 days—you’ve saved 3.5 hours monthly. Now that’s time better spent sipping coffee.
“Batch-baking eggs freed up my weekday mental space,”
a client recently shared. Mix proteins like turkey sausage with veggie options to keep flavors exciting. Your future self will thank you when you’re munching a warm, melty sandwich during back-to-back Zoom calls.
How to Create freezer breakfast sandwiches printable labels for Seamless Organization
Picture this: You’re half-awake, reaching for a quick meal. Clear labels become your kitchen GPS—no squinting at mystery packages. Let’s build a system that works while you’re still on your first sip of coffee.

Choosing the Right Printable Format
Standard printer paper holds hidden potential. Design labels that fit 8.5×11 sheets—no special tools needed. I prefer templates with bold recipe names and color-coded sections for cooking dates. Pro tip: Leave space for last-minute swaps like swapping ham for turkey sausage.
Labeling Techniques That Work
Essential details transform chaos into order. Always include:
- Recipe name (e.g., “Spicy Ham & Egg”)
- Prep date (mm/dd/yyyy)
- Microwave times (30 sec vs 45 sec)
For dairy-based ingredients like milk or cheese, note “Reheat gently” to prevent separation. A client once shared:
“Labels with reheating steps saved my scrambled eggs from becoming rubber!”
Integrating Labels Into Your System
Sync your labeling with storage habits. Use removable tape on glass containers—it withstands cold without leaving residue. Group items by time-sensitive labels (eat within 1 month) or protein type. When stacking meals, face labels outward like library books. This shaves seconds off your grab-and-go routine.
Remember: Great labels match ingredients to instructions. If your sandwich contains milk-based sauces, specify lower microwave power settings. Your future self will relish biting into perfectly warmed ham and eggs—no guesswork required.
Step-by-Step Guide to Assembling Your Sandwiches
Ever stared at a pile of ingredients wondering how they’ll become tomorrow’s savory win? Let’s transform those components into grab-and-go gold with my chef-tested assembly line. Trust me—it’s easier than folding a fitted sheet.

Preparing Eggs, Meats, and Cheeses
Start with your baked eggs—cooled but still slightly warm for easy handling. Use a biscuit cutter or upside-down glass to create uniform slices. This ensures even reheating and prevents sliding between layers. For meats, pat cooked bacon or sausage dry with a wrap paper towel to remove excess grease. Pro tip: Layer cheese directly against warm ingredients—it’ll stick better during freezing.
Effective Assembly and Wrapping Methods
Set up your workstation like a sandwich factory. Place split muffins on a baking sheet, then stack cheese, protein, and egg in that order. Why? The cheese acts as glue when melted. Press layers gently—no need to compact them.
Wrap each creation first in a wrap paper towel (absorbs moisture), then parchment. Twist the ends like candy wrappers for a snug fit. One client shared:
“This wrapping hack keeps my sandwiches from becoming hockey pucks!”
Snap a photo of your lineup and post it with #MealPrepMagic. You’ll inspire others while celebrating your kitchen win. Now, let’s talk about keeping these treasures fresh until you’re ready to enjoy them…
Prepping, Freezing, and Reheating Your Sandwiches
There’s nothing like biting into a warm, melty sandwich when time’s tight—unless it’s knowing you made it weeks ago. Let’s lock in that fresh-from-the-oven taste with storage and reheating methods that preserve every delicious layer.

Proper Freezer Storage Methods
Start by lining a baking dish with parchment paper—this prevents sticking and catches any drips. Assemble your creations (try Canadian bacon on English muffins for variety) directly on the sheet. Flash-freeze uncovered for 1 hour to set the shape.
Wrap each sandwich tightly in a fresh parchment paper square, then slide into labeled freezer bags. Squeeze out excess air to prevent ice crystals. Stored this way, they’ll stay fresh for up to 3 months. One reader shared:
“The parchment layer keeps my English muffins from getting soggy—genius!”
Reheating Options for Perfect Warmth
For busy mornings, microwave wrapped sandwiches for 60 seconds at 50% power. The parchment paper acts as a steam pouch, reviving eggs without making bread rubbery. Prefer crispiness? Unwrap and bake at 375°F for 12-15 oven minutes.
Mix up your proteins—swap regular ham for Canadian bacon every few batches. These small changes keep your rotation exciting while maintaining the same quick routine. As I tell my gluten-free clients, the right technique turns frozen meals into hot breakfasts faster than drive-thru lines.
Customizing Recipes for Your Busy Mornings
Your morning fuel shouldn’t taste like a copy-paste routine. Think of your meal prep as a choose-your-own-adventure book—swap ingredients to match cravings, diets, or what’s on sale. A client once transformed my basic recipe into a Mediterranean marvel with feta and spinach, proving creativity thrives within structure.

Alternate Ingredients and Flavor Boosters
Start with your base: use whole grain English muffins or gluten-free alternatives for texture variety. Prefer plant-based? Try roasted portobello slices instead of bacon. For dairy-free options, avocado spread adds creaminess without cheese. One rule: make sure your wrap paper or paper towel accommodates thicker fillings—fold edges like a burrito to contain juicy tomatoes.
Set up an assembly line with mix-and-match components. Label containers “Smoky” (paprika turkey), “Zesty” (pepper jack), or “Garden Fresh” (arugula). A dash of cooking spray on muffin halves prevents sticking during reheating. As a reader shared:
“Adding Everything Bagel seasoning made my sandwiches feel like a deluxe treat!”
Don’t overlook simple upgrades: fresh basil under melted cheese, sriracha swirls in eggs, or crispy kale chips layered with egg-free versions. These tweaks turn routine prep into culinary playtime—no chef’s hat required.
The real magic happens when your meal prep system becomes second nature. Those labeled packages in your icebox? They’re your trusty co-pilot, guiding you to golden-brown egg perfection in mere microwave seconds. Whether you prefer a quick zap or a 10-minute bake at 350 degrees, each bite delivers the satisfaction of thoughtful planning.
Set aside one hour weekly to build your stash—future you will marvel at how those small efforts stack up. Over freezer months, you’ll refine your process: maybe adding roasted peppers between cheese layers or perfecting that custardy egg texture. Every customized creation becomes a quiet culinary victory.
I’ve seen countless readers transform chaotic mornings using these steps. One recently shared: “My labeled meals turned rushed days into calm moments—I finally eat sitting down!” For more reheating mastery, explore our pro tips on balancing speed and flavor.
Remember: Great mornings aren’t about perfection. They’re about building systems that work while you’re still rubbing sleep from your eyes. Keep experimenting, stay organized, and let those melty, savory bites remind you—you’ve got this. Here’s to many stress-free sunrises ahead!
Savory Eggplant Parmesan Freezer Sandwiches
These hearty vegetarian sandwiches feature crispy baked eggplant, rich marinara sauce, and melted mozzarella, all nestled between toasted ciabatta rolls. Perfect for meal prep, they can be frozen and reheated for a quick and satisfying meal anytime.

Nutrition Information
Equipment Needed
- Baking sheet
- Wire rack
- Mixing bowls
- Knife
- Cutting board
- Oven
- Freezer-safe containers
Ingredients
-
1 large eggplant, sliced into 1/2-inch rounds
-
1 cup breadcrumbs
-
1/2 cup grated Parmesan cheese
-
2 eggs, beaten
-
2 cups marinara sauce
-
8 slices mozzarella cheese
-
4 ciabatta rolls, sliced
-
2 tablespoons olive oil
-
Salt and pepper to taste
-
Fresh basil leaves for garnish (optional)
Instructions

Recipe Video
Eggplant Parmesan Sandwich Recipe
Learn how to make delicious eggplant parmesan sandwiches that are perfect for freezing and reheating.