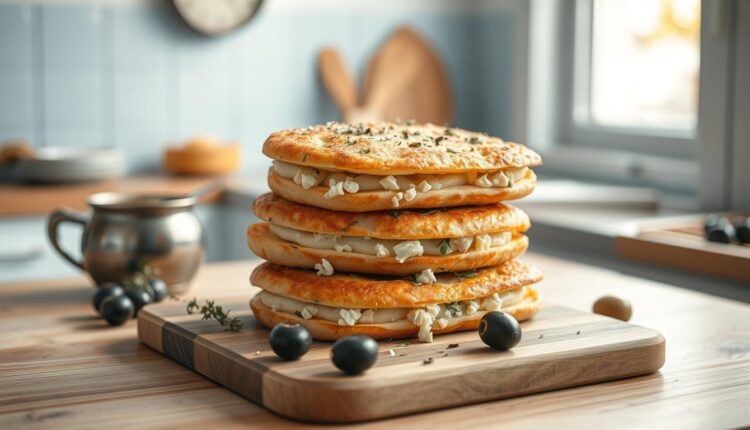
Freezer Breakfast Sandwiches Mediterranean Flavors With Feta
Get your morning on track with freezer breakfast sandwiches mediterranean flavors. Follow our easy guide to prep a batch for the week.
What if I told you there’s a way to savor bold, sun-kissed tastes before your coffee finishes brewing? Last month, after burning yet another rushed omelet, I realized my mornings needed a reset. That’s when I perfected these handheld treasures – savory pockets of fluffy eggs, crispy bacon, and tangy feta wrapped in golden bread.
This isn’t just about saving time (though you’ll gain back 15 minutes daily). It’s about transforming your AM routine with bright ingredients that wake up your taste buds. We’re talking sun-dried tomato aioli that zings, creamy cheese that crumbles perfectly, and protein that keeps you fueled till lunch.
I designed this guide for anyone who’s ever stared at their toaster wishing for more adventure. You’ll learn my batch-cooking secrets – from choosing the right ciabatta rolls to freezing techniques that preserve every flavorful layer. No fancy skills required, just a baking sheet and that one empty shelf in your icebox.
- Mediterranean twist on classic morning fuel
- Make-ahead magic for 12 grab-and-go meals
- Simple swaps for dietary needs
- Step-by-step assembly photos
The Rise of Freezer Breakfast Solutions
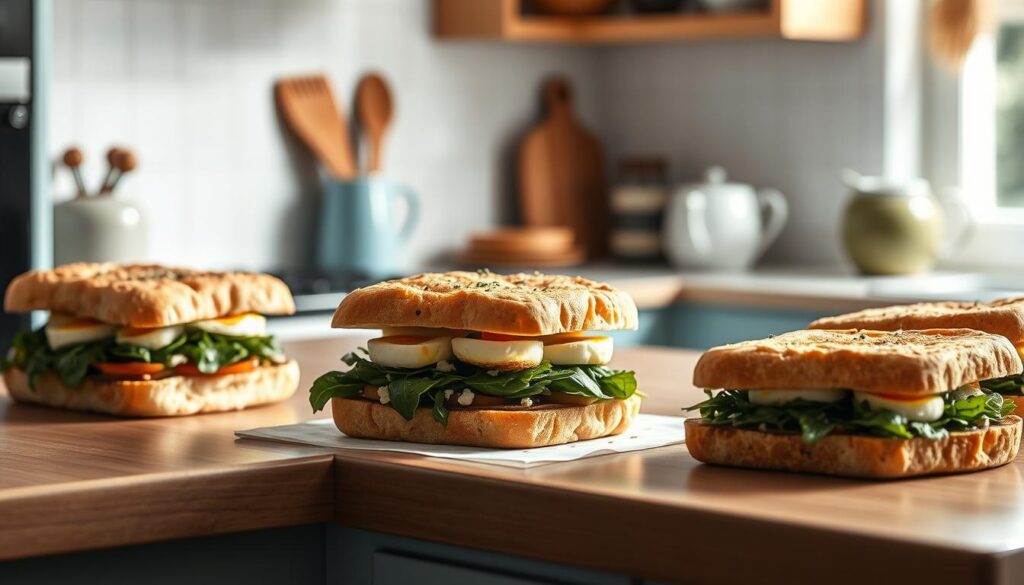
Mornings used to be chaos until I found a system that lets me enjoy a gourmet start without the rush. Last year, after forgetting my keys three times in one week (blame the burnt bacon distraction), I committed to reinventing my AM routine. That’s when I discovered the power of preparing breakfast in minutes through what experts call “the frozen revolution”—meals that taste fresh but require mere minutes to reheat.
Why This Method Works for Real Lives
Think beyond sad desk snacks. These handheld meals combine crispy bacon, fluffy eggs, and fresh spinach—all hugged by a ciabatta roll. The magic? Each component gets prepped separately using a baking sheet, then layered for maximum texture. I’ve tested seven different cheese melts to find feta’s perfect partner: a smoky sun-dried tomato spread.
Here’s the real win: you’re not just saving time. You’re creating edible insurance against life’s curveballs. That meeting that got moved up? Lunchbox surprise for the kids? Your future self will high-five you through the microwave door.
What makes these stacks work when others turn soggy? Paper-thin cucumber slices add crunch without moisture. Pre-toasted bread maintains its integrity during thawing. Strategic wrapping prevents freezer burn—no fancy equipment needed.
My neighbor Jen—mother of twin toddlers—calls them “emergency meals with dignity.” Whether you’re reheating between meetings or crisping them in the oven, you’re getting protein, veggies, and carbs in every bite. No more choosing between nourishment and punctuality.
Ingredients and Essential Tools
What’s the secret to a handheld meal that tastes like you spent hours but only took minutes? It starts with smart ingredient choices and tools that do the heavy lifting. After testing nine different egg brands last summer, I learned quality matters most when you’re freezing and reheating.

The Flavor Builders
Think of these as your edible power team:
- Farm-fresh eggs – They hold their texture better than cheaper options. I use 1/4 cup portions per sandwich for consistent layers
- Thick-cut bacon – Pre-cook a batch using your baking sheet. Blot excess grease to prevent sogginess
- Crumbled feta – Its salty tang cuts through rich ingredients without overpowering
- Baby spinach – Toss with lemon juice before freezing to maintain vibrant color
Tools That Earn Their Counter Space
You likely own these already:
- A nonstick pan (I swear by GreenPan’s ceramic line) for flawless egg sheets every time
- Half-sheet pans – Line them with parchment for zero-stick bacon prep
- Box grater – Freshly grated cheeses melt more evenly than pre-shredded
For bread, Dave’s Killer English Muffins handle freezing like champs. Their nooks catch every bit of tomato spread. Want a crispier base? Split and toast them before assembling – the extra 3 minutes pay off later.
Preparation Outline by Step
The secret to nailing your morning routine lives in your oven timer. Last Tuesday, while testing batch #12, I discovered three non-negotiable steps that make these handheld meals work. Let’s break them down like we’re prepping ingredients.

Bread Basics: Foundation First
Grab your favorite ciabatta or English muffins. Split them before toasting – this creates a crispy shield against sogginess. I use my toaster oven at 375°F for exactly 4 minutes. Pro tip: Let them cool completely. Warm bread steams up during wrapping, and nobody wants a damp sandwich.
Egg Excellence: Low and Slow Wins
Whisk 6 eggs with 1/4 cup milk until frothy. Heat your nonstick pan over medium-low – if it sizzles when you add butter, it’s too hot. Pour the mixture in, stirring gently with a silicone spatula. When eggs are halfway set (about 90 seconds), sprinkle in feta. Remove from heat while still slightly glossy. They’ll finish cooking during reheating.
| Method | Time | Texture |
|---|---|---|
| Oven | 12 minutes | Crispy edges |
| Toaster Oven | 8 minutes | Golden crust |
| Microwave | 45 seconds | Soft center |
The Art of Stacking
Start with cooled bread. Add a smear of sun-dried tomato spread – this acts as a moisture barrier. Layer egg patty, two bacon strips, and spinach. Wrap tightly in parchment paper, then foil. I label mine with “Reheat at 350°F – 10 mins” using a Sharpie. Works every time.
My neighbor’s teenage son calls these “better than drive-thru.” When you nail the prep, you’re not just making food. You’re creating mornings that taste like victory.
Embracing Mediterranean Flavors
Last spring, I almost tossed a block of feta into my compost bin. “Too salty,” I thought. Then I tried crumbling it over warm eggs – game changer. That salty punch transforms ordinary ingredients into something vibrant. Here’s how to harness that power.
Feta: The Salty Secret Weapon
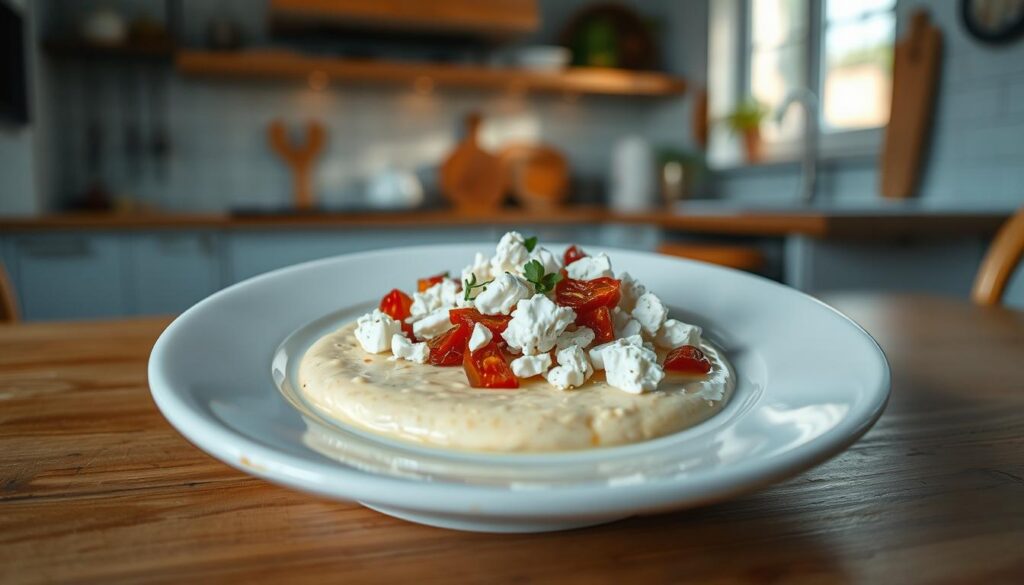
Unlike milder cheeses, feta holds its own against bold partners. Its crumbly texture stays intact during freezing, while the tang cuts through rich bacon. I use Bulgarian sheep’s milk feta – creamier than Greek varieties. Pro tip: Rinse it briefly if you prefer less salt.
Your New Favorite Spread
The aioli takes 3 minutes but tastes like a cafe upgrade. Here’s my no-fail ratio:
| Ingredient | Amount | Purpose |
|---|---|---|
| Sun-dried tomatoes | 1/2 cup | Sweet umami base |
| Greek yogurt | 1/4 cup | Creamy tang |
| Garlic | 1 clove | Depth |
| Lemon juice | 1 tbsp | Brightness |
Blitz everything in a food processor until smooth. For heat lovers, add chili flakes – my husband swears by hot sauce instead. This spread keeps refrigerated for a week, making it perfect for batch prep.
These flavor boosts turn basic ingredients into something special. Last week, my niece asked if I’d “put magic” in her sandwich. That’s the power of quality components working together.
Mastering Freezer Breakfast Sandwiches Mediterranean Flavors
Let me share a secret I learned during my most chaotic week: batch cooking isn’t about perfection—it’s about progress. Last Thursday, while juggling a broken dishwasher and a preschooler’s art project, I nailed down three stress-free tactics that’ll transform your prep game.
Smart Assembly for Busy Hands
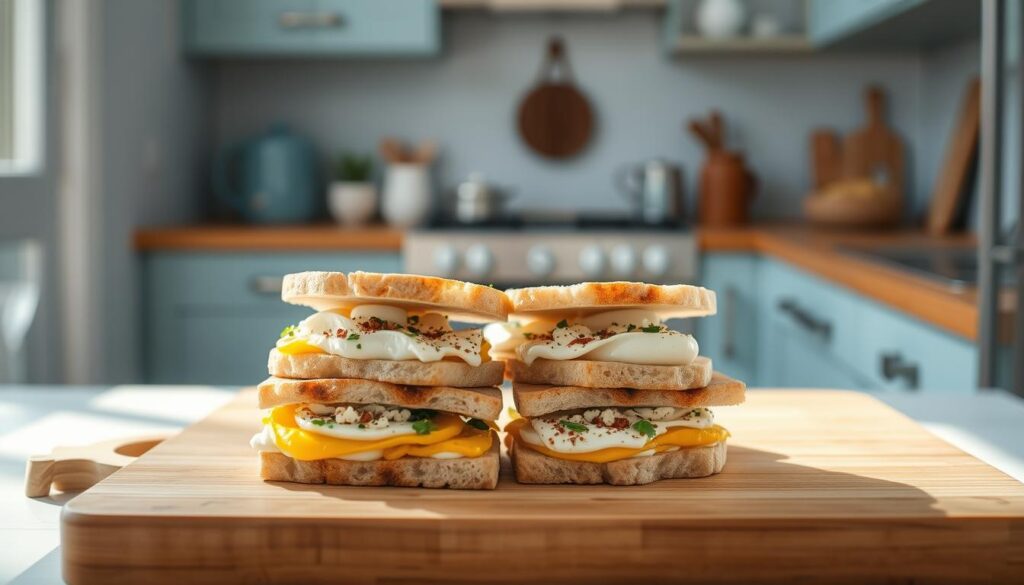
Flash-freezing changed everything for me. Lay cooked egg patties on a parchment-lined tray for 20 minutes before stacking—they won’t stick together. When building your make ahead creations, put the spread on both bread slices. This creates a moisture barrier that keeps greens crisp.
My favorite time-saver? Pre-portion everything into labeled deli containers. Bacon goes here, sliced tomatoes there. When assembly time comes, it’s like building LEGO towers—fast and foolproof.
For protein boosts, mix one teaspoon of oregano into scrambled eggs or layer in cottage cheese. Both options freeze beautifully and add staying power. Remember: slight variations between sandwiches won’t ruin your week—they’ll keep things interesting.
Here’s my Sunday ritual:
- Cook bacon in the oven while chopping veggies
- Whisk eggs in batches using the same sheet pan
- Assemble sandwiches directly on parchment squares
If you forget to toast the bread first? No panic. A quick oven reheat fixes most texture issues. The real tip is starting small—try six sandwiches instead of twelve. Success builds confidence faster than perfection builds resentment.
Freezing, Storage, and Reheating Techniques
Three weeks ago, my friend Sarah texted me a photo of a sad, soggy creation with the caption “Help – my masterpiece turned into mush!” Turns out she skipped one critical step in the freezing process. Let’s make sure your efforts stay delicious from freezer to plate.
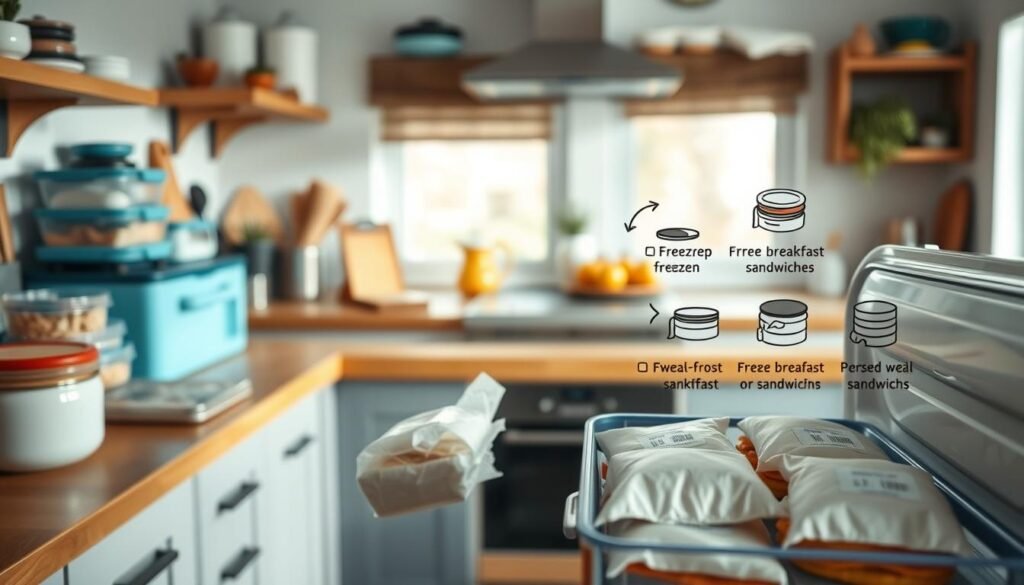
Proper Freezing Methods for Optimal Texture
Flash-freezing is your new best friend. Arrange assembled stacks on a baking sheet for 45 minutes before wrapping. This prevents ingredients from sticking together. I use parchment paper squares between each layer – it’s cheaper than wax paper and creates zero waste.
Wrap each cooled sandwich in two layers: parchment first, then foil. The paper absorbs excess moisture during thawing, while the foil blocks freezer odors. Store them upright in an airtight container – I repurpose cereal boxes lined with freezer bags.
Effective Reheating Tips: Microwave, Oven, and Toaster Oven
For the microwave: Unwrap completely. Place on a microwave-safe plate with a damp paper towel underneath. Heat for 45 seconds, flip, then 15 more seconds. The steam keeps eggs tender.
Oven method: Keep the foil on. Bake at 350 degrees for 12 minutes directly on the rack – this crisps the bread evenly. For toaster oven fans: Remove parchment, wrap in fresh foil, and heat for 8 minutes. Add fresh spinach after reheating for crunch.
Pro tip: If you’re meal prepping other items, try these protein-packed muffins alongside your sandwiches. They reheat beautifully using the same techniques!
Easy Ingredient Swaps for Diet-Friendly, Flavor-Packed Breakfasts
Last month, my friend Marco asked, “Can I make these without eggs?” That question sparked a kitchen experiment proving these handheld meals adapt beautifully. The beauty lies in their framework – swap components like building blocks while keeping the soul of the dish intact.
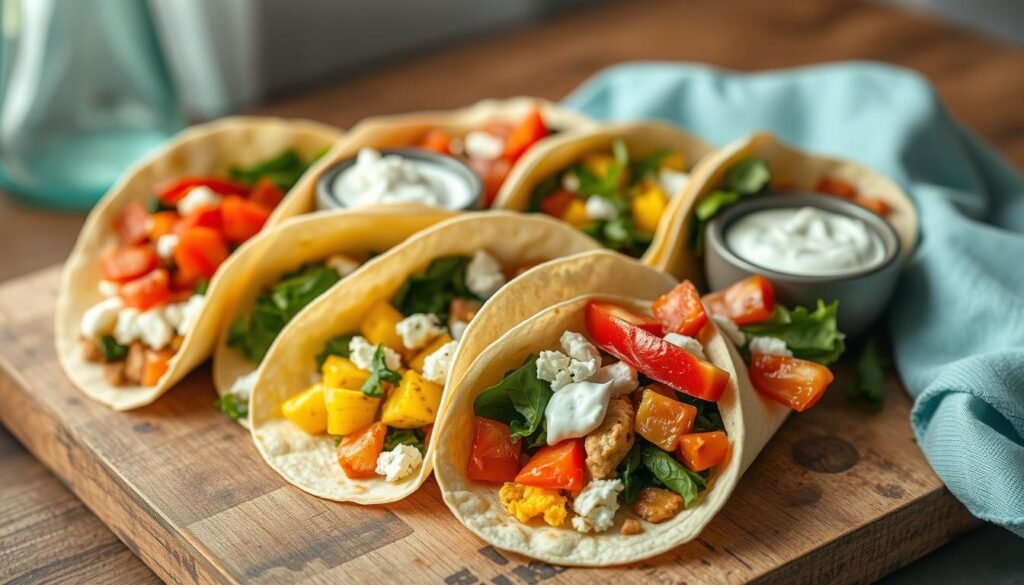
Creative Additions and Substitutions for Different Diets
For bacon lovers needing alternatives: turkey bacon crisps perfectly when baked at 400°F for 12 minutes. Plant-based options? Marinated tempeh strips add smoky depth. My cousin swears by coconut aminos-glazed mushrooms as her “meaty” substitute.
Wrap enthusiasts, rejoice! Swap ciabatta for whole-grain tortillas. Layer ingredients vertically rather than horizontally to prevent sogginess. I recently discovered collard green wraps work surprisingly well – blanch leaves briefly to soften.
“I use pepper jack instead of feta – gives my teens that kick they crave,” shares neighbor Lisa. Her tip? Freeze cheese separately to maintain texture.
Balancing flavors is simple. A squeeze of lemon brightens richer combos. For heat seekers, a dash of hot sauce mixed into Greek yogurt creates creamy spice. Roasted red peppers add sweetness without extra prep – jarred versions work beautifully.
Remember: moisture management matters most. Pat veggies dry before stacking. Pre-cook spinach to remove excess water. With smart swaps, you can craft entirely new creations while keeping that grab-and-go convenience we all need.
The secret to stress-free mornings isn’t more time—it’s better prep. After burning countless rushed meals myself, I can confidently say these handheld creations are game-changers. Crispy bacon, creamy feta, and fluffy eggs become something greater together—a morning ritual that feels indulgent yet takes minutes.
What makes this work? Starting with quality components matters. Farm-fresh eggs hold their texture, while good bread like English muffins stays crisp through freezing. The magic happens when you layer smart: a swipe of zesty spread here, a protein-packed patty there. My full recipe shows how simple swaps can make each bite yours.
Reheating is where the planning pays off. Whether using your oven at 350 degrees or a quick microwave zap, that first warm bite tastes like victory. Store them wrapped in parchment-lined foil—your future self will thank you when deadlines loom.
I still smile when my toaster dings, knowing I’ve outsmarted another chaotic morning. Give it a try. Tweak the ingredients, play with heat levels, or add a dash of hot sauce. Every batch brings you closer to mornings where nourishment and ease coexist.
Mediterranean Breakfast Pita Pockets
A delightful fusion of fresh Mediterranean flavors wrapped in warm pita bread, perfect for a nourishing start to your day.

Nutrition Information
Equipment Needed
- Skillet
- Mixing bowl
- Knife
- Cutting board
Ingredients
-
4 whole wheat pita breads
-
1 cup cherry tomatoes, halved
-
1 cucumber, diced
-
1/2 red onion, thinly sliced
-
1/2 cup Kalamata olives, pitted and sliced
-
1/2 cup crumbled feta cheese
-
1/4 cup fresh parsley, chopped
-
2 tablespoons olive oil
-
1 tablespoon lemon juice
-
Salt and pepper to taste
Instructions
Recipe Video
Mediterranean Breakfast Pita Pockets Recipe
Learn how to make delicious Mediterranean Breakfast Pita Pockets filled with fresh vegetables and herbs.

