Freezer Breakfast Sandwiches Gluten Free For Celiac Safety
Start your day right with our step-by-step guide on making freezer breakfast sandwiches gluten free, perfect for meal prep.
What if you could grab a hot, satisfying morning meal without risking cross-contamination or rushing? As someone who’s accidentally gluten-ed myself one too many times (hello, crumby toaster chaos), I’ve learned that safe, speedy breakfasts start with smart prep.
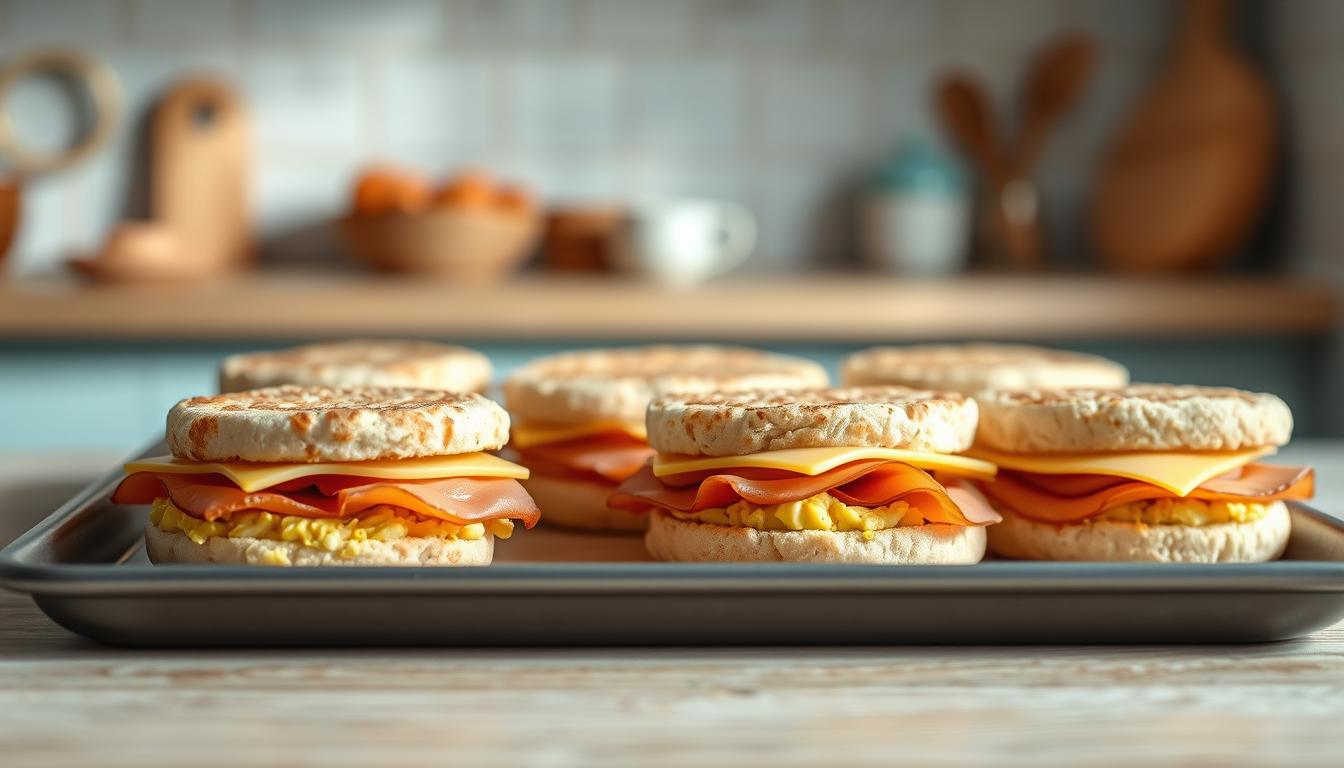
These handheld meals take just 30 minutes to assemble and stay fresh for two months in the freezer. Use sturdy gluten-free english muffins—they hold up better than regular ones when reheated. Wrap each sandwich in parchment before freezing to lock in flavor and prevent icy textures.
My bacon-egg-cheese version is endlessly adaptable. Swap in turkey sausage, dairy-free cheese, or roasted veggies. Batch-cooking ensures you’re covered during hectic weeks, and clear instructions eliminate guesswork. Trust me: Your future self will thank you during those 7 AM scrambles.
- Prep 8-10 sandwiches in 30 minutes for grab-and-go mornings
- Gluten-free english muffins stay intact during freezing/reheating
- Parchment wrapping prevents freezer burn without plastic waste
Gluten-Free Freezer Breakfast Sandwiches
Mornings used to leave me scrambling until I discovered the power of batch-cooked meals. One Sunday session with a baking sheet and a dozen eggs changed everything—now my A.M. routine feels almost luxurious. The magic lies in building a system that works while you sleep.

Why This Method Becomes Your Kitchen Sidekick
Prepping multiple meals at once eliminates those “uh-oh” moments when you’re racing against the clock. I learned (the hard way) that properly preheating your oven ensures even cooking for the egg mixture—no more rubbery edges or underdone centers. Layer your proteins and cheeses while everything’s still warm; it helps the flavors marry beautifully during freezing.
From Frantic to Focused in 90 Seconds
Stashing these handheld meals means saying goodbye to skipped breakfasts or questionable drive-thru choices. The combo of lean protein, melty cheese, and sturdy carbs keeps energy steady until lunch—no mid-morning crash. Pro tip: Let sandwiches cool completely on a wire rack before wrapping to prevent sogginess.
I won’t pretend meal prepping feels thrilling in the moment. But when you’re sipping coffee while your breakfast sandwich reheats? That’s the kind of kitchen victory that makes every minute worth it.
Principal Ingredients and Culinary Equipmen
I once ruined a whole batch of meal prep with soggy bread that disintegrated in the microwave. Lesson learned: Your foundation matters. Let’s talk about building blocks that hold up through freezing and reheating.
Choosing the Right English Muffins and Proteins
Certified gluten-free English muffins are non-negotiable for celiac safety. Look for brands with sturdy nooks and crannies—they absorb egg moisture without turning mushy. My go-to trick? Lightly toast them before assembling to create a moisture barrier.

| Muffin Type | Texture After Freezing | Certification |
|---|---|---|
| Gluten-Free | Firm, crisp edges | GFCO Certified |
| Regular | Soft, chewy | N/A |
For proteins, cured bacon works better than turkey sausage—its lower water content prevents sogginess. Vegetarian? Try roasted portobello strips marinated in balsamic. I’ve had great success with the seasoning blends used in plant-based patties.
Must-Have Tools for Efficient Prep
A 9×13” baking sheet lets you cook 12 eggs at once—game changer. Pair it with a sturdy whisk (no flimsy wires) and silicone spatula for scraping every bit of golden egg from the pan. These tools shave 15 minutes off my Sunday prep routine.
Don’t overcomplicate storage. Parchment paper and foil work better than specialty containers. The assembly method I use requires just three bowls and one knife. Your oven does the heavy lifting while you focus on layering flavors.
Preparing Your Egg Mixture and Baking Process
I’ll never forget the first time I baked eggs for meal prep—they came out rubbery and bland. After three attempts (and one smoke alarm incident), I cracked the code for fluffy, sliceable eggs that freeze beautifully. Let’s walk through the method that changed my morning game.

Step-by-Step Egg Mixture Preparation
Start with 12 large eggs cracked into a mixing bowl. Add ¼ cup milk—dairy or unsweetened almond both work. Whisk until fully blended, like you’re making cloud soup. Season with ½ tsp garlic powder and a pinch of black pepper. Pro tip: Let the mixture sit for 2 minutes so bubbles settle—this prevents uneven baking.
Oven Techniques for a Perfect Set
Preheat your oven to 325°F. Grease a 9×13” pan lightly with avocado oil. Pour the egg mixture in, tilting to spread evenly. Bake 18-20 minutes until the center just stops jiggling. Remove immediately—carryover cooking will finish the job. Let cool 10 minutes before slicing into squares with a pizza cutter.
| Oven Rack Position | Bake Time | Texture Result |
|---|---|---|
| Middle | 18-20 mins | Velvety, sliceable |
| Lower Third | 15-17 mins | Firmer edges |
Need to remove foil from your pan? Do it while the eggs are warm but not hot—they’ll release cleanly without sticking. Layer cheese immediately after slicing so it melts slightly into the egg. This creates a flavor bond that survives freezing.
Your english muffins will thank you for pairing them with these tender-yet-sturdy egg squares. Whether you reheat in the microwave or toaster oven, the texture stays intact. This recipe adapts well—swap cheddar for pepper jack, or add spinach for extra greens.
I once watched a friend’s layered sandwich creation unravel mid-bite – egg sliding out, cheese clinging to the wrapper. That messy moment taught me assembly order matters as much as ingredients. Let’s build handheld meals that hold together from first bite to last.

Layering Ingredients for Maximum Flavor
Start with cooled english muffin halves – their porous texture acts like flavor glue. Follow this sequence:
- Place warm egg patty on bottom muffin
- Add sharp cheddar slices immediately (heat helps them adhere)
- Layer cooked sausage crumbles or roasted veggies
- Top with second muffin half
Pro tip: For summer variations, I add thin tomato slices between cheese and egg. In fall, a smear of pumpkin butter on the top muffin adds cozy sweetness without sogginess.
Proper Wrapping and Storage Methods
Air is the enemy of frozen meals. Use this double-wrap technique:
- Encase each sandwich in parchment paper
- Create foil outer layer for structure
- Label with date using permanent marker
Stored at 0°F, they maintain quality for 8 weeks. I keep mine in a dedicated bin – no digging through frozen peas required. Having the printed recipe taped inside my pantry door ensures I never forget the layering sequence during hectic prep sessions.
Reheating Your freezer breakfast sandwiches gluten free
We’ve all been there—hungry, running late, and staring at a sad, half-frozen meal. After one too many rushed mornings with lukewarm centers and rock-hard edges, I cracked the code on reviving these handhelds properly. The secret? Matching your reheating method to your schedule and texture preferences.

Microwave Magic for Time-Crunched Mornings
For days when every second counts: Remove foil (trust me—sparks aren’t festive). Wrap your parchment-covered sandwich in a paper towel to absorb steam. Microwave 60-90 seconds if thawed overnight, or 2 minutes straight from frozen. Let rest 30 seconds—the heat will distribute evenly without turning your muffin gummy.
Crispy-Edged Perfection in the Oven
When you’ve got 15 minutes: Preheat to 350°F. Place unwrapped sandwiches directly on the rack for maximum airflow. Bake 10-12 minutes for thawed, 15 for frozen. The result? Golden-brown edges that crunch like fresh toast. I use this method on Sundays when I’m already prepping lunch—multitasking at its tastiest.
| Method | Time | Texture |
|---|---|---|
| Microwave | 1-2 mins | Soft, warm |
| Oven | 10-15 mins | Crispy |
Pro tip: Slice sandwiches before freezing if you prefer faster reheating. My neighbor taught me this trick—now we trade batch-cooked meals every month. Whether you’re rushing out the door or savoring a slow start, these techniques deliver that “fresh-made” feeling without the dawn patrol effort.
Customize Your Breakfast Patties with Bold Proteins, Veggie Boosts, and Flavorful Twists
Last winter’s failed turkey sausage experiment taught me two things: spices are forgiving, and my kids will eat anything shaped like a patty. That’s when I realized these handheld meals thrive on customization—they’re edible canvases waiting for your personal touch.

Customizing With Alternative Toppings and Proteins
Swap traditional meats with plant-based crumbles or shredded jackfruit. My neighbor’s smoky chickpea patties became my go-to after she shared her spice blend—paprika and cumin work magic. For quicker swaps, try pre-made veggie rounds from the fridge section.
| Protein Type | Prep Tip | Flavor Pairing |
|---|---|---|
| Black Bean Patties | Blend with oats for binding | Chipotle mayo + avocado |
| Shredded Chicken | Marinate overnight in lemon | Pesto + sun-dried tomato |
| Tempeh Strips | Steam before seasoning | Maple mustard + arugula |
Boost nutrition with handfuls of baby spinach or roasted peppers. A client once told me her kids didn’t notice puréed cauliflower mixed into the egg mixture—now that’s a win. For meal prep hacks:
- Double batches take 5 extra minutes but feed you for months
- Gift wrapped sandwiches to new parents (they’ll name their next kid after you)
- Label foil packages with Sharpie—trust me on this
My sister’s “no-salt” phase taught me the power of pepper. A few cranks from the mill transformed her bland creations. Small tweaks matter: try smoked paprika in your egg mixture or rosemary-infused olive oil on the sheet pan.
Your kitchen, your rules. Swap assembly orders—cheese on top? Why not. Bake eggs in muffin tins for circular shapes. The only limit? Your imagination (and maybe your oven size).
The best kitchen victories aren’t complicated—they’re the routines that work when life gets messy. With a dozen eggs, your favorite sharp cheddar, and quality proteins, you’ve got everything needed to transform chaotic mornings. That sizzle of meat hitting the pan? It’s the sound of future-you breathing easier.
Every step we’ve covered—from whisking eggs with a dash of oil to slicing golden squares—builds a no-stress routine. Swap ingredients freely: maybe smoked gouda instead of cheddar, or roasted zucchini instead of bacon. Your meal prep becomes personal fuel that fits your taste and schedule.
I’d love to hear how you make these your own. Did adding caramelized onions level up your sandwich game? Share your twist with our cooking community. Remember: Batch-cooked mornings aren’t about perfection. They’re about reclaiming those precious early hours—one delicious, reheatable bite at a time.
Sweet Potato Kale Breakfast Pockets
A freezer-friendly, gluten-free breakfast option packed with roasted sweet potato, sautéed kale, and gooey cheese, all wrapped in a gluten-free pastry shell for a warm, satisfying start to your day.

Nutrition Information
Equipment Needed
- Baking sheet
- Parchment paper
- Mixing bowls
- Skillet
- Rolling pin
Ingredients
-
2 medium sweet potatoes, peeled and diced
-
1 tbsp olive oil
-
2 cups chopped kale, stems removed
-
1 small onion, finely chopped
-
1 tsp garlic powder
-
Salt and pepper to taste
-
1 cup shredded mozzarella or dairy-free cheese
-
1 package gluten-free puff pastry (thawed if frozen)
-
1 egg, beaten (or dairy-free milk for vegan option)
Instructions

Recipe Video
Sweet Potato Sandwich 🥪Crunchy and 5 minutes quick healthy breakfast - Vardhan’s kitchen Sandwich
Learn how to make a crunchy and quick sweet potato sandwich in just 5 minutes. A healthy breakfast recipe from Vardhan's Kitchen.