Breakfast Meal Prep Reheating Tips For Fresh Taste
Master the art of reheating your breakfast meal prep with our simple tips. Enjoy fresh-tasting meals every morning with our how-to guide.
Mornings don’t have to mean chaos or skipped fuel-ups. I’ve learned that a little planning turns hectic days into smooth starts. Think about it: when you’ve got grab-and-go options ready, you’re not just saving time—you’re setting yourself up for success.
Nearly 30% of adults rush past their morning routine because they’re stretched thin. But here’s the secret: nutrient-packed choices like spinach egg bites or chia pudding can be prepped ahead. They deliver protein and fiber without daily effort, keeping your energy steady until lunch.
I’ve found that investing a few hours weekly creates freedom. Want crispy hash browns or creamy oatmeal? A skillet with medium heat or a splash of milk works wonders for reviving textures. It’s all about balancing convenience with flavors that make you excited to eat well.
If you’re new to this, start simple. My stress-free system uses divided containers to keep granola crunchy and yogurt fresh. Labeling with painter’s tape ensures nothing gets forgotten—and trust me, those 15 saved minutes daily add up.
Remember, consistency beats perfection. Whether you’re juggling work or family life, prepping smart means enjoying delicious mornings without the scramble. Let’s make your next week tastier—one ready-to-go jar at a time.
Understanding the Challenge of Reheating Breakfast Meal Prep
Ever pulled a dish from the freezer only to find it lacking its original zest? I’ve been there too. The magic lies in navigating two goals: keeping nutrients intact while reviving textures that make you want to eat what you’ve prepared.
Balancing Speed With Satisfaction
Rushing the process often leads to disappointment. That egg casserole turning rubbery? Or pancakes going soggy? It’s usually because high heat breaks down proteins too fast. I’ve learned that medium settings and short bursts work better than cranking appliances to max.
Temperature control matters most. Too low, and bacteria linger. Too high, and flavors vanish. A food thermometer helps hit the sweet spot—165°F for most items. This preserves taste without compromising safety.
Where Good Intentions Go Wrong
Freezer burn isn’t just about packaging. How you reheat plays a role too. Moisture loss happens when frozen food thaws unevenly. Adding a damp paper towel over oatmeal or sprinkling water on hash browns before cooking locks in freshness.
One friend told me her veggie frittatas tasted “like cardboard” until she switched from microwave-only to oven reheating. Small tweaks restore texture and make stored creations feel newly made.
Planning and Prepping Your Breakfast for Optimal Freezing
Smart starts begin long before the morning rush. The secret to hassle-free mornings? Choosing ingredients and recipes that thrive in cold storage. Let’s build a freezer-friendly foundation that keeps flavors vibrant and textures intact.
Key Ingredients for Wholesome Breakfasts
Not all foods play nice with freezing. I lean on these staples:
- Oats: Versatile and forgiving, they’re perfect for baked oatmeal or layered jars
- Chia seeds (they absorb liquid beautifully during thawing)
- Roasted sweet potatoes (hold shape better than boiled)
- Nut butters (add creaminess without separating)
These power players retain nutrients and texture through temperature shifts. For recipes needing extra love, try mixing frozen spinach into egg bites—it prevents rubberiness better than fresh greens.
Essential Tools and Containers for Freezer Storage
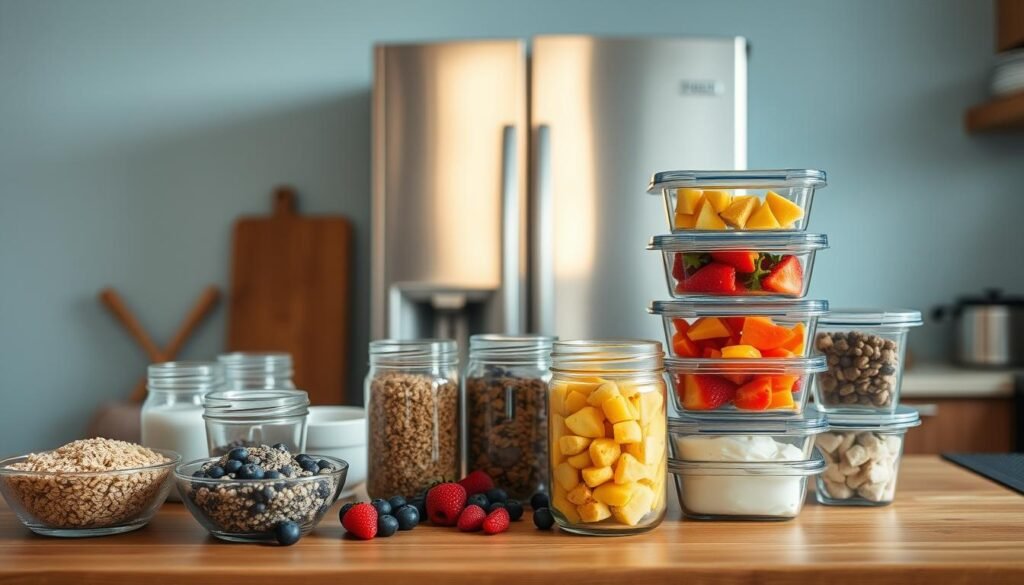
Your gear makes or breaks frozen meals. Through trial and error, I’ve found:
- Glass jars with wide mouths (easy to fill and clean)
- Silicone muffin tins for portioned egg bites
- Vacuum sealer for casseroles and pancakes
Label everything with dates using freezer-safe tape. Pro tip: Press plastic wrap directly onto soups or stews before sealing lids—it prevents ice crystals better than air alone.
breakfast meal prep reheating tips
The secret to enjoying your morning fuel isn’t just in the prep—it’s in the revival. I’ve discovered that even the best-made dishes need thoughtful handling to shine again. Let’s walk through how to bring back that “fresh from the kitchen” magic.
General Guidelines for Reheating Prepped Meals
Start by matching your tool to the task. Microwaves work for soft textures like oatmeal, but use 50% power and stir every 30 seconds. For crispy items like waffles, a toaster oven at 375°F brings back crunch without drying.
Always transfer food from plastic containers to glass before heating. Why? Glass distributes heat evenly, preventing rubbery eggs or soggy veggies. If you’re short on time, microwave-safe silicone lids let steam escape while keeping splatters contained.
Blenders are your backup for sauces or smoothies that thicken in the freezer. Add a splash of almond milk, blend for 15 seconds, and watch separation disappear. One reader told me this trick saved her morning protein shakes!
Avoiding Freezer Burn and Flavor Loss
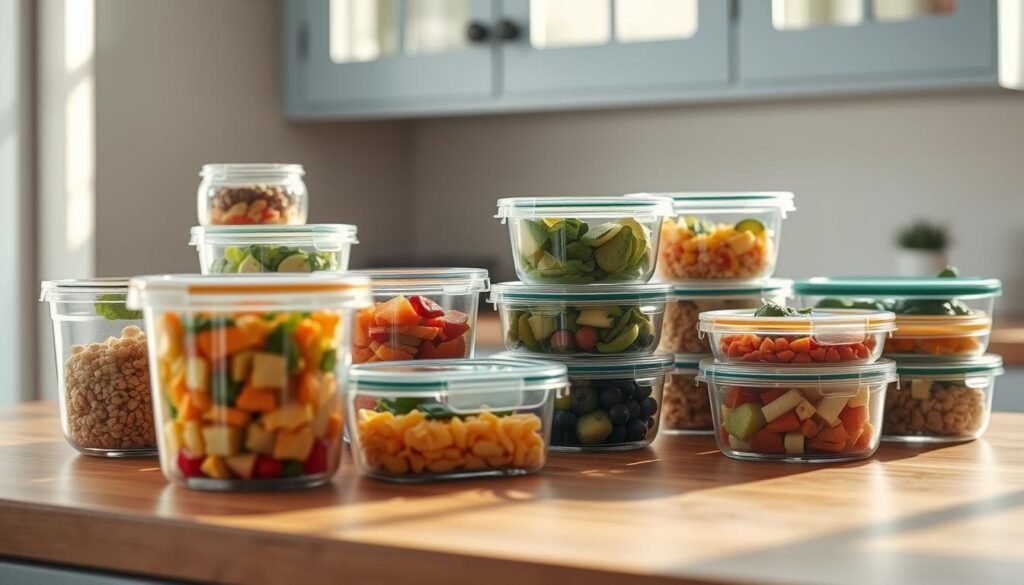
Air pockets sabotage texture. Press parchment paper directly onto soups before freezing, or use Souper Cubes to portion meals tightly. For glass jars, fill them ¾ full—this leaves room for expansion without letting oxygen creep in.
If flavors dull after thawing, a squeeze of lemon or dash of hot sauce wakes them up. For baked goods with icy edges, wrap them in foil and warm at 300°F for 5 minutes. It’s like hitting the reset button on freshness.
Best Practices for Freezing Breakfast Foods
Freezing your favorite morning dishes doesn’t have to mean sacrificing flavor or texture—if you know the tricks. Let’s talk about turning your freezer into a treasure chest of ready-to-enjoy goodness.
Proper Cooling and Airtight Packaging
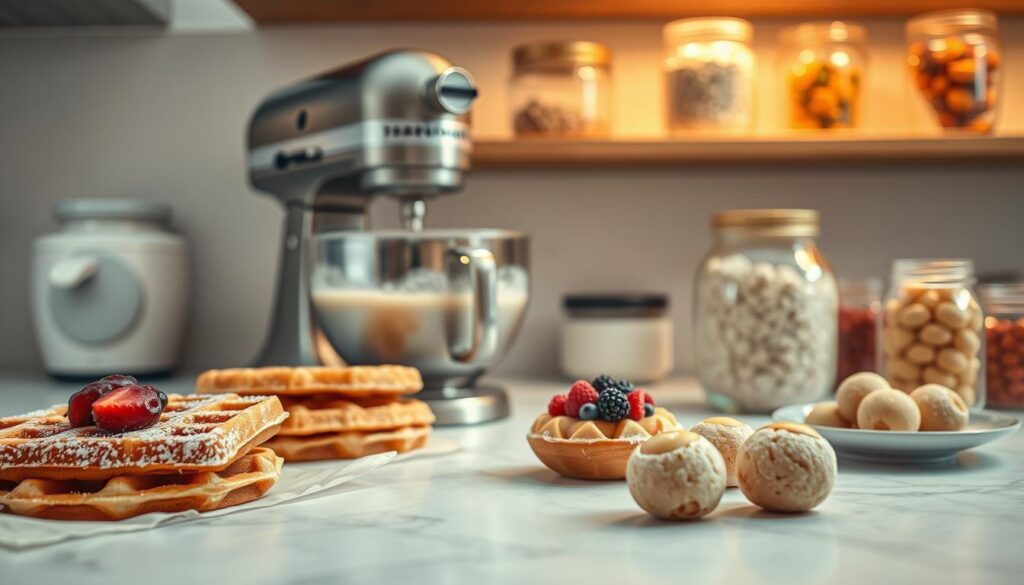
I’ve learned the hard way: rushing food into the freezer creates ice crystals. Let baked oatmeal or muffin-tin eggs cool completely on racks first. This stops steam from turning into frost that ruins fluffy textures.
Airtight containers are non-negotiable. Silicone bags work wonders for smoothie packs—squeeze out excess air before sealing. Glass bowls with locking lids keep baked goods like banana muffins fresh for weeks. One reader told me her egg bites stayed perfect for a month using this method!
| Container Type | Best For | Freeze Time | Pro Tip |
|---|---|---|---|
| Glass Jars | Layered smoothie bowls | 2 months | Leave 1″ space at top |
| Silicone Molds | Portioned egg bites | 3 months | Spray with oil first |
| Airtight Bowls | Baked oatmeal squares | 6 weeks | Press parchment on surface |
Label everything clearly. Use freezer tape to note dates and contents—your future self will thank you when grabbing blueberry muffins versus zucchini ones. For baking projects, I write reheating instructions right on the package.
Effective Reheating Methods for a Fresh Morning Taste
Reviving your morning dishes to taste like they’re fresh off the stove isn’t magic—it’s method. I’ve tested a lot of approaches over the years, and here’s what works best for keeping flavors bright and textures inviting.
Microwave, Oven, and Stovetop Techniques
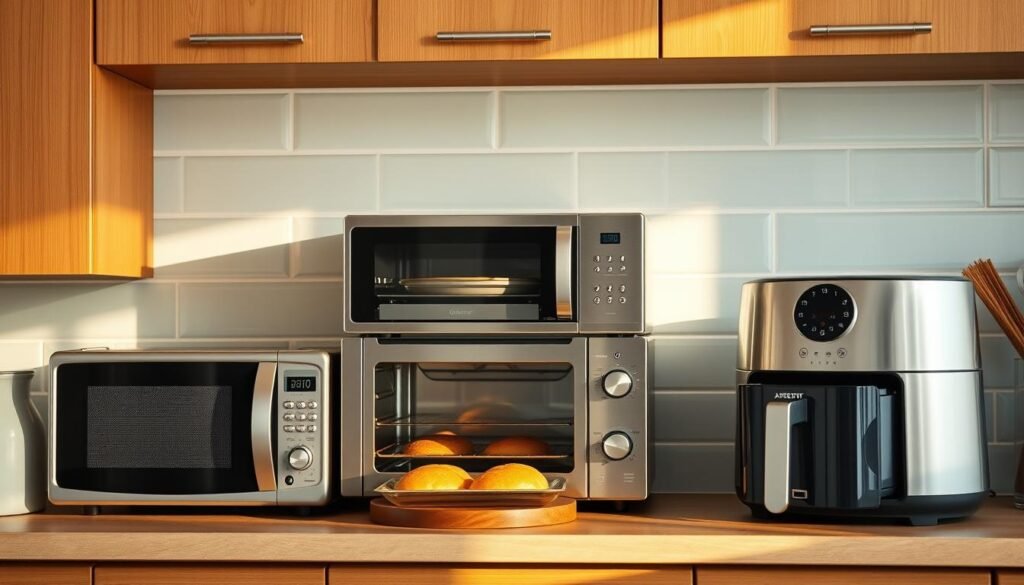
Each appliance shines for specific dishes. Microwaves revive chia pudding in 45 seconds (stir halfway!), but use a damp paper towel to lock in moisture. For crispy hash browns or roasted vegetables, the oven at 375°F restores crunch better than other methods. Stovetop? Perfect for sautéing spinach with a pat of butter—just 2 minutes on medium heat revives greens without sogginess.
Portioning matters. Transfer frozen items like egg bites into silicone bags before thawing—they reheat evenly and prevent freezer burn. Glass containers work better than plastic for oven use, as they distribute heat without warping.
Thawing Strategies for Consistent Results
Defrosting overnight in the fridge is your safest bet. Need speed? Submerge sealed bags of oatmeal or smoothie packs in cold water for 30 minutes. Never microwave frozen chia seeds directly—they’ll turn gummy. Instead, mix them into warm almond milk after thawing.
For vegetables like peppers or zucchini, a quick toss in butter on the stovetop brings back vibrancy. And if you’re reheating grain bowls, sprinkle a teaspoon of water before covering—steam works wonders. These small tweaks make a big difference in preserving that “just-made” quality.
Creative Variations to Boost Flavor and Nutrition
Your morning plate deserves more than just a microwave finish. Think of reheated dishes as blank canvases waiting for colorful, crunchy, or creamy upgrades. I’ve found that strategic add-ons transform routine into delight while packing extra nutrients into every bite.

Integrating Fresh Ingredients Post-Reheating
Here’s my favorite trick: keep pre-washed greens and chopped veggies in clear containers at eye level. Toss a handful onto warmed egg muffins or fold into oatmeal for instant texture. One reader shared, Adding basil from my windowsill herb garden makes my frittata taste like summer
—proof that small touches create big impact.
Yogurt becomes a powerhouse when layered with thawed frozen mango and chia seeds. For savory dishes, try crumbling feta over roasted sweet potatoes or drizzling tahini on grain bowls. These combos take seconds but deliver balanced protein, fiber, and healthy fats.
Got three minutes? Fry an egg sunny-side-up to crown your prepped breakfast sandwich. The runny yolk adds richness while keeping the English muffin crisp. Or blend frozen berries into Greek yogurt for a quick parfait—no thawing needed.
Don’t underestimate the power of crunch. Keep toasted nuts or pumpkin seeds in your pantry. A sprinkle revives softer textures and adds heart-healthy fats. My weekly ritual? Sunday night prep of five topping jars: everything from coconut flakes to quick-pickled onions.
Remember, your hands are your best tools. Crumbling bacon over avocado toast or tearing fresh herbs into scrambled eggs takes mere moments. These intentional touches turn fuel into joy—and keep your taste buds excited about sticking to your routine.
Ensuring Food Safety and Quality During Reheating
Keeping your morning routine safe and delicious requires more than good recipes—it demands smart handling from fridge to plate. Let’s talk about protecting both your health and your hard work.

Temperature Control and Timing Tips
I’ve seen too many good dishes ruined by rushed reheating. Always use a food thermometer: 165°F kills harmful bacteria without overcooking proteins. For soups or grain bowls, stir halfway to distribute heat evenly. Microwave in 30-second bursts at 50% power—it takes 90 seconds longer but prevents rubbery textures.
Preventing Bacterial Growth and Maintaining Texture
Sealing matters more than you think. I store chia puddings in glass jars with silicone lids, pressing plastic wrap directly on the surface. This method keeps air out for up to three weeks without freezer burn. Need options? Try oven-safe ceramic dishes for casseroles—they reheat evenly while keeping edges crisp.
Timing is everything. Follow these guidelines:
- Eat frozen smoothie packs within 2 weeks for peak freshness
- Reheat egg bites within 1 minute 15 seconds (cover with damp paper towel)
- Let thawed oatmeal sit 5 minutes before stirring in nut butter
My friend learned the hard way—her quinoa bowl spoiled after four weeks in the freezer. Now she uses my freezing guide for portioning and labeling. Remember: safety and flavor go hand-in-hand when you plan with care.
Transforming your mornings starts with one simple truth: organization unlocks freedom. By planning your weekly dishes and mastering storage basics—like using the fridge strategically—you’ll always have vibrant options ready. Glass jars for chia puddings or silicone molds for egg bites keep flavors fresh, while labeling ensures nothing gets lost in the shuffle.
Don’t forget the power of last-minute upgrades. A swipe of almond butter on oatmeal or sliced avocado over toast adds creamy texture and nutrients. Bananas tossed into a morning smoothie or sprinkled with cinnamon become instant flavor heroes. These small touches turn routine into something worth savoring.
Remember, every minute saved with smart prep means more time for what matters. Whether you’re layering almond butter jars or freezing ripe bananas for later, these methods make nourishing meals effortless. With your freezer stocked and a few fresh staples on hand, you’re set to conquer mornings—one delicious, stress-free bite at a time.
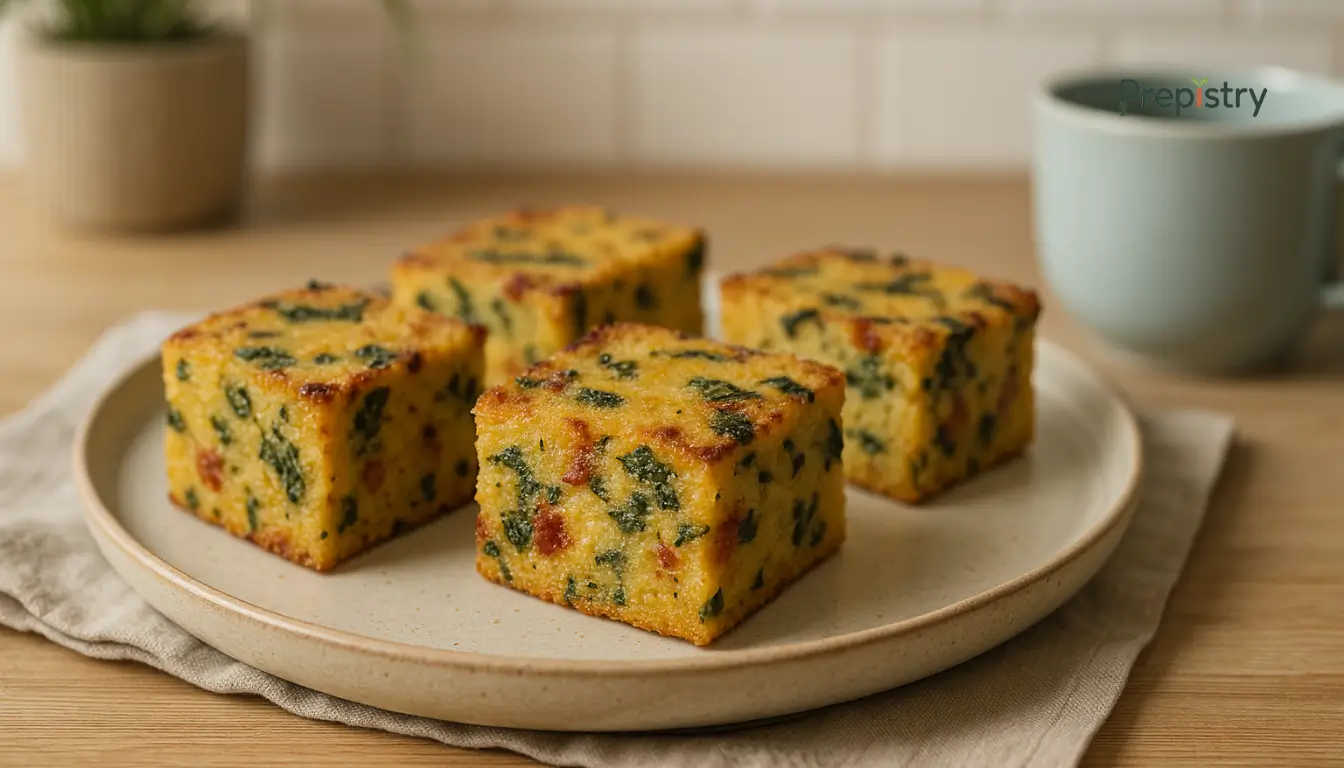
Savory Polenta Breakfast Cakes with Sundried Tomato & Spinach
These freezer-friendly polenta breakfast cakes are a satisfying, make-ahead option packed with Mediterranean flavors. With crispy edges and a tender center, they’re perfect for mornings when you need something hearty, nourishing, and fast.
Nutrition Information
Equipment Needed
- Medium saucepan
- Mixing bowl
- 8x8-inch baking dish or silicone mold
- Skillet or oven for reheating
Ingredients
-
1 cup dry polenta (coarse cornmeal)
-
3 cups vegetable broth
-
1/4 cup grated Parmesan cheese
-
2 tbsp olive oil
-
1/3 cup finely chopped sundried tomatoes (packed in oil, drained)
-
1/2 cup cooked chopped spinach (frozen and thawed or sautéed fresh)
-
1/2 tsp garlic powder
-
1/2 tsp salt
-
1/4 tsp black pepper
-
2 eggs, lightly beaten

