Freezer Breakfast Sandwiches Savory Fillings Beyond Basic Eggs
Prep your mornings with our guide to making freezer breakfast sandwiches with savory fillings. Simple, delicious, and perfect for meal prep.
Last Tuesday, I nearly burned my avocado toast while scrambling to pack lunches. Sound familiar? That’s when I remembered the stack of pre-assembled morning heroes hiding in my freezer—crispy English muffins hugging baked eggs, smoky turkey sausage, and melty cheddar. Suddenly, chaos turned into calm.
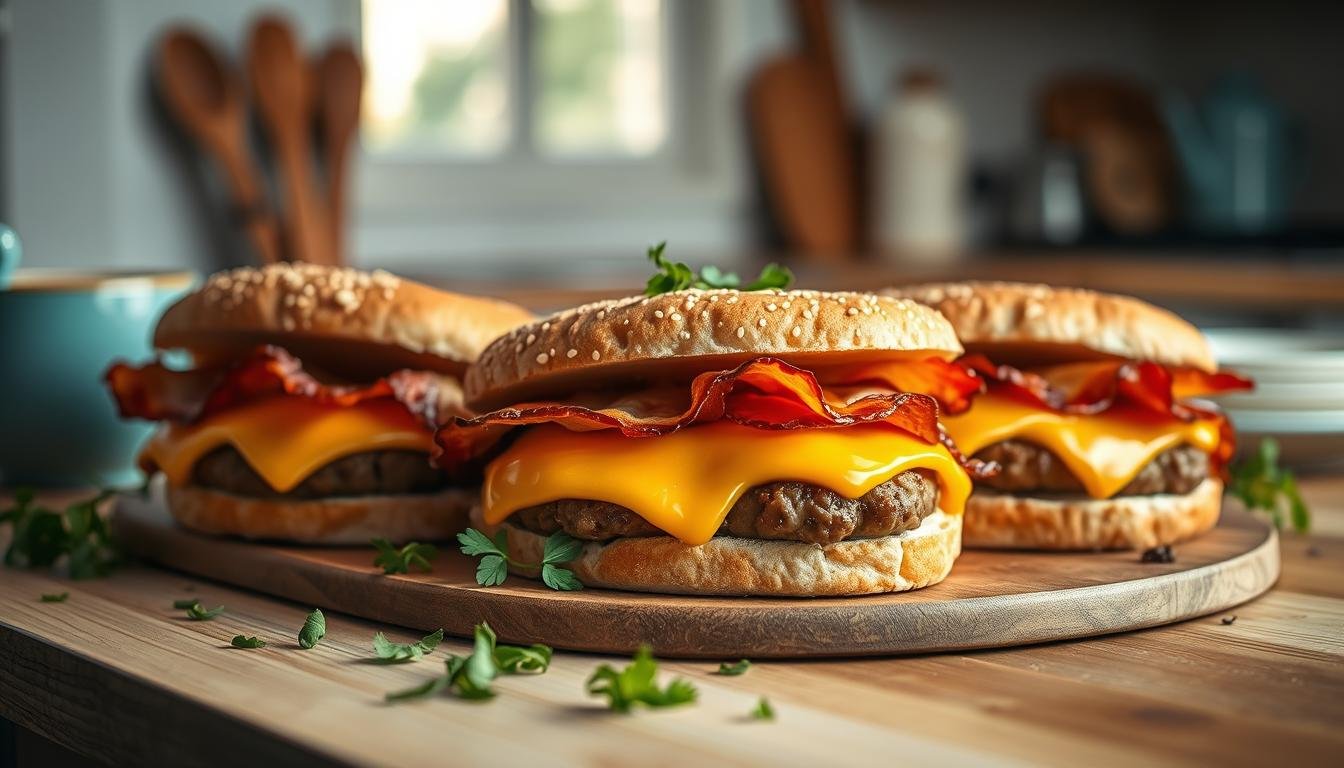
These aren’t your basic egg-and-cheese clones. Think golden muffins cradling roasted red peppers with feta, or applewood bacon paired with caramelized onions. The secret? Layering textures and flavors that survive freezing beautifully. You’ll spend one relaxed Sunday afternoon building a stash that reheats in minutes—no sad microwave eggs here.
Key takeaways:
- Flavor-packed combos that freeze without turning soggy
- Smart assembly tricks for perfect reheating
- Ways to customize based on dietary needs
Getting Started with Freezer Breakfast Sandwiches Savory Fillings
Remember that morning when your cat knocked over the orange juice while you searched for matching socks? I do. That’s when my Sunday prep habit became non-negotiable. Batch-making handheld meals changed my kitchen rhythm—and my sanity.

Why Your Future Self Will Thank You
Social media’s buzzing about this strategy for good reason. A Threads creator recently shared:
“Six minutes in the toaster oven transforms my frozen stash into something that tastes fresh—even on daycare drop-off days.”
The secret lies in smart ingredient pairings. Crispy bacon stays crunchy after freezing, while sharp cheddar maintains its creamy texture when reheated.
From Chaos to Calm in Three Steps
Here’s what I’ve learned from culinary blogs and hungry neighbors:
- Use sturdy muffins as your base—they won’t get soggy like regular bread
- Cook proteins in bulk while prepping dinner (multitasking wins!)
- Wrap each sandwich in parchment before freezing for easy grab-and-go
My favorite combo? Applewood-smoked bacon with pepper jack on a whole-grain English muffin. Pop it in the oven while brushing teeth—steam rises as you tie shoes. Suddenly, you’re the person who eats something besides cold cereal in the car.
Prepping Ingredients and Essential Tools
Last month, I spilled coffee on my laptop while rushing to assemble morning meals. The culprit? Floppy spinach and a dull knife that refused to slice tomatoes evenly. That’s when I realized: success starts before you even turn on the stove.

Choosing Fresh Ingredients and Savory Fillings
Your sandwich foundation matters. Opt for thick-cut bacon over thin slices—they stay crisp after reheating. Fresh eggs bind better than carton versions, and roasted red peppers add sweetness without sogginess. I learned this the hard way after using watery mushrooms that turned my muffins into sponges.
| Essential Tools | Why They Matter | Pro Tip |
|---|---|---|
| 9×13 pan | Bakes 6 eggs evenly | Grease with avocado oil |
| Biscuit cutter | Creates perfect egg rounds | Use on cooled eggs |
| Parchment paper | Prevents sticking | Cut sheets in advance |
Must-Have Kitchen Equipment
A good pan transforms egg prep. I use my grandmother’s cast iron skillet for sausage patties—it distributes heat better than nonstick options. For storage, fold sandwiches in parchment paper before placing them in a freezer bag. This combo prevents ice crystals while letting you grab individual portions.
Reheating tricks? A microwave works in 90 seconds flat, but the toaster oven gives that golden crunch. Layer cheese between meat and egg to protect the muffin from steam. My neighbor taught me that trick after her cheddar once fused to the paper wrap!
Layer, Bake, and Freeze Your Way to Stress-Free Breakfast Sandwiches
My left thumb still bears a faint scar from that fateful morning I tried flipping sausage patties one-handed while answering work emails. Let’s avoid kitchen injuries together, shall we? This method turns chaos into assembly-line efficiency.

Baking Fluffy Eggs and Preparing Patties
Whisk 8 eggs with ¼ cup milk and a pinch of garlic powder—the mixture should look like sunset-yellow silk. Pour into a greased 9×13 pan and bake at 325°F for 18 minutes. Let cool slightly before cutting into muffin-sized rounds with a biscuit cutter.
| Protein | Cooking Time | Juiciness Tip |
|---|---|---|
| Chicken sausage | 6 mins/side | Add applesauce to meat mix |
| Turkey bacon | 4 mins/side | Brush with maple glaze |
| Plant-based patty | 3 mins/side | Steam with broth |
Assembling Your Sandwich Masterpiece
Toast English muffins until golden—this creates a moisture barrier. Layer from bottom up: egg round, sharp cheddar, protein patty, and arugula. Top with the muffin crown. For creative twists, swap cheddar for pepper jack or add roasted tomatoes.
Building the Perfect Layering
Cheese acts as your edible glue. Place slices directly against warm eggs to melt slightly before freezing. Wrap each sandwich in parchment, then foil—the double layer prevents freezer burn. Label with dates using masking tape; they’ll stay fresh for 3 months.
Customizable Breakfast Muffins with Flavor in Every Bite
Last winter, I proudly served my niece a “special” muffin creation—only to watch her pick out every spinach leaf. That’s when I learned: customization isn’t just fun, it’s essential. Your morning meal should work for your taste buds and nutritional needs.

Healthy Twists That Actually Stick
Swap regular muffins for whole-grain versions—their nutty flavor and extra fiber keep you fuller longer. Try these easy upgrades:
- Mix finely chopped kale or roasted red peppers into your egg batter
- Use turkey patties seasoned with smoked paprika instead of pork
- Replace half the cheese with mashed avocado for creaminess
Season smarter: a pinch of sea salt and cracked black pepper on warm eggs tastes stronger than when added during baking. My neighbor’s teen twins now devour zucchini-packed rounds thanks to this trick!
Flavor Adventures Worth Waking Up For
Transform your basic recipe into a global tour:
| Theme | Ingredients | Pro Tip |
|---|---|---|
| Mediterranean | Feta, sun-dried tomatoes, oregano | Add olives to egg mix |
| Southwest | Pepper jack, jalapeños, black beans | Dust muffins with chili powder |
| Farmhouse | Sharp cheddar, apple slices, thyme | Brush patties with honey |
Don’t fear experimentation—my “failed” blueberry-bacon combo became my husband’s favorite. The key? Balance textures and moisture levels. Crispy prosciutto works better than regular bacon in sweet-salty mixes.
Tips for Freezing and Reheating Perfect Breakfast Sandwiches
Two weeks ago, I rushed out the door forgetting to set my alarm—only to discover my last prepped meal had fused to its wrapper in a sad, icy clump. Let’s prevent that tragedy together. Proper techniques transform your kitchen efforts into golden, melty victories.

Effective Freezing Techniques
Wrap each creation like you’re tucking in a newborn. Parchment paper followed by foil creates a double shield against freezer burn. I learned this after my first batch developed frosty armor worthy of Game of Thrones.
| Wrapper | Pros | Cons |
|---|---|---|
| Parchment | Non-stick | Less insulation |
| Foil | Blocks odors | Can tear easily |
| Wax paper | Eco-friendly | Absorbs moisture |
Label packages with dates using painter’s tape—your future self will bless you when prioritizing older meals. Stack wrapped bundles vertically in gallon bags to save space. Fresh ingredients stay vibrant for 3 months this way.
Expert Reheating Strategies for Optimal Texture
Microwave warriors: cover your meal with a damp paper towel. The steam prevents muffin concrete while melting cheddar evenly. For oven lovers, 12 minutes at 375°F delivers that just-made crispness.
| Method | Time | Result |
|---|---|---|
| Toaster oven | 8 mins | Crispy edges |
| Conventional oven | 12 mins | Even heat |
| Microwave | 90 secs | Quick fix |
Position cheddar between egg and meat—it acts as a moisture barrier. My neighbor’s trick? Add a spinach leaf under the cheese to prevent sogginess. Test different timings during your meal prep session until textures sing.
Chaotic mornings become smoother when you nail these steps. Remember: practice makes progress, not perfection. Your first attempt might yield slightly dry muffins, but by batch three, you’ll be a reheating wizard.
Last week, I forgot to buy eggs—again. But my frozen stash? Still delivered a satisfying meal in minutes. That’s the beauty of this system: smart prep creates kitchen resilience.
Start with fresh ingredients—they hold up better during freezing. Layer smartly: cheese protects the bread, while cooked proteins like breakfast sausage stay juicy. Use parchment paper wraps to prevent icy disasters. Even my neighbor’s teens now make their own combos!
Whole wheat English muffins add nutty flavor and fiber. But don’t stop there—try bagels or ciabatta rolls. The process works with any sturdy base. A dash of salt pepper on warm eggs makes flavors pop after reheating.
Your first batch might have uneven cheese melts or slightly dry muffins. Mine did! But by attempt three, you’ll assemble sandwiches like a pro. The real win? Trading chaos for calm mornings with food that actually excites you.
Grab those ingredients. Channel your inner meal-prep wizard. Your future self—sipping coffee while your meal reheats—will raise a mug in gratitude.
Freezer-Friendly Pesto Veggie Breakfast Bagelwiches
These make-ahead bagel sandwiches are layered with creamy pesto, fluffy eggs, and fresh veggies—perfect for busy mornings. Freeze and reheat for a quick, satisfying breakfast.

Nutrition Information
Equipment Needed
- baking sheet
- parchment paper
- mixing bowl
- whisk
- skillet
- spatula
Ingredients
-
4 everything bagels, halved
-
4 large eggs
-
1 tablespoon butter
-
Salt and pepper, to taste
-
4 tablespoons basil pesto
-
1 cup arugula
-
2 tablespoons sundried tomatoes, chopped
-
4 slices cheddar cheese
Instructions

Recipe Video
Pesto Panini Sandwich Recipe - 2 Ways | How To Make Sandwich On Tawa | Pesto Panini With Veggies
Learn how to make delicious pesto panini sandwiches with fresh vegetables using a tawa. This video demonstrates two easy methods for a flavorful breakfast or snack.