Freezer Breakfast Sandwiches Vacation Ready For Rental Kitchens
Make mornings a breeze with freezer breakfast sandwiches vacation ready. Follow our easy guide to prep, freeze, and reheat for a stress-free breakfast.
I used to start my days in a frenzy—scrambling eggs while packing lunches, burning toast, and forgetting coffee on the counter. Then I discovered something that changed everything: freezer-friendly handheld meals. One reader put it perfectly: “Now I actually finish my coffee while it’s hot.”
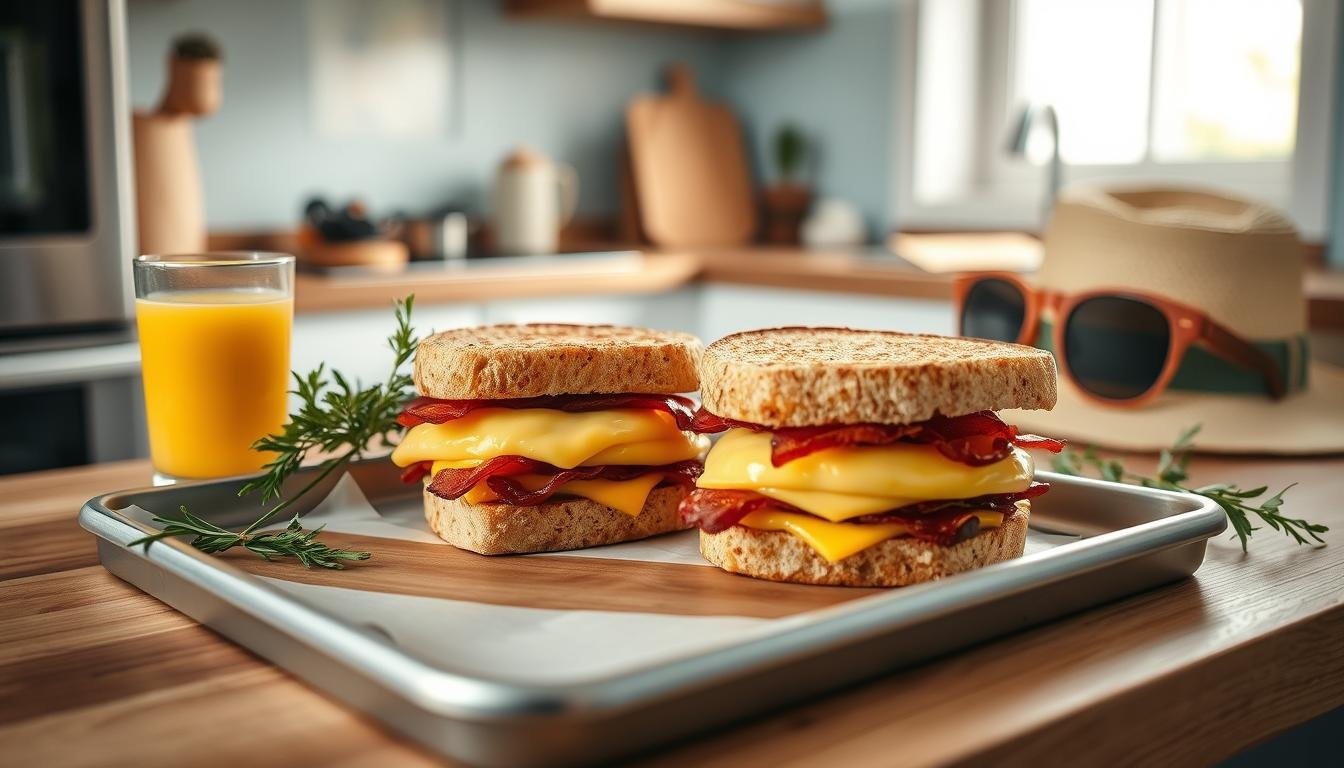
These aren’t just any morning savers. Think fluffy eggs, sharp cheddar, and toasted English muffins—all prepped ahead and frozen for grab-and-go ease. Even after weeks in the freezer, they reheat with that just-made texture. I’ve seen families customize them with turkey bacon, veggie patties, or spicy pepper jack. (A Prepistry.com community member swears by smoked turkey slices for a lighter twist!)
What makes these stand out? They’re designed for real life. Whether you’re juggling work lunches or prepping for a cabin trip, they hold up. I’ve even packed them in cooler bags for road trips—no soggy bread or dried-out eggs. As one parent shared on social media: “My kids think I’m a short-order cook… but it’s all done on Sunday!”
Want the secret? It’s all in the method. Bake eggs in a sheet pan, layer with cheese and protein, then assemble. For step-by-step guidance, the Make-Ahead Meal Mom’s approach keeps things simple. Trust me—your future self will thank you at 7 AM.
Essential Ingredients & Equipment for a Perfect Start
Years ago, I’d stare at my kitchen counter like it was a puzzle missing half its pieces. Now? My Sunday prep sessions flow like clockwork—and it starts with the right tools and ingredients. Here’s what you’ll want to grab for sandwich magic that holds up in the oven or microwave.

Must-Have Ingredients: Eggs, Cheese, English Muffins & More
Your foundation matters. I always use:
- Large eggs (12-14 for a batch)—whisk with a teaspoon of salt and pepper
- Sharp cheddar cheese (slices melt faster than shredded)
- English muffins (toast them lightly before freezing)
- Pre-cooked proteins: Turkey bacon, sausage patties, or veggie crumbles
Swap in whole-grain bread or dairy-free cheese if needed. A Prepistry.com member once used smoked gouda instead of cheddar—game changer!
Recommended Kitchen Tools and Equipment
No fancy gadgets required. My essentials:
- 9×13 pan for baking eggs evenly
- Biscuit cutter to portion cooked eggs into perfect circles
- Parchment paper or wax squares between layers to prevent sticking
- Freezer bags labeled with dates (they last 3 months!)
Pro tip: Line your pan with foil first. You’ll spend seconds scrubbing instead of minutes. And always use cooking spray—it’s the difference between fluffy eggs and a sticky mess.
How to Make Your freezer breakfast sandwiches vacation ready
Sunday mornings in my kitchen used to feel like a race against the clock—until I cracked the code for stress-free assembly. Let’s walk through the method that’s saved countless rushed mornings (and my sanity).

Prepping the Egg Base: Baking, Whisking & Seasoning
Start with 12 eggs whisked with ¼ cup milk—this creates fluffy layers without dryness. A Prepistry.com member once told me: “Bake at 350°F for 15 minutes, not a second longer! They’ll finish cooking during reheating.” Pour into a greased 9×13 pan, sprinkle with salt and pepper, then watch until edges pull away slightly.
Cool completely before slicing into squares with a pizza cutter. Pro tip: Use a biscuit cutter for round shapes that hug your English muffin curves perfectly.
Assembling the Sandwich: Layering Eggs, Cheese, and Meats
Toast muffins lightly—this prevents sogginess later. Layer cheddar directly on warm eggs so it melts slightly, then add sausage patties or bacon. For lighter options, try turkey slices like these protein-packed muffins from our community.
I always stack ingredients in this order: muffin bottom → cheese → egg → protein → muffin top. The cheese acts as glue between layers!
Freezing & Reheating: Tips for Ideal Texture and Taste
Wrap each sandwich in parchment paper before freezing—wax paper can stick if left too long. Squeeze air out of freezer bags to prevent ice crystals. One reader shared: “I label mine with reheating times—45 seconds for my microwave, 12 minutes for my teen’s toaster oven.”
To reheat: Remove paper, wrap in a dry towel, and microwave 60-90 seconds. For crispier muffins, bake at 375°F for 10 minutes straight from frozen. Adjust times if using dense whole-grain breads—they need extra warmth to penetrate.
Creative Variations and Healthy Upgrades
The best part about these handheld meals? They’re a blank canvas waiting for your personal touch. I once watched a friend’s kid sneak spinach into the egg mix—turns out it’s genius. Let’s explore ways to boost nutrition without losing that grab-and-go convenience.

Add Veggies and Whole Grains for a Nutritious Twist
Fold diced peppers or wilted spinach into your whisked eggs before baking. The trick? Squeeze excess moisture from greens first. A Prepistry.com member swears by caramelized onions: “They add sweetness that balances salty meats perfectly.”
| Veggie | Benefit | Prep Tip |
|---|---|---|
| Spinach | Iron boost | Chop & pat dry |
| Bell peppers | Vitamin C | Roast first |
| Mushrooms | Umami flavor | Sauté briefly |
Swap English muffins for whole-grain options or sweet potato slices. Just toast them longer—about 90 seconds—to prevent sogginess. For gluten-free folks, try cornbread rounds (bake at 375°F for 8 minutes during assembly).
Customize with Alternative Proteins and Dairy Options
Turkey sausage patties work like magic here—lower fat but still juicy. Crumble tempeh bacon for plant-based crunch. If dairy’s an issue, use vegan cheese slices between the egg and muffin to act as moisture barriers.
- Proteins: Smoked tofu, black bean patties, shredded chicken
- Cheeses: Pepper jack, feta crumbles, dairy-free cheddar
Pair your creation with fresh fruit or these savory muffins for balance. And hey—if you invent a killer combo, share it with our Prepistry crew. We’re all about kitchen experiments that actually work!
I’ll never forget the first time I handed my nephew a reheated sandwich—he stared at it suspiciously, then mumbled, “Tastes like you made it fresh.” That’s the magic here. Whether you’re layering eggs in a pan or wrapping stacks in parchment, these handheld meals meet you where you are. A little Sunday effort means reclaiming weekday mornings. Even better? They adapt to your life’s rhythm.
Maybe your oven runs hot, or you prefer a healthy breakfast sandwich with avocado. Tweak the cheese, swap the bread, play with spices. My first batch had overcooked eggs (lesson learned: set a timer!). Now I laugh at those early attempts—they’re proof progress beats perfection.
Got a unique combo? Share it with our Prepistry crew. We celebrate wins, from crispy reheated muffins to clever veggie swaps. Because here’s the truth: a planned morning fuels better days. And you? You’ve got this. One batch at a time.
Freezer-Friendly Savory Breakfast Waffles
Crispy, cheesy, herb-packed waffles you can freeze and reheat for a satisfying savory breakfast on busy mornings.

Nutrition Information
Equipment Needed
- Waffle maker
- Mixing bowls
- Whisk
- Spatula
- Cooling rack
- Freezer-safe bags
Ingredients
-
1 1/4 cups whole wheat flour
-
1 teaspoon baking powder
-
1/2 teaspoon baking soda
-
1/2 teaspoon salt
-
2 large eggs
-
1 cup buttermilk
-
2 tablespoons melted butter
-
1/2 cup shredded sharp cheddar cheese
-
1/2 cup finely chopped spinach
-
1/4 cup chopped green onions
-
1 tablespoon chopped fresh parsley
-
Non-stick spray for waffle iron
Instructions

Recipe Video
Make-Ahead Freezer Breakfast Sandwiches | Meal Prep
These make-ahead freezer breakfast sandwiches are perfect for busy mornings, early workdays, or camping trips! Quick to assemble, hearty, and easy to scale for any household.