Freezer Breakfast Sandwiches Microwave Method For Quick Reheat
Need a quick breakfast? Master the freezer breakfast sandwiches microwave method with our easy guide & enjoy a stress-free morning.
I once burned three batches of pancakes while scrambling to feed my family before school drop-offs. That’s when I discovered the magic of freezer breakfast sandwiches—a game-changer for chaotic routines. These handheld meals let you savor fluffy eggs, melty cheddar, and crispy bacon in 90 seconds flat, even when you’re half-asleep.
The secret? A smart prep strategy using ingredients you already love. Think golden english muffins cradling seasoned eggs, your favorite cheese, and pre-cooked sausage patties. Wrap them tight, stash in your icebox, and reclaim those frantic A.M. hours. I’ve tested this approach through countless rushed mornings—it works whether you’re feeding teens or sneaking out the door before sunrise.
- Customizable with fresh or pantry staples
- Reheats perfectly using a paper towel trick
- Balances flavor and convenience effortlessly
You’ll find no judgment here if your kitchen counters look like a tornado hit. This method meets you where you are—because good food shouldn’t demand perfection. Just stack, wrap, and let your appliance do the heavy lifting while you sip that first glorious coffee.
Overview of Freezer Breakfast Sandwiches
Rushed mornings taught me a valuable lesson: scrambling pans lead to scrambled nerves. That’s why pre-assembled handheld meals became my kitchen lifeline. With thoughtful prep, you can create balanced morning fuel that adapts to your schedule and preferences.

Why This Approach Works
Baking eggs in a 9×13 pan creates a golden sheet you’ll slice into perfect squares—no more lopsided omelets. Pair these with toasted english muffins (their nooks hold cheese beautifully) and pre-cooked proteins like turkey sausage or maple bacon. The best recipes use this method for consistent results every time.
Building Your Breakfast Toolkit
You’ll need three essentials: a reliable baking dish, parchment paper for easy egg removal, and freezer-safe wraps. I prefer foil squares over plastic—they prevent sogginess during reheating. Sharp cheddar works better than pre-shredded varieties, which often contain anti-caking agents.
Customization keeps things interesting. Swap in ham slices one week, veggie patties the next. Even egg-white versions hold up beautifully when wrapped tight. Store finished sandwiches in labeled gallon bags—they’ll stay fresh for 3 weeks, ready to transform chaotic mornings into calm starts.
Properly storing these sandwiches ensures freshness for weeks, making them a reliable solution for rushed mornings.
Essential Prepping and Baking Techniques
Early in my meal prep journey, I learned the hard way that soggy eggs ruin everything. Let me share the kitchen-tested methods that changed my results—starting with the foundation of every great handheld meal.

How to Prepare and Bake Perfect Eggs
Whisk 8 large eggs with 1/4 cup milk until they resemble liquid sunshine. Add a pinch of salt and pepper—this simple combo wakes up the flavors. Pour into a greased 9×13 pan sprayed lightly with oil (trust me, it matters).
Bake at 350°F for 18-22 minutes. The edges should barely pull away from the pan, but the center still jiggles slightly. Overcooking leads to rubbery textures after reheating. Let cool completely before slicing into 6-8 squares—this patience prevents melted cheese chaos later.
Tips for Assembling Your Sandwiches
Toast english muffins lightly—their crannies hold cheese better than any bread I’ve tried. Layer ingredients in this order:
- Warm muffin bottom
- Egg square (room temp)
- Cheese slice
- Pre-cooked sausage or bacon
- Muffin top
This stacking method, inspired by tested methods, keeps components intact during freezing. For protein variety, consider turkey sausage or plant-based patties—they work beautifully with this technique.
Let sandwiches cool fully before wrapping. I use parchment squares followed by foil—the double layer prevents freezer burn without plastic waste. Your future self will thank you when that first bite tastes like you just made it fresh.
Ensure the biscuits are fully cooled before assembling to prevent sogginess from the hot fillings during freezing.
Mastering the Freezer Breakfast Sandwiches Microwave Method
I’ll never forget the time I pulled a frostbitten creation from my icebox—improper wrapping turned my masterpiece into a sad, soggy mess. Let’s fix that with a system that keeps flavors bright and textures intact for weeks.

Proper Wrapping and Freezing Strategies
Cool your handheld meals completely before wrapping—this prevents steam from creating ice armor. Here’s my battle-tested routine:
- Double-wrap technique: Use parchment paper first, then foil to lock in freshness
- Label everything: Write dates and fillings on freezer-safe bags with a Sharpie
- Flash freeze first: Lay wrapped meals on a baking sheet for 1 hour before bagging
This method prevents freezer burn better than my old plastic-wrap habit. Stored properly, they’ll stay delicious for 4-6 weeks—though mine never last that long!
Effective Microwave Reheating Tips
Nuke smarter, not harder. Place your unwrapped meal on a napkin or paper towel. Follow this rhythm:
- Microwave at 50% power for 60 seconds
- Flip the sandwich, heat at full power for 30 seconds
- Let rest 1 minute—this distributes heat evenly
For crispier results, use a toaster oven at 350°F for 12-15 minutes. Either way, that first bite of melty cheese and savory sausage will convince you mornings just got easier.
Your kitchen, your rules. Adjust times by 10-second increments if needed—appliances vary, but delicious results don’t have to.
Creative Variations and Healthier Options
Swapping ingredients started as a necessity—my picky eater refused anything resembling “green stuff”—but became my secret to keeping meals exciting. These handheld meals adapt like culinary chameleons, letting you balance nutrition and cravings without extra effort.

Customizing Proteins and Breads
Ditch the standard sausage patties without guilt. Turkey bacon crisps up beautifully when reheated, while plant-based crumbles add earthy depth. For bread lovers, try sourdough bagels or sprouted grain rolls—their sturdier texture holds up better than traditional options during freezing.
My favorite hack? Mix ground chicken with smoked paprika for a DIY patty that tastes like Sunday brunch. Just ensure your protein choices stay lean to prevent sogginess. Vegetarian? Roasted portobello slices or smashed black beans work wonders.
Boosting Flavor With Veggies and Cheeses
Whisk sautéed spinach or diced roasted peppers into your egg mixture before baking. These add-ins not only boost fiber but create pockets of flavor that surprise and delight. I’ve found caramelized onions especially magical—they sweeten during storage.
Cheese matters more than you’d think. Aged gouda melts slower than cheddar, while goat cheese crumbles add tangy bursts. For dairy-free needs, almond-based slices now mimic that essential stretch factor. Season smartly: a pinch of garlic powder or smoked salt can elevate even the simplest combinations.
Remember—your icebox isn’t a museum. These tweaks keep your rotation fresh while maintaining that grab-and-go convenience we all crave.
Conclusion
Last Tuesday, I actually drank my coffee hot while my meal reheated—a small victory that proves this system works. Through trial and error (and a few icy mishaps), I’ve found that success lies in three steps: prep your components, layer them smartly on english muffins, and wrap like you’re tucking in a cherished recipe card.
The beauty? You control the variables. Swap cheddar for pepper jack. Try sweet potato slices instead of bacon. Every combination becomes a fresh start when stored properly—parchment then foil keeps textures crisp for weeks.
In under two minutes, you’ll have steaming eggs, melted cheese, and savory proteins dancing between toasted halves. No more choosing between nourishment and sanity during the morning scramble.
Share your wins with our Prepistry community—we’re all chasing that magical balance between ease and flavor. Because when your food works as hard as you do? That’s when mealtime becomes moments worth savoring.
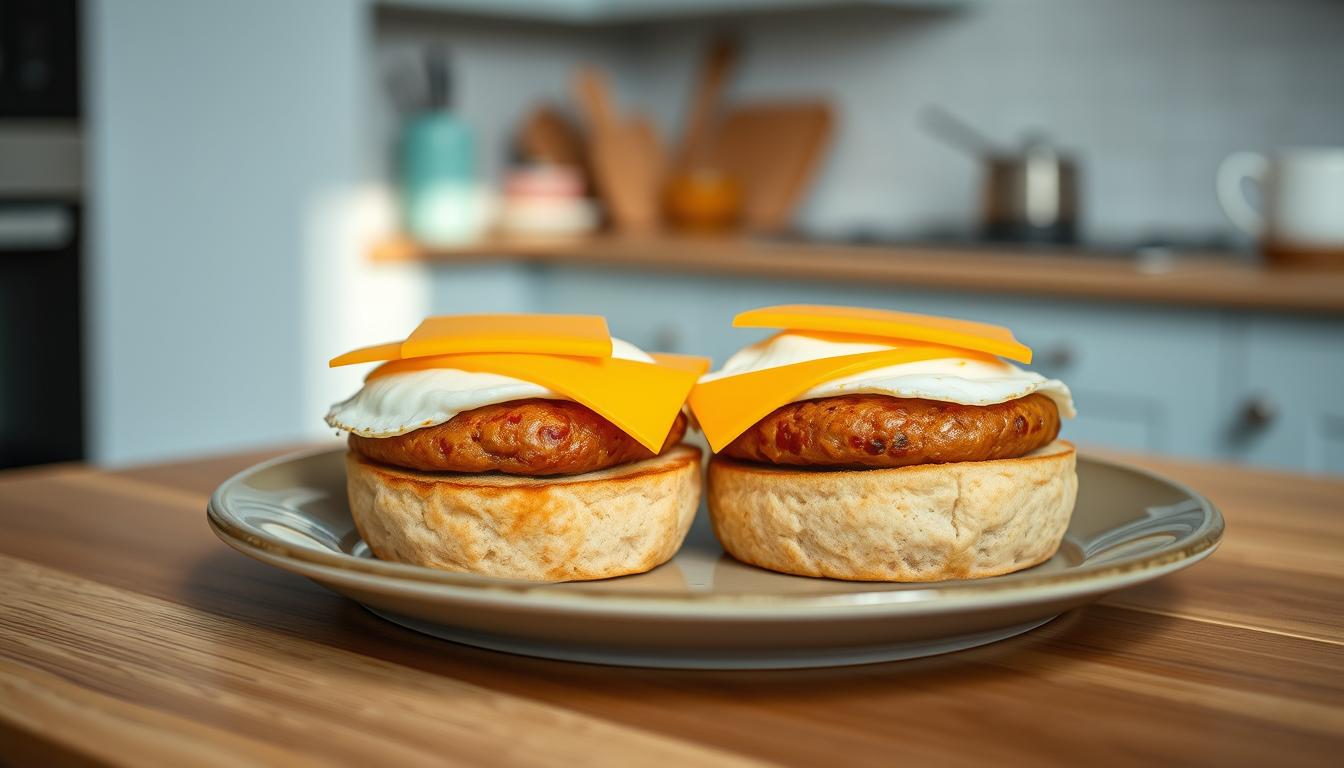
Freezer-Friendly Breakfast Biscuit Sandwiches
Satisfying, handheld breakfast sandwiches made with fluffy biscuits, eggs, and your favorite protein. Perfect for busy mornings when you need a quick, delicious breakfast in under 90 seconds!

Nutrition Information
Equipment Needed
- Baking sheet
- Parchment paper
- Frying pan
- Freezer-safe storage bags
Ingredients
-
1 batch homemade biscuit dough (or store-bought biscuit dough)
-
6 large eggs
-
6 slices cheddar cheese
-
6 pre-cooked sausage patties (or bacon strips)
-
Butter (for greasing)
Instructions

Recipe Video
How to Make Freezer-Friendly Breakfast Sandwiches | Meal Prep
Learn how to prepare and freeze breakfast sandwiches for quick and easy meals in the mornings. Perfect for busy schedules and meal prep enthusiasts.