Protein Breakfast Muffins Without Eggs For Egg Allergies
Try these easy, egg-free protein breakfast muffins made with simple ingredients like chia seeds and applesauce. Perfect for meal prep and busy mornings.
What if your morning routine could be both nourishing and effortless? I’ve spent years tweaking recipes to fit real-life needs—like the time I accidentally used baking soda instead of powder (spoiler: not great). But this recipe? It’s a keeper.
These fluffy, satisfying bites were born from necessity. A close friend’s child has an egg allergy, and store-bought options often left them disappointed. So we got creative. One bowl, ten minutes of prep, and zero compromises on flavor or texture. They’re packed with plant-based fuel to keep you full, and yes—they freeze beautifully for grab-and-go mornings.
You’ll love how adaptable this base is. Swap in your favorite nut butter, add chocolate chips, or keep it simple. No fancy equipment or chef-level skills required—just straightforward kitchen magic that works around your life.
- Single-bowl simplicity with minimal cleanup
- Customizable flavors to suit picky eaters
- Meal-prep friendly for busy weeks
Introduction to Egg-Free Protein Breakfast Muffins
I once burned three batches trying to adapt a family recipe. That’s when I realized: cooking should meet you where you are. This approach isn’t about restriction—it’s about reclaiming joy in the kitchen.
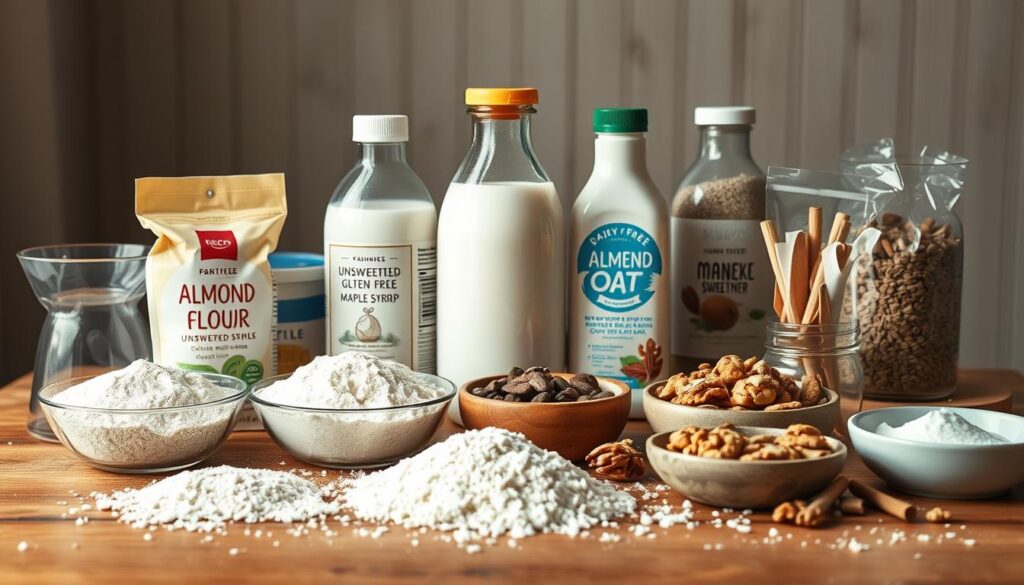
Kitchen Freedom Starts Here
Over 2 million Americans avoid chicken eggs due to allergies. But flavor and texture don’t have to suffer. Through testing (and yes, more burnt edges), I found chia seeds and applesauce create the perfect rise without eggs. You’ll mix everything in one bowl—no extra dishes piling up.
| Traditional Recipes | This Method | |
|---|---|---|
| Active Time | 15+ minutes | 8 minutes |
| Bake Duration | 25-30 minutes | 20 minutes |
| Tools Needed | Multiple bowls | Single container |
More Than Just Safety
Last week, a reader told me her son finally ate “real muffins” without fear. That’s the magic here. The batter comes together while coffee brews, and you’re done before the oven finishes preheating. No specialty stores trips either—every item lives in your pantry right now.
Busy mornings demand solutions that respect your clock. These bake in under half an hour yet stay moist for days. Double the batch on Sundays, and you’ve got breakfast handled through Friday. Now that’s what I call kitchen wisdom.
Essential Ingredients and Substitutions
When I first swapped flours mid-recipe, the results resembled hockey pucks. Lesson learned: your base matters. Let’s talk building blocks that work.
Flour Power and Powder Perfection
Your blend determines texture. I mix oat and gluten-free 1:1 for lift without gumminess. See how choices stack up:
| Flour Blend | Texture | Best For |
|---|---|---|
| All-purpose + oat | Dense | Hearty eaters |
| Almond + coconut | Crumbly | Low-carb fans |
| Gluten-free mix | Light | Sensitive tummies |
Protein powders behave differently. Stick with fine, unflavored varieties unless you want dessert vibes. Vanilla? Adds warmth. Chocolate? Weekend treat energy.
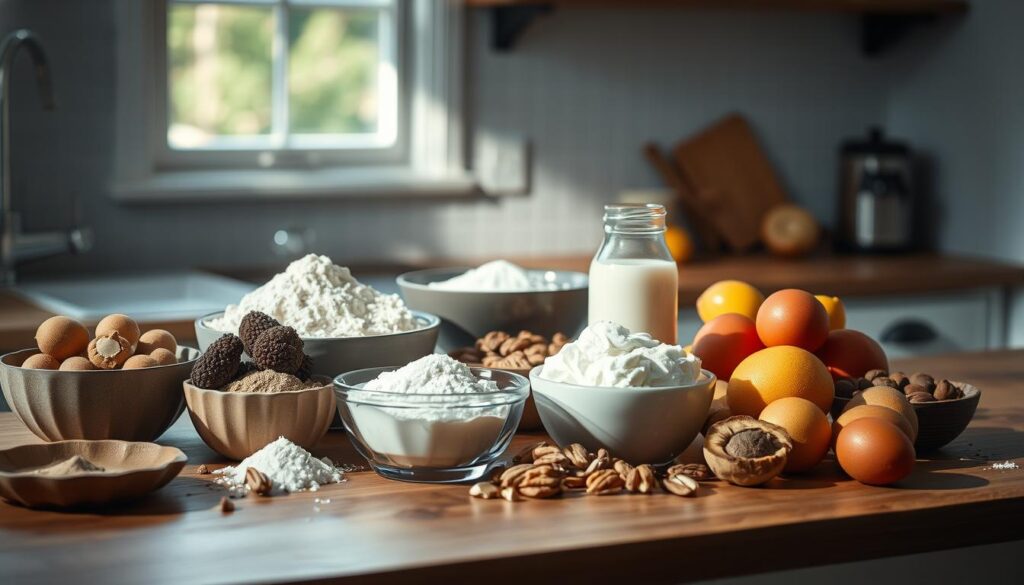
Sweet Swaps and Oil Options
My neighbor once used mashed bananas instead of sugar—genius move. Here’s your cheat sheet:
| Sweetener | Flavor | Measure |
|---|---|---|
| Coconut sugar | Caramel | 1:1 |
| Maple syrup | Rich | ¾ cup per 1 cup sugar |
| Applesauce | Neutral | ½ cup + 1 tbsp oil |
Oils matter less than you think. Melted coconut works, but sunflower seed adds nutty depth. For peanut butter lovers: try sunflower seed spread. Same creaminess, zero allergens.
Remember—measure your baking powder precisely. Too much = bitter taste. Too little = flat tops. You’ve got this.
If you have a pumpkin or nut allergy, carefully check your ingredients and substitutions. Your safety is top priority!
Step-by-Step Guide to Making Muffins
We’ve all had that moment where the oven timer feels like a ticking clock. Here’s your no-stress roadmap—I’ve burned enough batches to perfect this method.
Mixing the Batter Effectively
Start by combining your wet ingredients in a large bowl. Whisk until smooth—no lumps allowed. Add dry elements gradually, folding with a spatula. Overmixing? That’s the enemy. Stop when streaks disappear.
| Mixing Method | Result | Tip |
|---|---|---|
| Whisk Only | Lumpy batter | Use spatula for folding |
| Overmixed | Dense texture | Stop at 20 strokes |
| Perfect Blend | Airy consistency | See slight flour traces |
Divide batter evenly using an ice cream scoop. Uneven portions bake at different rates—trust me, lopsided tops aren’t cute. For foolproof egg-free morning bites, grease pans well or use silicone liners.
Baking Temperature and Timing Tips
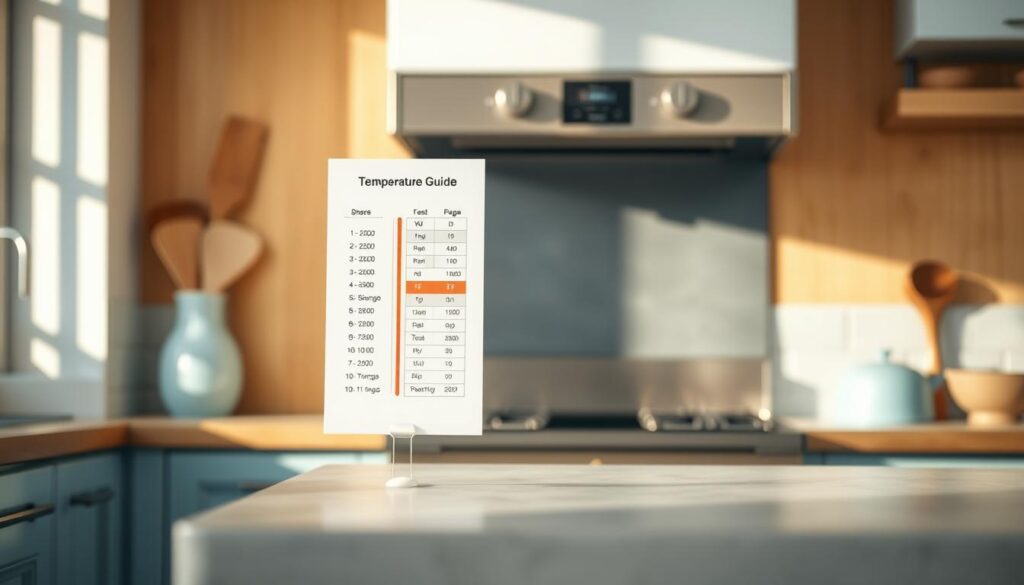
Preheat your oven to 425°F—crucial for the initial rise. Bake 5 minutes, then reduce to 350°F without opening the door. Why? That first blast creates lift, while lower heat ensures centers cook through.
| Stage | Time | Visual Cue |
|---|---|---|
| High Heat | 5 min | Golden dome forms |
| Reduced Heat | 15 min | Edges pull from pan |
| Final Check | 1 min | Toothpick comes clean |
Test doneness at 20 minutes. If the toothpick shows crumbs, they’re done—overbaking dries them out. Cool 10 minutes in the pan before transferring. Patience rewards you with perfect texture every time.
Personalized Recipes and Taste Twists
Last month, I stirred chocolate chunks into the batter on a whim. My kids declared them “better than bakery stuff.” That’s the beauty of this base recipe – it’s your edible canvas.
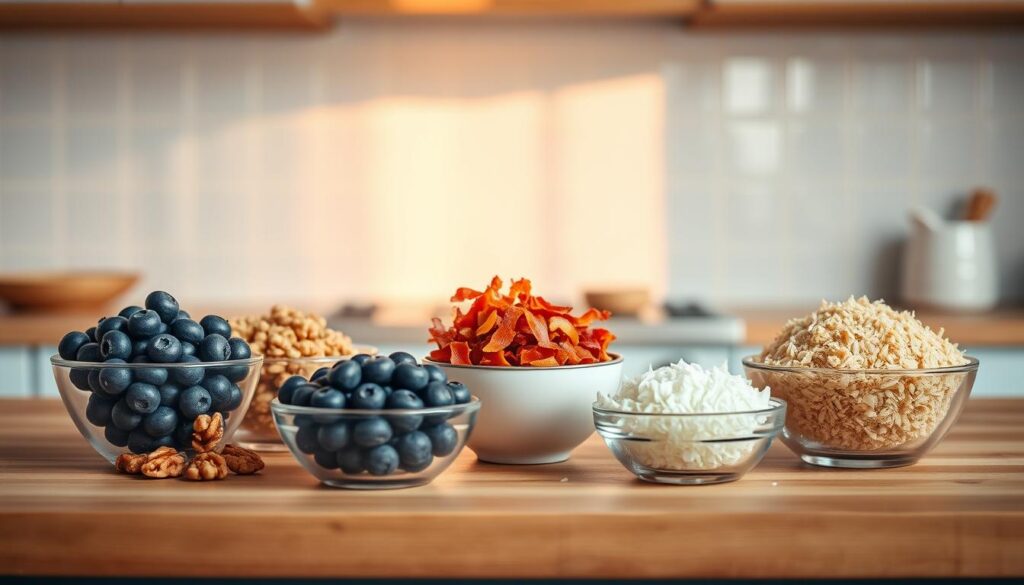
Mix-Ins That Make It Yours
Start with ½ cup additions per batch. Fold them in gently to keep the batter airy. Here’s how popular choices stack up:
| Mix-In | Flavor Boost | Pro Tip |
|---|---|---|
| Dark chocolate chips | Rich sweetness | Freeze first to prevent sinking |
| Blueberries | Tangy bursts | Toss in flour before adding |
| Walnuts | Crunchy depth | Toast for 5 minutes first |
| Mashed banana | Natural moisture | Replace ¼ cup liquid |
| Applesauce | Mild sweetness | Reduce sugar by 2 tbsp |
Want that coffee-shop look? Sprinkle oats or extra chips on top before baking. A drop of vanilla extract in the batter adds warmth without overpowering.
For picky eaters, keep half the batch plain. My niece only eats “speckled” versions with rainbow sprinkles mixed in. Your kitchen, your rules.
Remember: every swap changes texture slightly. More bananas mean denser results. Extra chips create gooey pockets. That’s not failure – it’s delicious discovery.
Keep in mind: Swapping ingredients can change texture and baking time. Don’t be afraid to experiment, but be mindful of adjustments!
Kitchen Tools and Preparation Tips
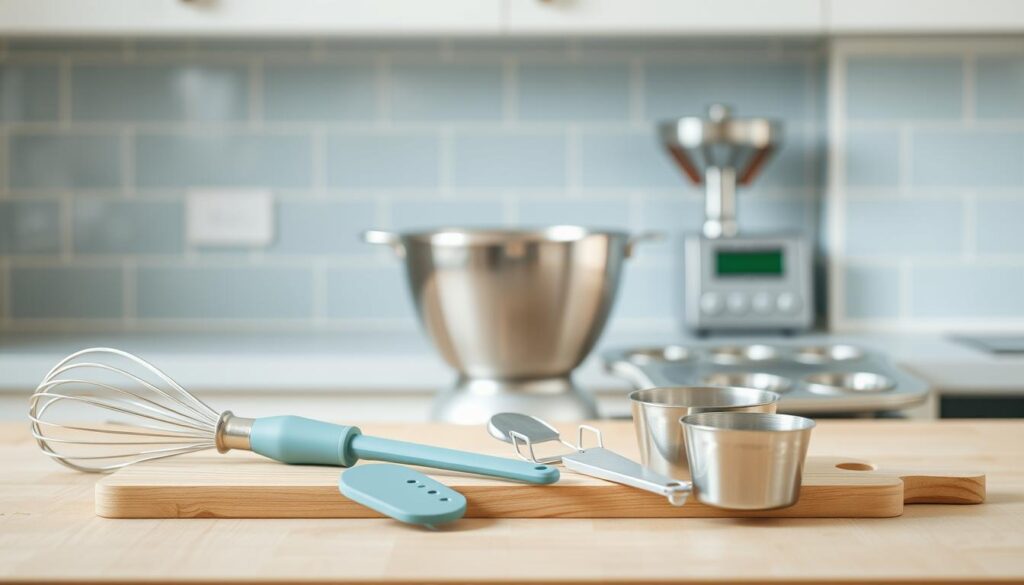
Ever pulled muffins from the pan only to leave half their tops behind? I learned the hard way during a rushed bake sale prep. Your tools aren’t just accessories—they’re silent partners in baking success.
Your Pan Matters More Than You Think
Dark metal pans brown faster than shiny ones. For even results, I swear by standard 12-cup tins with silicone liners. They release treats effortlessly—no greasing required. See how options compare:
| Liner Type | Stick Factor | Best Use |
|---|---|---|
| Paper | Medium | Quick batches |
| Silicone | None | Weekly meal prep |
| Greased | Low | Crispy edges |
Cooling racks aren’t optional. Leaving baked goods in the pan steams their bottoms. Transfer after 5 minutes for perfect texture.
Measure Twice, Bake Once
That time I confused 1/2 cup with 1/3? Let’s just say hockey pucks weren’t on the menu. Use nested measuring cups and level with a knife. For dry ingredients like flour:
- Fluff with a fork before scooping
- Pour into cups—don’t pack
- Weigh for precision (120g per cup)
Prep your workspace first. Measure everything into small bowls—it turns chaotic mixing into smooth assembly. I keep a 1/2 cup measure dedicated to batter portioning. Consistent sizing means even baking every time.
Last tip? Breathe. Mistakes make great breadcrumbs. With the right tools and prep, you’ll nail this.
Protein Breakfast Muffins Without Eggs: Recipe Highlights
Last Tuesday, I grabbed a still-frozen treat from the freezer at 6:47 AM. By 6:52, I was out the door with a warm, satisfying bite in hand. That’s the power of smart storage.
Make-Ahead Magic That Works
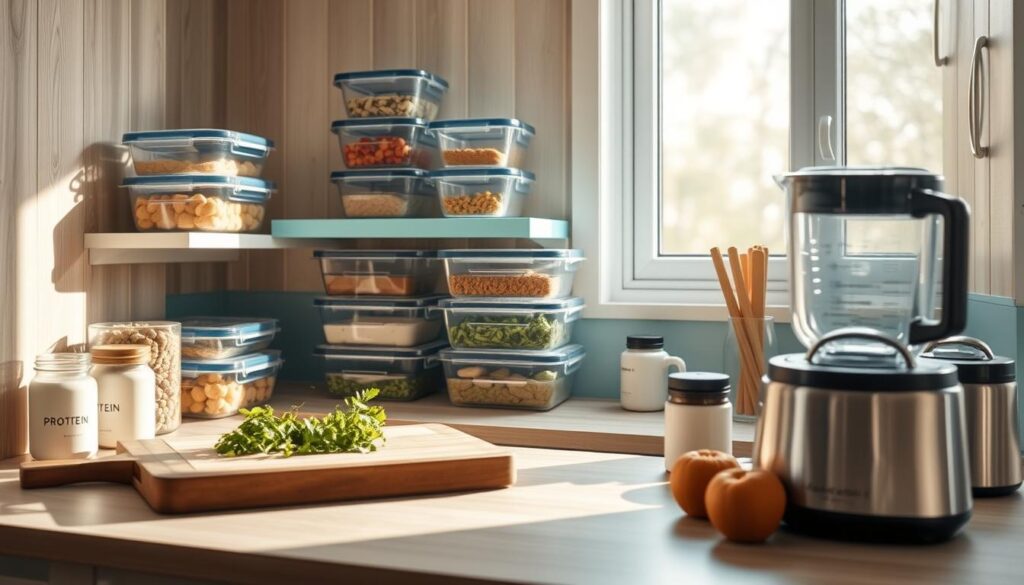
These baked goods stay fresh 4 days in an airtight container at room temperature. For longer storage, freeze them in portions. I use reusable silicone bags – they’ll keep for 2 months without losing moisture.
Each serving packs 12g plant-based fuel and 5g fiber to keep you full. At 180 calories per piece, they fit into most eating plans. My trick? Label containers with dates using painter’s tape – no more freezer mysteries.
- Stack cooled treats between parchment in containers
- Thaw overnight or microwave 30 seconds
- Double batches freeze beautifully
Want to share the love? Use the “recipe pin recipe” button below to save it on Pinterest. I’ve seen readers create entire boards dedicated to this formula – one mom pinned it as “school rush lifesaver.”
Print the instructions and tape them inside your pantry door. When Sunday meal prep rolls around, you’ll have your game plan ready. Because mornings shouldn’t be a battle – they should taste this good.
These muffins will be a hit! With the right balance of flavors and nutrients, they’re your go-to for a satisfying, healthy breakfast.
A reader recently shared how these became her family’s weekday staple—proof that good food adapts to your life. Whether folded into lunchboxes or enjoyed with afternoon tea, these bakes deliver flavor and fuel without fuss. Keep the recipe handy—tap the “print” button below for easy reference during weekend prep sessions.
Subtle tweaks make each batch uniquely yours. A sprinkle of dark chocolate adds joy to mornings, while swapping oils affects richness. Prefer lighter options? Try applesauce instead of butter to manage fat content. Those experimenting with whey protein or plant-based blends often find their perfect match by the third try.
What’s your twist? I’ve seen everything from lemon zest to crushed nuts folded into the batter. Share your creations in the comments—we all learn from each other’s kitchen wins. Because cooking should feel like teamwork, not a test. Now go make that oven work for you.
Chia-Pumpkin Protein Muffins
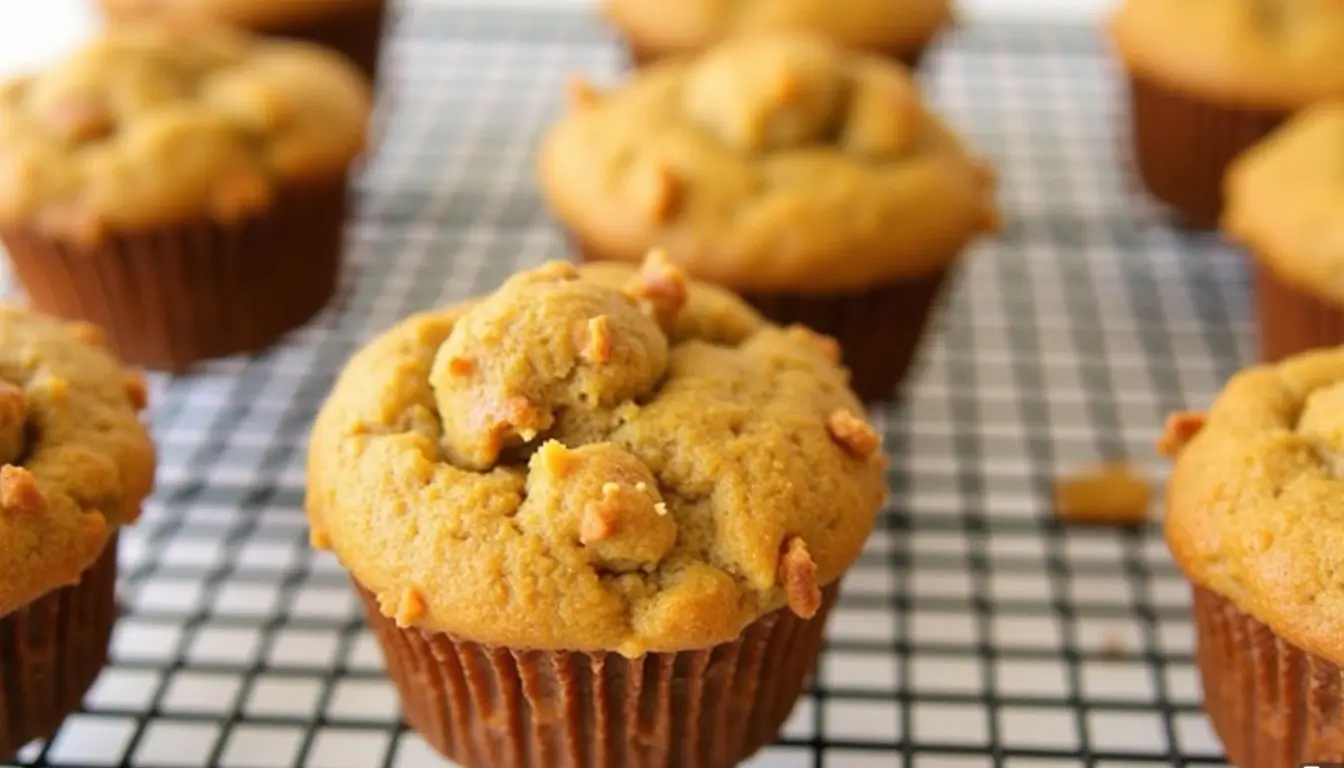
These chia-pumpkin protein muffins are packed with plant-based protein, fiber, and the earthy sweetness of pumpkin. A perfect fall-inspired snack or breakfast option, great for meal prepping and freezing for busy mornings.
Nutrition Information
Equipment Needed
- Mixing bowl
- Muffin tin
- Spatula
- Ice cream scoop
Ingredients
-
1 cup oat flour
-
1/2 cup pumpkin puree
-
1/4 cup chia seeds
-
1/2 cup plant-based protein powder
-
1/4 cup maple syrup
-
1/4 cup coconut oil, melted
-
1/2 cup unsweetened almond milk
-
1 tsp baking powder
-
1/2 tsp baking soda
-
1/2 tsp cinnamon
-
1/4 tsp nutmeg
-
1/4 tsp salt
Instructions
Recipe Video
Pumpkin Chia Muffins (Vegan and Oil-Free!)
These Pumpkin Chia Muffins are full of plant protein, fiber, and they're refined sugar-free! A healthier muffin that will fill you up while still packing flavor.


