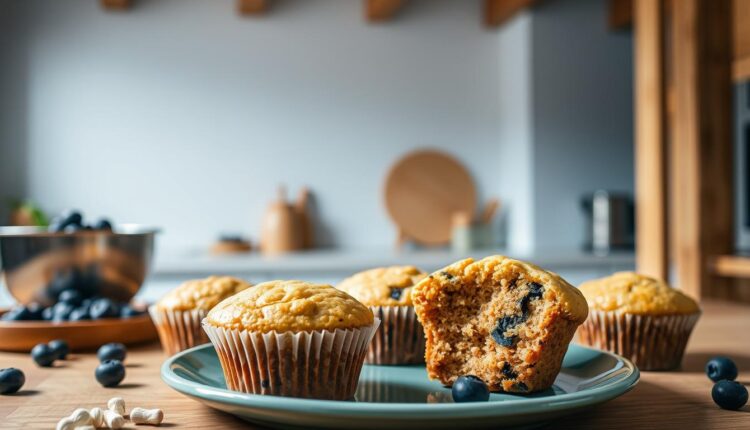
Protein Breakfast Muffins Freezer Storage For Month Supply
Streamline your mornings with protein-packed breakfast muffins. Easy to make, freezer-friendly, and full of veggies, these muffins keep you fueled all week long.
I’ll never forget the first time I pulled a perfectly baked batch from my oven on a Sunday afternoon—only to enjoy them every weekday for a month. That’s the quiet power of planning ahead.
These nutrient-packed bites solve two daily dilemmas: rushed mornings and mid-day energy slumps. Through trial and error (I’ve burned more batches than I’d care to admit), I’ve refined a system that lets you stock your kitchen with ready-to-reheat options while preserving their texture and flavor.
Here’s what makes this approach work:
- One focused prep session creates 20+ mornings of ease
- Smart storage techniques prevent freezer burn
- Balanced ingredients keep you fueled till lunch
Whether you’re juggling school runs, work deadlines, or both, this method adapts to your schedule. You’ll find detailed guidance on ingredient ratios, baking hacks, and my favorite parchment wrapping trick ahead. Let’s create your new meal rhythm together.
You’ve got this—and I’ve got your back.
Protein Breakfast Muffins & Freezer Storage
There’s a secret weapon in my kitchen that turns chaotic mornings into smooth starts—and it’s not my coffee maker. These handheld bites combine scrambled eggs’ simplicity with a frittata’s heartiness. Think: fluffy egg base packed with colorful veggies and melty cheese, baked in a muffin tin for perfect single servings.

I learned the hard way that rushed mornings demand solutions smarter than burnt toast. That’s why this recipe became my weekly ritual. You whisk together eggs (nature’s protein powerhouse), chop whatever veggies need using up, and let the oven do the work. The muffin tin’s compartments ensure even cooking—no more guessing portions or messy spills.
What makes these stand out? They’re nutritionally complete without tasting like “health food.” Each bite delivers sustained energy through smart ingredient pairings: spinach for iron, bell peppers for vitamin C, and cheese for creamy satisfaction. They freeze like champs, too—pop one in the microwave, and it’s ready before your coffee finishes brewing.
Don’t worry if you’re new to meal prep. I’ll walk you through every step, from choosing the freshest ingredients to mastering the bake time sweet spot. Up next: how to build your ideal flavor combo and store them for maximum freshness.
Benefits of Prep and Freezer Storage for Busy Mornings
My Wednesday morning meltdown changed everything. I’d forgotten to charge my laptop, my toddler hid my keys, and the only edible thing in sight was half a bagel from Tuesday. That’s when I grabbed my last frozen batch from the icebox—warm, savory, and ready in 90 seconds flat.

- One 25-minute baking session yields 18 portions (your oven does the heavy lifting)
- Portion-controlled cups of batter mean zero measuring during hectic weeks
- Flash-freezing locks in moisture better than fridge storage
“Meal prep isn’t about perfection—it’s about reclaiming your mornings.”
Compare traditional vs. prep-friendly approaches:
| Daily Cooking | Batch Baking | |
|---|---|---|
| Active Time | 15 minutes/day | 25 minutes/month |
| Oven Use | Daily | Once |
| Morning Stress | High | None |
Last month, I timed myself. Mixing batter took 7 minutes. Baking required 18. That’s 25 minutes total for 3 weeks of grab-and-go fuel. Even better? They reheat while you brush your teeth.
Stash them in individual bags or stackable containers. When life gets loud, you’ll have quiet confidence waiting in your icebox—no more frantic toast-burning or skipped meals.
Essential Ingredients and Equipment for Protein Muffins
Kitchen disasters taught me one golden rule: success starts with the right tools and ingredients. Years ago, I ruined a batch by grabbing baking soda instead of salt—now I triple-check everything before mixing. Let’s set you up for smooth prep with these essentials.
Must-Have Ingredients
Your flavor foundation needs three heroes:
- Eggs (12 large ones for a standard batch)
- Shredded cheddar cheese (sharp varieties pack more flavor)
- Fresh veggies like spinach or bell peppers
A pinch of salt isn’t optional—it brightens the eggs and balances the cheese. Skip it, and your bites taste flat. For extra lift, add a splash of milk or dollop of Greek yogurt.
Tools and Equipment Needed
Grab these time-savers:
- A 3-quart large bowl (trust me, smaller bowls lead to spillage)
- Standard measuring cup set (dry and liquid versions matter)
- Nonstick muffin tin + silicone spatula
My Thursday morning “oops” moment? Using a flimsy whisk that bent mid-stir. Now I swear by sturdy stainless steel tools. For portioning, a make-ahead breakfast sandwich recipe taught me the value of consistent scoops—your measuring cup ensures every muffin bakes evenly.
Pro tip: Lay everything out like a cooking show mise en place. When your large bowl, veggies, and seasonings stand ready, you’ll breeze through prep. No frantic fridge searches mid-recipe.
Step-By-Step Guide to Making Protein Breakfast Muffins
Ever had a baking disaster that turned into a breakthrough? My overmixed batter taught me a valuable lesson: gentle hands make fluffy results. Let’s walk through the process together—no chef’s hat required.

Gathering and Preparing Ingredients
Clear your countertop first. Grab a large bowl, whisk, and standard muffin tin. Measure everything before mixing—trust me, scrambling mid-recipe leads to chaos. Here’s your roadmap:
Separate egg whites carefully. Whisk them until frothy peaks form—this creates air pockets for lift. Combine yolks with shredded cheese and diced veggies in another bowl. Fold the whites in last using a spatula. Overmixing deflates your batter faster than a popped balloon.
Baking and Cooling Process
Pour the mixture three-quarters full—they rise like magic. Bake at 375°F for 18-20 minutes. Check doneness with a toothpick; if unsure, zap one in the microwave for 15 microwave seconds. They’re done when no liquid seeps out.
Let them sit in the tin for 5 minutes. Transfer to a wire rack until completely cool—this stops sogginess. I learned this the hard way after impatience turned my batch mushy. For perfect savory egg cups, timing matters as much as ingredients.
Pro tip: Line your tin with parchment squares. It prevents sticking without greasy sprays. Now you’ve got golden, airy bites ready for tomorrow—or three weeks from now.
Do not overheat muffins in the microwave. Excessive heat may result in rubbery, overcooked muffins that lose their fresh texture.
Preparing Muffins for Freezer Storage
I once rushed through this step and ended up with icy crystals ruining my favorite batch. Now I treat cooling like a meditation—patience pays off in texture preservation. Proper preparation turns your icebox into a time capsule of freshness.
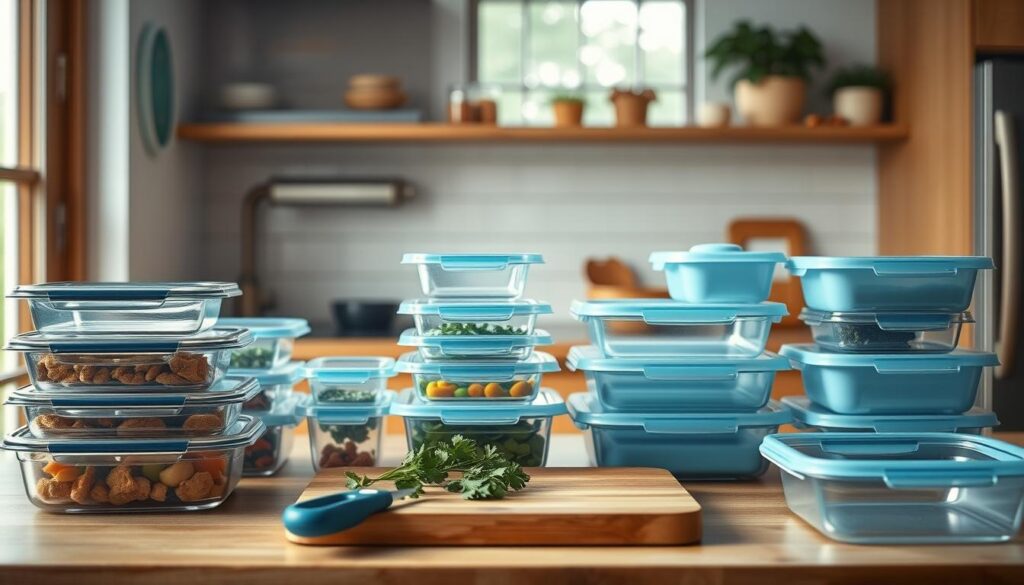
Cooling Completely
Set baked goods on a wire rack for 90 minutes. Trapped steam causes sogginess if packaged too soon. Test readiness by touching the center—no warmth means they’re ready. This prevents condensation from forming ice armor in cold storage.
Wrapping and Packaging Techniques
Individually swaddle each piece in plastic wrap like precious leftovers. Press out air pockets before sealing. No wrap? Use foil or reusable silicone bags. For extra protection, nestle wrapped items in an airtight container labeled with dates.
My Thursday discovery: double-layering prevents flavor transfer. Place parchment between layers if stacking. Consistent packaging matters—whether using plastic wrap or alternatives, uniform methods ensure even freezing. Your future self will thank you when every reheated bite tastes fresh-from-the-oven.
Pro tip: Freeze them uncovered for an hour first. This flash-chill creates a protective crust before final wrapping. Combine this with your airtight container, and you’ve mastered long-term storage without losing that just-baked magic.
Tips for Preventing Muffins from Sticking & Ensuring Even Cooking
Ever opened your oven to find half your batch clinging to the pan? I stared at my first “muffin mosaic” disaster for a full minute before laughing—then solving the problem. Here’s what works when pans fight back.
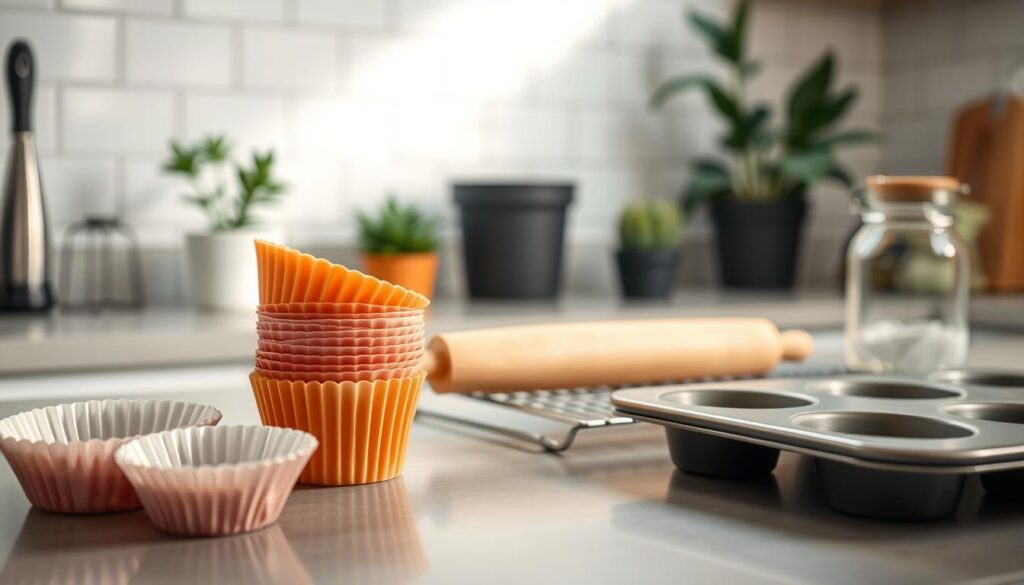
Grease Tactics That Actually Work
Cold butter taught me a valuable lesson. Rubbing a chilled stick directly across every ridge creates better coverage than melted versions. For stubborn corners, use a pastry brush to spread softened butter into crevices.
Not all sprays play nice. Some plastic-based aerosols leave sticky residues that cement baked goods to metal. If yours leaves gunk, try this comparison:
| Method | Effectiveness | Notes |
|---|---|---|
| Butter | ★★★★☆ | Adds flavor, needs reapplying |
| Parchment liners | ★★★★★ | No cleanup, reusable twice |
| Oil Spray | ★★★☆☆ | Check for propellants |
Paper liners became my weekend savior after multiple stuck-on tragedies. They eliminate scrubbing while keeping edges crisp. For silicone molds, a light spritz prevents suction—I learned this after wrestling a particularly stubborn blueberry batch.
Three tips from my notebook:
- Wipe excess grease from rim edges
- Let baked goods cool 8 minutes before removing
- Run a toothpick along stubborn edges if needed
Last month, switching from spray to butter transformed my carrot cake bites—they slid out like hockey pucks on ice. Your perfect method might differ, but these strategies create a solid starting point.
Use caution with sprays that leave sticky residues. Avoid overly greasy pans as they can cause muffins to stick and prevent proper rise.
How to Reheat and Enjoy Your Protein Muffins
That Thursday when my smoke detector sang backup to my charred snack taught me this: reheating is an art. Whether you’re racing out the door or savoring a slow morning, these methods bring back that just-baked magic.

Microwave Heating Tips
Place your portion on a microwave-safe plate. Cover loosely with a damp paper towel—this creates steam without sogginess. Heat for 15 seconds, then check. If needed, add 5-second bursts. More than 25 seconds total turns springy bites into rubber.
Oven Reheating Methods
Preheat to 325°F. Wrap in foil to lock in moisture, baking for 8-10 minutes. No foil? Use an oven-safe dish with a lid. This method shines when you have extra time—the edges crisp slightly while centers stay tender.
| Method | Best For | Texture |
|---|---|---|
| Microwave | Quick mornings | Soft & steamy |
| Oven | Weekend brunch | Crispy exterior |
My neighbor once nuked hers for a full minute—we called it The Hockey Puck Incident. Now I set a timer religiously. For all-day freshness, reheat only what you’ll eat that day. Repeated warming dries them out faster than sunscreen in July.
Pro tip: Let them sit 1 minute post-reheating. Heat distributes evenly, preventing lava-hot centers. Pair with your favorite hot drink, and you’ve mastered the time-crunch breakfast dance.
Best Practices for Freezing and Storing Protein Muffins
That frosty morning when my neighbor knocked with a Tupperware full of crystallized bites taught me more about storage than any cookbook. Proper technique turns your cold storage into a flavor vault—here’s how to lock in freshness.
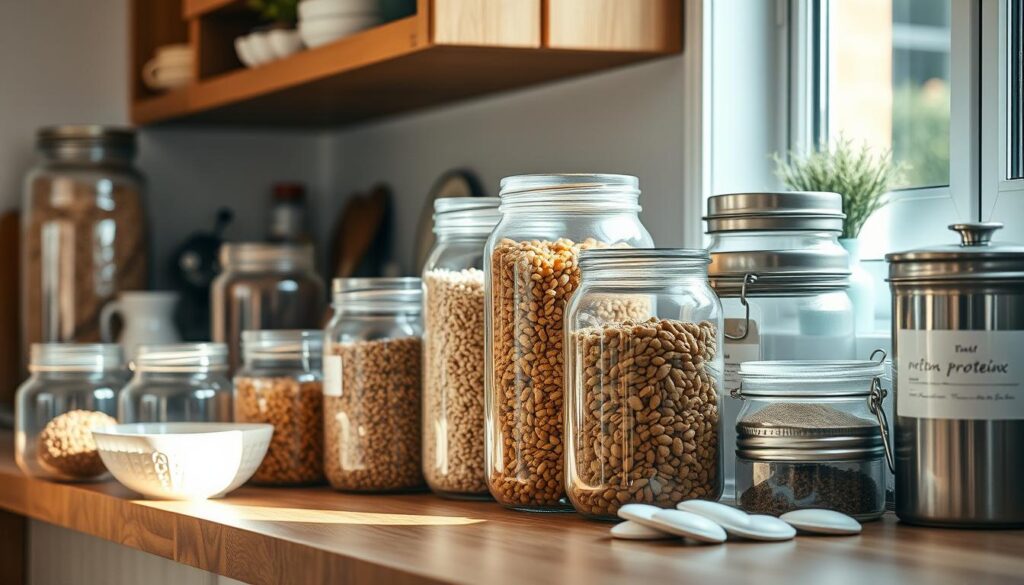
Airtight Container and Zip-Lock Bag Use
Cooled completely? Good. Now layer them like precious artifacts. Start with parchment squares between each piece to prevent sticking. Slide into zip-top bags, pressing out every air bubble before sealing. For freeze months of quality, double-wrap in foil first.
| Container Type | Effectiveness | Pro Tip |
|---|---|---|
| Glass Locking Lid | ★★★★★ | Label dates on masking tape |
| Freezer Bags | ★★★★☆ | Squeeze out air through a straw |
| Plastic Meal Prep Box | ★★★☆☆ | Line with wax paper |
Need short-term options? Store in the fridge for up to five days using breathable containers. But remember—moisture creeps in fast. If your storage method comes clean (no residue or odors), reheating works like magic.
Three rules I live by:
- Flash-freeze unwrapped for 1 hour before bagging
- Write “Eat Me First” on older batches
- Thaw overnight in the fridge when possible
When instructions come clean and simple, your future mornings stay stress-free. Those properly wrapped bites? They’ll taste like you baked them yesterday—even three freeze months later.
Be sure to let muffins cool completely before storing to avoid sogginess and freezer burn. Rushing this step could affect texture and flavor.
Creative Variations on Protein Muffin Recipes
That rainy Tuesday when my oven birthed three different batches taught me this: small tweaks spark big flavor revolutions. Your base formula becomes a playground with smart swaps—here’s how to keep your mornings exciting.
Egg-Centric Twists
Swap whole eggs for whites to lighten texture without losing lift. I learned this after accidentally cracking six yolks into my compost bin. Use two whites per whole egg—they whip into cloud-like peaks that bake into airy domes. Fold in smoked salmon or sun-dried tomatoes for savory flair.
Yogurt Magic
Greek yogurt transformed my densest batch into creamy perfection. Replace ¼ of the dairy with thick yogurt for tangy richness. My “oops” moment? Adding frozen berries directly—they bled color everywhere. Now I toss them in oat flour first.
| Variation | Texture | Prep Time |
|---|---|---|
| Egg White | Fluffy | +2 minutes |
| Yogurt Blend | Moist | Same |
| Veggie-Packed | Dense | -5 minutes |
Mix-in ideas that changed my routine:
- Roasted garlic + rosemary (savory)
- Dark chocolate chips + orange zest (sweet)
- Curried cauliflower + golden raisins (surprise hit)
Last week’s experiment? Chipotle-spiked sweet potato cubes. They caramelized beautifully while baking. Your turn—what’s your wildcard ingredient?
Troubleshooting Common Muffin Issues
Last winter, I pulled a pan from the oven only to find half my batch resembling hockey pucks. Turns out, my oven thermometer lied. We’ve all been there—let’s tackle those frustrating moments with simple fixes.
Preventing Overcooking and Moisture Loss
Set multiple timers. Sounds obvious, but I once burned a batch while chasing my dog through snow—lesson learned. Follow recipe instructions like GPS directions:
- Check oven temperature with a standalone thermometer
- Use the toothpick test at the minimum bake time
- Add 1 teaspoon of Greek yogurt to batter for extra moisture
Too much salt? Even a single extra teaspoon can dry out your meal prep. I keep a sticky note on my measuring spoons now. For leftovers, wrap cooled items in damp paper towels before reheating—steam revives texture beautifully.
Dealing with Sticking and Deflation
That awful tearing sound when your creation sticks? Try this comparison:
| Issue | Quick Fix | Long-Term Solution |
|---|---|---|
| Sticking | Run knife under hot water | Invest in ceramic pans |
| Deflation | Cool upside-down | Don’t overmix batter |
My neighbor swears by chilling pans before baking—it works wonders. For meal prep success, let items rest 8 minutes before removing. They’ll release cleanly every time.
Remember: Cooking is science with flavor. One misstep doesn’t define your skills. Adjust, taste, and try again—your perfect batch awaits.
Optimizing Protein Breakfast Muffins Freezer Storage
That icy morning when my friend texted “Why do mine taste like cardboard?” changed how I approach cold storage. Her soggy bites taught me this: perfect prep means nothing without smart preservation. Let’s lock in freshness like Fort Knox guards gold bars.
Start by preheating your oven 350°F—not hotter. This gentle heat prevents outer crusts from hardening too fast, keeping centers moist for freezing. I learned this after ruining a batch at 400°F—they turned into spongy hockey pucks after reheating.
Three rules for months-long quality:
- Flash-freeze unwrapped portions on a baking sheet first
- Store in glass containers, not plastic (prevents flavor absorption)
- Label with “Eat by” dates using washable markers
Your icebox’s temperature matters more than you’d think. Keep it at 0°F or below—I check mine weekly with a standalone thermometer. Warmer settings create ice crystals that turn fluffy textures grainy.
| Storage Zone | Ideal For | Max Duration |
|---|---|---|
| Door shelves | 1-week supply | 7 days |
| Middle racks | Monthly rotation | 3 months |
| Deep freeze | Long-term stock | 6 months |
When reheating, preheat your oven 350°F again for 5 minutes. This mimics the original bake environment, reviving that just-made magic. For quick mornings? Microwave 12 seconds, rest 1 minute, then enjoy.
“Good storage isn’t about space—it’s about respecting the science of freshness.”
See notes in my recipe journal: adding ½ tsp cornstarch to batter before baking helps maintain moisture through freeze-thaw cycles. Pair this with parchment-lined containers, and you’ll forget they weren’t baked yesterday.
With the right prep and patience, these protein-packed muffins can transform your mornings—saving you time and keeping you energized throughout the day.”
Baking your way to easier mornings starts with trust—trust in the process, and trust in your future self. Through testing batches and tweaking techniques, I’ve found that success hinges on three simple steps: mix with care, bake with patience, and let your muffins cool completely before tucking them away.
That cooling step? It’s non-negotiable. Rushing this part leads to trapped steam and icy textures. I learned the hard way—muffins cool completely when given time, becoming armor-clad against freezer burn. Wait until every crumb reaches room temperature.
Proper wrapping matters just as much as prep. Swaddle each portion like a precious gift, squeezing out air pockets that threaten freshness. Whether you’re storing for three days or three weeks, cooling completely preserves their just-baked magic.
My first attempts weren’t perfect—some stuck to pans, others dried out. But each “oops” taught me how to adapt. Now, I want you to skip those hiccups.
Morning chaos doesn’t stand a chance against a stocked icebox. One batch, done right, becomes weeks of calm starts. Your tomorrow just got tastier.
Cheesy Egg White Protein Muffins
A lighter take on the classic protein muffin, these egg white-based muffins are filled with cheese and a mix of fresh vegetables, providing a satisfying breakfast with all the protein but fewer calories.

Nutrition Information
Equipment Needed
- Nonstick muffin tin
- Large bowl
- Whisk
- Silicone spatula
- Measuring cups
Ingredients
-
12 large egg whites
-
1 cup shredded sharp cheddar cheese
-
1/2 cup red bell pepper, diced
-
1/2 cup spinach, chopped
-
1/4 cup green onions, chopped
-
1/4 cup milk
-
Salt, to taste
-
Black pepper, to taste
-
1/2 teaspoon onion powder (optional)
Instructions
Recipe Video
Healthy Breakfast Egg Muffins!
A simple and nutritious recipe for breakfast egg muffins, perfect for meal prep and busy mornings.

