Make Ahead Breakfast Sandwich Recipe For Quick Mornings
Make mornings easier with our make ahead breakfast sandwich recipe. Batch prep on the weekends and enjoy a quick, no-stress breakfast all week
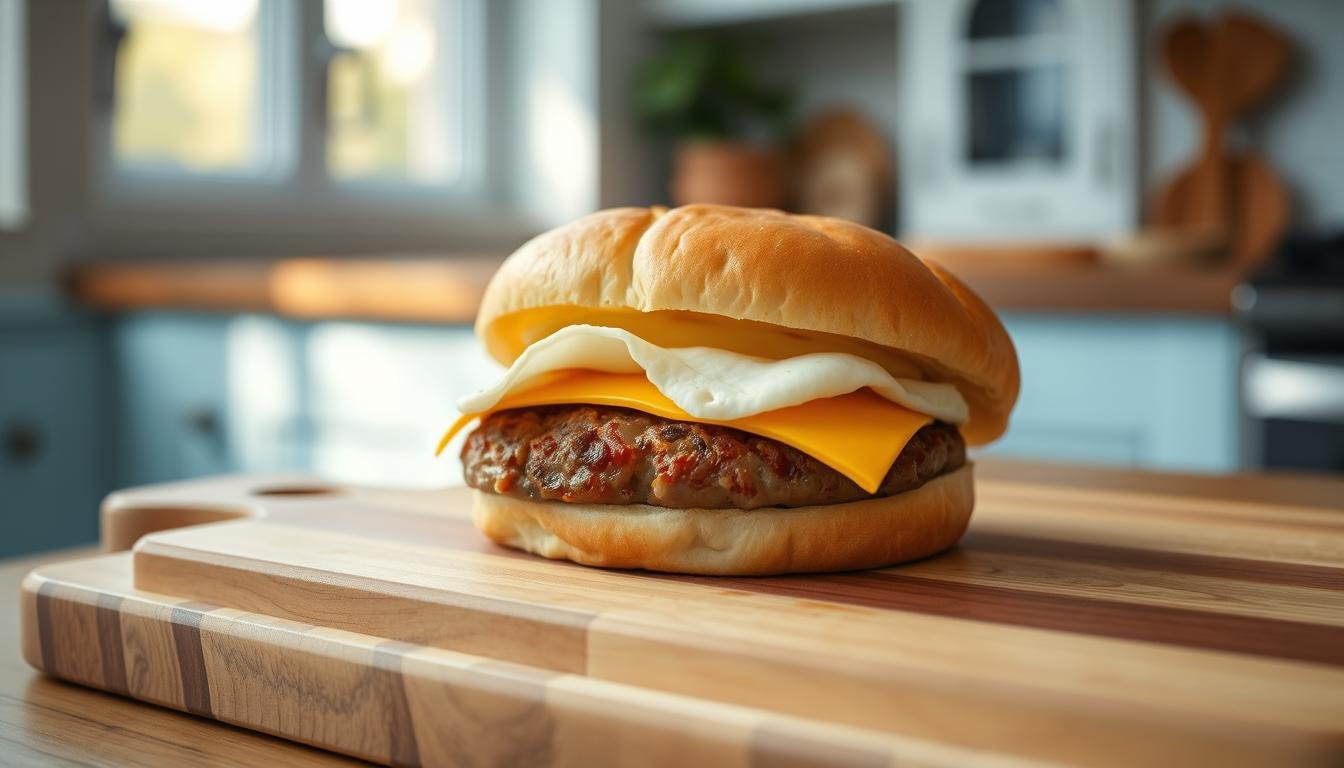
What if your busiest mornings could start with a hot, satisfying meal — without the chaos? I used to scramble (literally) until I discovered the magic of batch-prepped handheld meals. The secret lies in baking a sheet of fluffy eggs, stacking them with crispy bacon or savory sausage, and tucking everything into freezer-friendly English muffins.
Here’s how it works: Whip up a big-batch egg bake in a 9×13 pan during your Sunday reset. Slice it into portions that fit perfectly between toasted muffins with melty cheese. Wrap each one tightly, then store them in the fridge for up to four days or freeze for later. When you’re racing against the clock, just reheat your pre-assembled meal in minutes.
This method isn’t just about saving time — it’s about reclaiming calm. You’ll find detailed steps below for oven temperatures, storage tips, and even customizing your protein (hello, maple-glazed bacon!). Let’s turn hectic mornings into something you actually look forward to.
Benefits of Make Ahead Breakfast Sandwiches
I’ve learned that chaotic mornings become manageable when you remove decisions. Pre-assembled handheld meals let you grab something satisfying without thinking. Let’s explore how this approach transforms your routine.

Reclaim Your Morning Minutes
Spending 10 minutes prepping the night before saves 20 frantic ones later. Toasted English muffins stay crisp when stored separately — pop them in your toaster while reheating the egg patty. One reader shared in a comment: “I finally have time to drink my coffee hot!”
Batch prep isn’t just a time-saver — it’s a morning game-changer. One solid hour on Sunday? You win back five all week.
“Explore More Low Sugar Breakfast Frittata Recipe With Seasonal Vegetables”
Smart Prep = Lasting Freshness
Whisking eggs with a pinch of salt creates a fluffy base that freezes beautifully. Store each portion in a resealable bag to prevent freezer burn. Here’s how freshness holds up:
| Storage Method | Prep Time | Reheating |
|---|---|---|
| Fridge (4 days) | 2 minutes | Microwave + toaster |
| Freezer (3 months) | 3 minutes | Oven or air fryer |
Fans of similar recipes often note how the muffin’s nooks hold melted cheese perfectly. That first crunchy bite? Worth every saved second.
Handheld Breakfast Starts with the Right Basics and Smart Tools
The right components transform rushed mornings into smooth routines. Let’s break down what you’ll need to build your handheld meals efficiently.
Key Ingredients: Eggs, English Muffins, and More
Start with a dozen large eggs — they create the protein-packed foundation. Split six whole-grain English muffins for better texture retention. Add eight ounces of sharp cheddar and twelve slices of cooked bacon or sausage patties. A dash of black pepper elevates flavors without overpowering.

Fresh spinach or roasted red peppers add color and nutrients. Use this framework to customize based on preferences or dietary needs:
| Ingredient | Quantity | Purpose |
|---|---|---|
| Eggs | 12 large | Base protein |
| Muffins | 6 split | Crunchy vessel |
| Cheese | 8 oz | Melty binding |
Kitchen Tools and Equipment You Need
A 9×13 baking dish ensures even egg cooking. Use a biscuit cutter slightly smaller than your muffins to shape perfect rounds. I prefer a wire whisk for fluffier results compared to forks.
Reheating shines with a microwave for speed, but a toaster oven restores that just-made crispness. For those new to this stress-free system, precise measurements matter most. Follow the instructions closely for foolproof assembly every time.
Skip greasing your pan and risk a stuck-on egg disaster. Always line with parchment for smoother slicing and faster clean-up.
“Related Topics 12 Healthy Breakfast Meal Prep Ideas For Busy Mornings”
Comprehensive Make Ahead Breakfast Sandwich Recipe Instructions
Let’s walk through each stage of creating these freezer-friendly wonders. I’ve refined this method through countless test batches — follow these instructions for golden results every time.

Mastering the Egg Base
Preheat your oven to 350°F. Whisk 12 eggs with ¼ cup milk until frothy — this creates air pockets for lift. Pour into a greased 9×13 pan lined with parchment paper. Bake 18-20 minutes until edges pull away but the center still jiggles slightly. Cool completely before slicing into 6 squares with a pizza cutter.
Layering Like a Pro
Toast English muffins lightly. Place a cheese slice on each bottom half — sharp cheddar melts best. Add warm sausage patties or bacon slices, then top with egg squares. For crunch, try roasted peppers or spinach. One reader swears by this trick: “Freeze components separately first to prevent sogginess!”
Crispy Reheating Methods
Wrap assembled sandwiches in wax paper, then foil. Reheat frozen ones in a toaster oven at 375°F for 15 minutes. Microwaving? Use 50% power for 90 seconds, then crisp the muffin in a dry skillet. See which method works best:
| Method | Time | Crispiness |
|---|---|---|
| Toaster Oven | 15 min | ★★★★☆ |
| Skillet | 8 min | ★★★★★ |
| Microwave | 2 min | ★★☆☆☆ |
For more assembly ideas, check out this freezer-friendly guide. Remember: slightly undercook eggs during prep — they’ll finish setting when reheated. Your future self will thank you!
Microwaving wrapped sandwiches without unwrapping foil first? That’s a fire hazard waiting to happen. Always unwrap before reheating. Always.
Read More:
Smart Swaps for Guilt-Free Breakfast Sandwiches
Your handheld meals should fit your lifestyle — not the other way around. With a few smart tweaks, you can transform this staple into a nutrient-packed powerhouse that still feels indulgent.

Healthier Swap Options for Meats and Bread
Swap standard English muffins for whole-grain versions or gluten-free alternatives. These add 4-6 grams of fiber per serving while keeping that satisfying crunch. For proteins, try turkey bacon (70% less fat than pork) or plant-based sausage crumbles.
| Ingredient | Traditional | Healthier Option |
|---|---|---|
| Bread | White muffin | Whole grain |
| Meat | Pork bacon | Turkey bacon |
| Cheese | Full-fat cheddar | Reduced-fat cheddar |
One reader shared: “Using smoked turkey slices instead of sausage gave my freezer stash a delicious twist!” Explore flavor combinations that keep your taste buds engaged without extra calories.
“Further Reading: Low Sugar Breakfast Recipes Healthy For Stable Energy“
Boosting Nutrition with Fresh Vegetables
Fold sautéed spinach or diced roasted peppers into your egg mixture before baking. Mushrooms add meaty texture with minimal fat — just pat them dry to prevent sogginess. Here’s how different veggies stack up:
- Spinach: Iron + vitamin K
- Bell peppers: Vitamin C boost
- Zucchini: Adds moisture control
Freezing works beautifully with veggie-packed versions. Simply wrap each portion tightly in parchment before sealing in freezer bags. Small changes create big wins — your future self deserves that nourishing bite!
Tips for Efficient Batch Cooking and Freezing
Mastering batch cooking transforms kitchen chaos into calm mornings. With smart storage strategies, your prepped meals stay fresh and ready when hunger strikes.

Freezing Best Practices to Maintain Freshness
Wrap each assembled portion in wax paper first — this prevents sticking. Then secure with foil or slide into resealable bags. Squeeze out excess air to avoid freezer burn. I label everything with dates using a permanent marker: “March 5 – Sausage & Pepper Jack” keeps things clear.
Layer components flat in your freezer for faster freezing. For best results:
- Cool all ingredients completely before assembly
- Use parchment between layers if stacking
- Consume within 3 months for peak flavor
“Discover More: Low Sugar Breakfast Meal Planning For Weekly Organization“
Effective Reheating Techniques for a Perfect Crunch
Revive that just-made texture with these methods. My favorite? Preheat your oven to 375°F. Unwrap frozen portions and bake directly on the rack for 12-15 minutes. The circulating heat crisps muffins while gently warming fillings.
| Method | Time | Texture |
|---|---|---|
| Oven | 15 min | Crispy edges |
| Toaster | 3 min | Golden crust |
| Microwave | 90 sec | Soft & fast |
For microwave users: Place a damp paper towel under your meal to prevent rubbery eggs. Always finish with 30 seconds in a dry skillet for that essential crunch. One reader noted: “The skillet trick changed my reheating game completely!”
Storing hot components? That’s a shortcut to freezer burn and soggy buns. Let everything cool fully before wrapping to keep quality high.
Imagine opening your freezer to find delicious solutions waiting to transform hectic days. These handheld meals prove that thoughtful prep pays off — less stress, more savoring. With basic tools like a trusty pan and simple cooking methods, you’re already equipped to succeed.
Customization keeps things exciting. Swap bread types for new textures, or try different cheeses in your egg mixture. One reader on Threads raved about using sourdough instead of English muffins: “Game-changer!” What will your signature twist be?
I love seeing how this concept adapts to diverse tastes. Share your creations in the comments — your hack might inspire someone’s next batch. Whether you stick to classic combinations or invent wild new ones, remember: good mornings start with smart planning.
Now go reclaim those precious morning moments. Your future self will high-five you through every bite. Happy cooking!
Sweet Potato and Chorizo Breakfast Sliders
These freezer-friendly sliders feature roasted sweet potato rounds, smoky chorizo, and a fluffy egg bake layered between mini whole wheat buns for a bold, handheld breakfast you can batch-prep and reheat anytime.

Nutrition Information
Equipment Needed
- 9×13 baking dish
- Rimmed sheet pan
- Mixing bowls
- Nonstick skillet
- Knife and cutting board
Ingredients
-
2 medium sweet potatoes, sliced into ¼-inch rounds
-
1 tbsp olive oil
-
½ tsp smoked paprika
-
Salt and pepper to taste
-
6 oz chorizo sausage, cooked and crumbled
-
6 large eggs
-
¼ cup milk
-
½ cup shredded pepper jack cheese
-
6 mini whole wheat slider buns
-
Handful of arugula or baby spinach (optional)
Instructions
