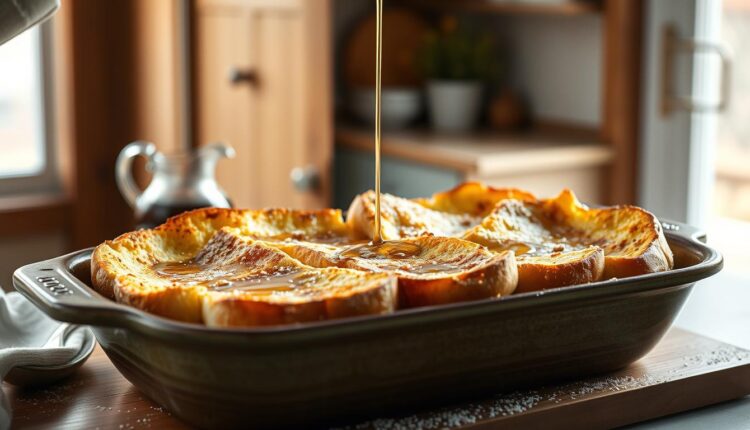
Make Ahead Breakfast French Toast Casserole Style
Start your day off right with our make ahead breakfast French toast casserole recipe. Get our simple, stress-free guide to prepping breakfast for the week.
You know that feeling when your alarm goes off, and the day’s demands hit before your feet touch the floor? I’ve spent years chasing solutions for hectic mornings – until I discovered the magic of letting a cinnamon-kissed custard work overnight while I sleep.
This isn’t just another breakfast recipe. It’s your secret weapon for turning chaotic mornings into moments where you actually get to sip your coffee while something bakes to golden perfection. The beauty lies in the prep: layer crusty bread in a dish, whisk together eggs with real maple and vanilla, then let everything mingle in the fridge. Come sunrise? Just slide it into a 350°F oven.
What makes this dish special isn’t just its hands-off approach – though that’s life-changing for school mornings. It’s how the bread transforms into custard-soaked clouds edged with caramelized crispness. Whether you’re feeding hungry kids or hosting friends, this crowd-friendly bake adapts effortlessly. And the best part? That quiet moment when you pull it from the oven, knowing you’ve outsmarted another busy day.
the Magic of French Toast Casserole
There’s something magical about walking into a kitchen that smells like caramelized cinnamon and vanilla – especially when you didn’t slave over the stove. This toast casserole became my secret weapon after realizing even sleep-deprived parents deserve decadent mornings. The magic? It’s all in the contrast: crackly golden crust giving way to silky custard pockets that taste like Sunday brunch at your favorite café.
I learned the hard way that cold eggs make lumpy custard – now I always use room temperature ingredients. Whole milk creates that rich mouthfeel without heaviness, while real maple syrup adds depth you can’t get from pancake bottles. Last Christmas Eve, I prepped this dish while wrapping gifts. Morning brought snow outside and my niece’s declaration: “Auntie makes better breakfast than Disney World!”
That’s the beauty of this breakfast casserole. It turns chaotic mornings into moments where you’re the hero who somehow baked while sleeping. Families love it because it feeds crowds effortlessly. Brunch fans adore the restaurant-quality presentation. And you? You’ll love having warm, syrup-drenched comfort ready when the day demands your attention.
Essential Ingredients and Equipment
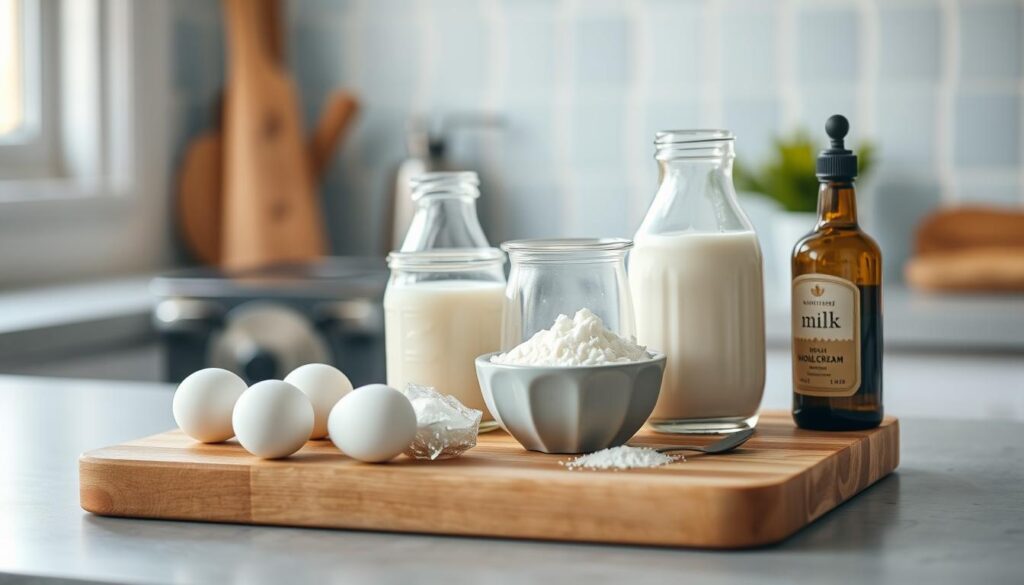
Ever wonder why some dishes taste like cozy weekends while others fall flat? It starts with what you grab from your pantry. Choosing the right components transforms this dish from soggy bread pudding to custard-kissed perfection.
Quality Bread and Dairy Options
Stale challah? Yes. Fluffy brioche? Perfect. I’ve tested everything from sourdough to whole wheat sandwich bread. The winner? Bread with tight crumbs that soak up the custard mixture without dissolving. Day-old loaves work best – their slight dryness acts like a sponge.
For dairy, whole milk creates that velvety texture we crave. But here’s my hack: swap half with evaporated milk. It adds creaminess without weighing down the custard mixture. Always use room-temperature eggs – cold ones create uneven soaking.
Must-Have Kitchen Tools
Your 9×13-inch baking dish is non-negotiable. Too small, and you’ll have custard soup. Too big? Dry edges. A sturdy whisk blends eggs smoothly, though an electric mixer saves time for large batches.
Letting the bread sit in the custard mixture for 30 minutes is crucial. I set a timer while preheating the oven to 350°F. That warm-up time ensures even heat distribution – no burnt tops or raw centers. Use oven 350°F as your baseline, adjusting racks to the middle position.
Prepping Your Bread for French Toast Casserole
The secret to a custard-kissed casserole starts with your bread choice. I learned this the hard way after a failed attempt with fresh sandwich slices turned my dish into a mushy mess. Slightly stale loaves work like sponges – they absorb the egg mixture without losing their structure.

- Day-old bread: Leave your loaf uncovered overnight to dry slightly. Challah and brioche are my top picks – their tight crumbs hold up beautifully.
- Pre-toast technique: Spread cubes in your 9×13 pan and bake at 300°F for 8 minutes. This creates tiny cracks for custard to seep into while preventing sogginess.
Cut your bread into 1-inch cubes or tear it into rustic chunks. Uniform pieces ensure even soaking – nobody wants half-soggy, half-dry bites. If using fresh bread, toast it lightly first. I keep ends of artisan loaves in my freezer just for this recipe.
“Stale bread isn’t a compromise – it’s the key to texture magic.”
Watch how the custard clings to properly prepped bread versus fresh slices. You’ll see why this step matters: the golden crust forms better, and every bite stays delightfully tender inside. Your future self will thank you when that first forkful hits the table.
Crafting a Rich and Flavorful Custard Mixture
What transforms good custard into something extraordinary? It’s not just ingredients – it’s precision. I’ve discovered that swapping half the whole milk with fat-free evaporated milk creates a lighter texture without sacrificing richness. This blend gives you that velvety mouthfeel while keeping things balanced.

Start by whisking 6 large eggs in a mixing bowl until smooth. Add 2 cups of your milk combination, ¼ cup pure maple syrup, and 3 tablespoons sugar. The maple does double duty – sweetening while adding caramel notes that refined sugar can’t match. Always mix at room temperature to prevent curdling.
- Set a timer for 15 minutes once you pour the custard over bread
- Bake at 350°F for 45-50 minutes until the top shimmers golden
- Tap the dish lightly – it should jiggle slightly in the center
Why the strict timing? Undersoaked bread stays dry, while over-soaked turns mushy. That 15-minute window lets the custard penetrate just enough. During baking, the sugar caramelizes into a crisp crown, while the milk proteins set the interior to spoon-tender perfection.
“Your timer is the unsung hero here – trust it more than visual cues.”
I learned this balance through trial (and a few burnt batches). Now, I prep the custard mixture while the oven preheats. The result? A custard that’s sweet but not cloying, with a texture that’s both cloud-soft and satisfyingly crisp where it counts.
Step-by-Step Guide to Assembling Your Casserole
Assembling this dish feels like solving a delicious puzzle where every piece matters. Let me walk you through the process that’s saved countless mornings in my kitchen.
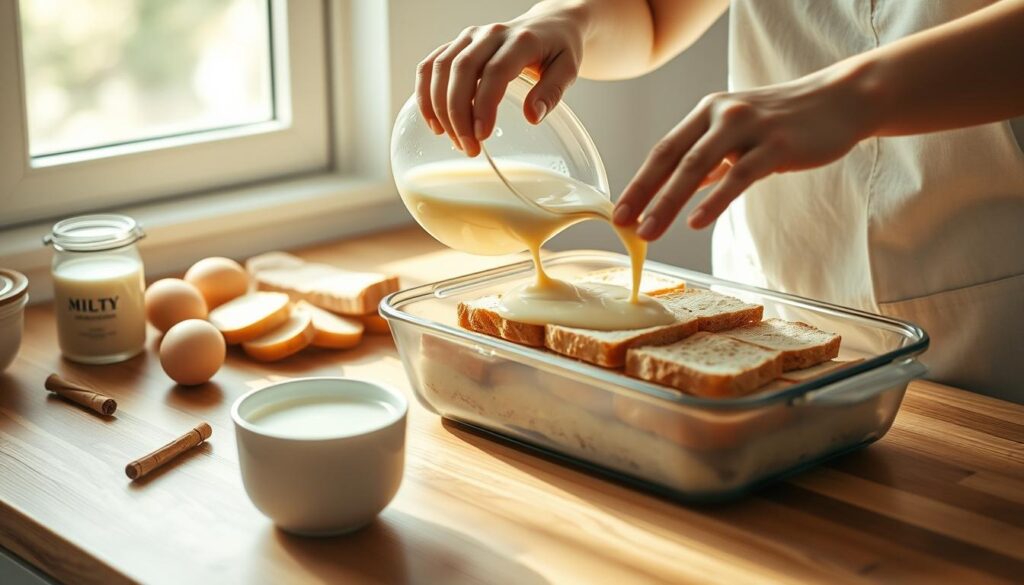
- Layer with intention: Spread your prepped bread evenly in the pan. I alternate directions – some cubes flat, others on edge – to create nooks for the custard mixture to pool.
- Pour like a pro: Hold your mixing bowl 6 inches above the pan. This height helps the custard mixture distribute evenly without displacing the bread layers.
- The press test: Gently push down with clean hands until custard rises halfway up the bread. If it doesn’t, let it sit 2 minutes and press again – the bread will keep absorbing.
Timing matters here. Set a 15-minute timer after pouring. This resting period lets the custard seep into every crevice without over-softening the bread. I use this window to wipe counters and preheat the oven to 350°F.
Want that golden crown? Sprinkle cinnamon-sugar across the top just before baking. The sugar caramelizes while the cinnamon forms a fragrant crust. Your pan should look like a mosaic of bread peeking through creamy custard.
“Perfect assembly isn’t about speed – it’s about letting each layer find its place.”
Remember: neat rows create visual appeal, but rustic piles ensure better texture. Either way, that first whiff of baked cinnamon will tell you you’ve nailed it.
Overnight Prep Tips for Make Ahead Breakfast French Toast
Transform your morning routine while you sleep – that’s the quiet power of overnight prep. I’ve found that letting the custard work its magic undisturbed creates layers of flavor you can’t rush. Think of your fridge as a flavor incubator where bread becomes velvety and spice notes deepen.
Refrigeration and Soaking Strategies
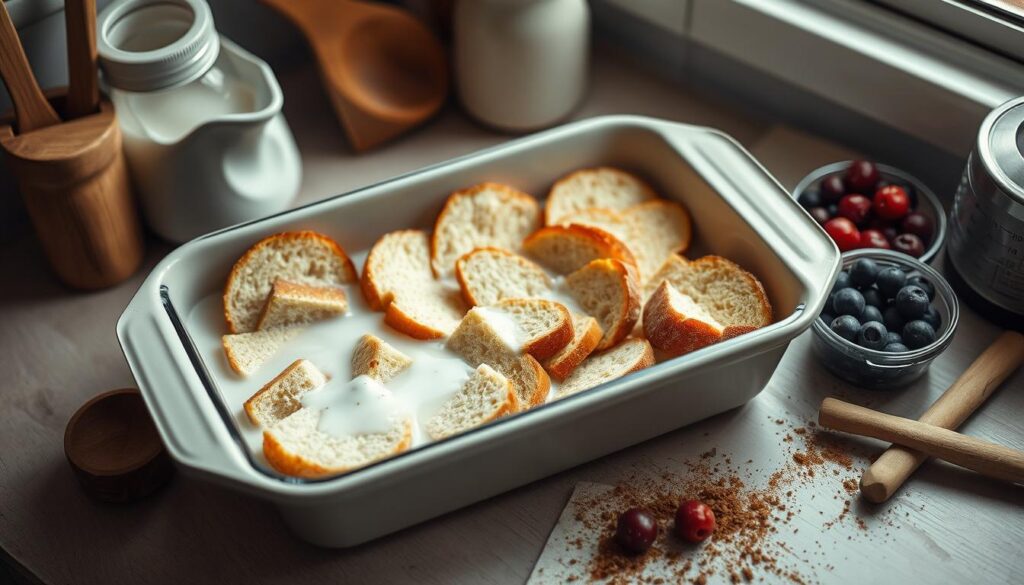
Cover your baking dish tightly with plastic wrap or a fitted lid. This prevents the custard from drying out while letting the bread fully absorb the egg mixture. I recommend 8–12 hours in the fridge – enough time for the maple syrup’s caramel notes to permeate every bite.
- Plastic wrap hack: Press it directly onto the custard’s surface to block air exposure
- Ideal timing: Prep after dinner, bake at sunrise
- Safety first: Never leave the dish at room temperature longer than 20 minutes before refrigerating
Best Practices for Pre-Bake Assembly
Remove the casserole from the fridge 20–30 minutes before baking. This slight warming helps the oven heat penetrate evenly. Gently press the bread – if it springs back slightly, you’re ready for the oven.
- Preheat to 350°F while the dish rests
- Wipe condensation from the plastic wrap to prevent sogginess
- Sprinkle cinnamon sugar just before baking for that crackly top
That custardy interior? It happens when every bread cube drinks up the egg mixture overnight. Trust the process – your future self will savor those extra morning moments sipping coffee while the oven works.
Baking and Finishing: Achieving the Perfect Texture

Your oven becomes a sculptor here – transforming custard-soaked bread into golden slices with contrasting textures. Start by preheating to 350°F while the dish rests on the counter. This equalizes temperatures so your casserole bakes evenly, not in fits and starts.
Cover the pan tightly with foil for the first 30 minutes. This gentle heat lets the custard set without drying the top. Then, remove the foil and watch magic happen – edges crisp while centers stay cloud-soft. You’ll know it’s ready when the surface shimmers like amber and springs back slightly when pressed.
- Use oven mitts to rotate the pan halfway for even browning
- Check doneness by inserting a knife near the center – it should come out mostly clean
- Add a teaspoon of butter to the top during the last 5 minutes for extra richness
Letting the dish rest 10 minutes after baking is non-negotiable. This pause allows the custard to firm up, ensuring neat slices that hold their shape. I’ve ruined beautiful recipes by rushing this step – patience rewards you with layers that slice cleanly.
“The difference between good and great? Letting steam escape before serving.”
For morning gatherings, garnish with a dusting of powdered sugar using a fine sieve. The contrast between snowy topping and caramelized edges makes even simple recipes feel special. Your kitchen will smell like a cozy diner – and you’ll have one less morning scramble to worry about.
Delicious Variations and Serving Suggestions
Your casserole is a blank canvas waiting for your culinary brushstrokes. I’ve watched friends transform this base recipe into personalized masterpieces – one added lemon zest for brightness, another folded in toasted coconut for crunch. The possibilities mirror your mood or pantry contents.

Creative Flavor Twists
Try stirring fresh blueberries into the custard mixture – their burst of tartness balances the vanilla’s warmth. For nutty depth, sprinkle chopped pecans between bread layers. Citrus lovers can add orange zest to the egg blend; it cuts through richness like sunshine through clouds.
Last Easter, I layered cream cheese cubes with the bread. The result? Velvety pockets that made my cousin declare, “This tastes like dessert for dinner!” For texture contrast, mix in cubed apples sautéed with cinnamon before baking.
Balanced Brunch Pairings
Serve slices with a dollop of Greek yogurt instead of whipped cream – the tang complements sweet custard beautifully. For savory balance, pair with scrambled eggs or roasted veggies. A light frittata works wonders when feeding crowds.
- Drizzle with local honey or warm berry compote
- Top with toasted coconut flakes for crunch
- Add a side of crispy bacon or turkey sausage links
“The best brunches let guests build their perfect bite – sweet here, savory there.”
Room temperature ingredients matter here too. Cold berries can create uneven baking pockets. Let additions sit out 15 minutes before mixing. Whether hosting or meal prepping, these variations turn one recipe into endless mornings of discovery.
Imagine waking up to a kitchen filled with the aroma of baked comfort – no frantic whisking required. This dish turns hectic mornings into moments where you’re already winning. By prepping the night before, you let the refrigerator work its magic, transforming simple ingredients into something extraordinary.
Remember: dry bread soaks up custard better. Room-temperature eggs blend smoothly. And that final sprinkle of cinnamon sugar? It’s the golden touch. Leftovers keep well in the refrigerator for three days – just reheat at half power to preserve texture.
I’ve seen how this dish transforms frantic mornings. One friend adds chocolate chips for her kids. Another swaps in pumpkin spice during fall. Your version might become a new tradition – maybe with caramelized apples or a drizzle of local honey.
Keep your custard balanced. Watch baking temperature. And trust that quiet flavor alchemy happening overnight. When you pull this from the oven tomorrow, you’ll taste more than cinnamon and maple. You’ll savor the gift of time.
Share your twists with others who value practical magic in the kitchen. We’re all in this together – one cozy, custardy bite at a time.
Maple Cinnamon Overnight French Toast Casserole
This cozy overnight French toast casserole is your breakfast ace: golden, custard-soaked cubes of bread kissed with cinnamon and maple. Prep it the night before, bake in the morning, and enjoy a crowd-pleasing dish that tastes like brunch magic with zero morning chaos.

Nutrition Information
Equipment Needed
- 9x13-inch baking dish
- Large mixing bowl
- Whisk
- Aluminum foil
- Oven mitts
Ingredients
-
1 loaf challah or brioche, day-old, cut into 1-inch cubes (about 10 cups)
-
6 large eggs, room temperature
-
1 cup whole milk
-
1 cup fat-free evaporated milk
-
1/4 cup pure maple syrup
-
3 tablespoons granulated sugar
-
1 1/2 teaspoons vanilla extract
-
1 teaspoon ground cinnamon
-
1/4 teaspoon salt
-
2 tablespoons unsalted butter, for greasing and finishing
-
2 tablespoons cinnamon sugar, for topping

